The slip stitch (sl st) is one of the simplest yet most versatile techniques in crochet. While it's the shortest stitch, it plays a key role in joining, shaping, finishing, and decorating crochet projects.
In this beginner-friendly guide, you'll learn how to slip stitch, when to use it, and how it fits into your crochet journey.

The slip stitch is one of the essential techniques you'll find in our collection of basic crochet stitches.
Table of contents
What Is a Slip Stitch?
A slip stitch crochet is a very short stitch that doesn't add height to your work.
It is mainly used for:
- Joining stitches
- Finishing edges
- Moving yarn across a project
If you're new to crochet, start with the basics like the slip knot tutorial and chain stitch tutorial before learning slip stitch.
How to Slip Stitch (Quick Steps)
- Insert hook into stitch
- Yarn over
- Pull through stitch AND loop on hook
That's it - your slip stitch is complete
Step-by-Step Tutorial

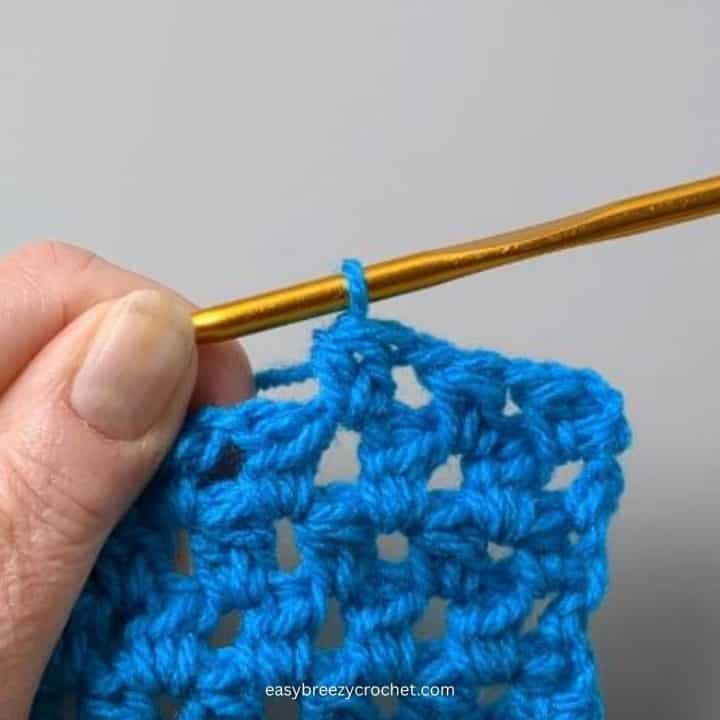
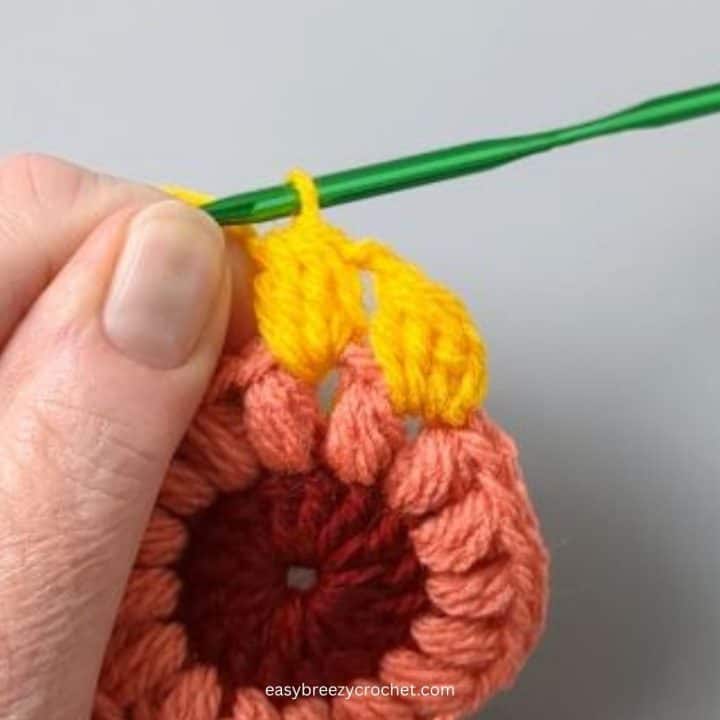
1 - Begin by inserting your hook into the next stitch or chain space.

2 - Yarn over your hook, which means wrapping the yarn around the hook from back to front.

3 - Pull the loop of yarn through both the stitch or chain space and the loop on your hook. This will create a slip stitch.

4 - Repeat steps 1-3 for each slip stitch you want to make.
5 - To finish your work, cut the yarn and pull the tail through the loop on your hook to secure it.
Watch Slip Stitch
Learn how to make a slip stitch in the video tutorial below
Exclusive Printable Crochet Patterns
Be inspired and keep creating!
Join us in The Pattern Vault, Easy Breezy Crochet's exclusive community.
Connect with other crocheters from all around the world and gain access to an extensive library of printable PDF crochet patterns.
All patterns are ad-free and available to you when you want, allowing you to crochet in your own time. So, if you're stuck on inspiration or on the hunt for you next crochet project, the Pattern Vault is for you!
What Is a Slip Stitch Used For?
The slip stitch is one of the most useful techniques in crochet. Here are all the ways it is used:
Joining Rounds
Slip stitch is commonly used to join the end of a round to the beginning. Used in:
- hats
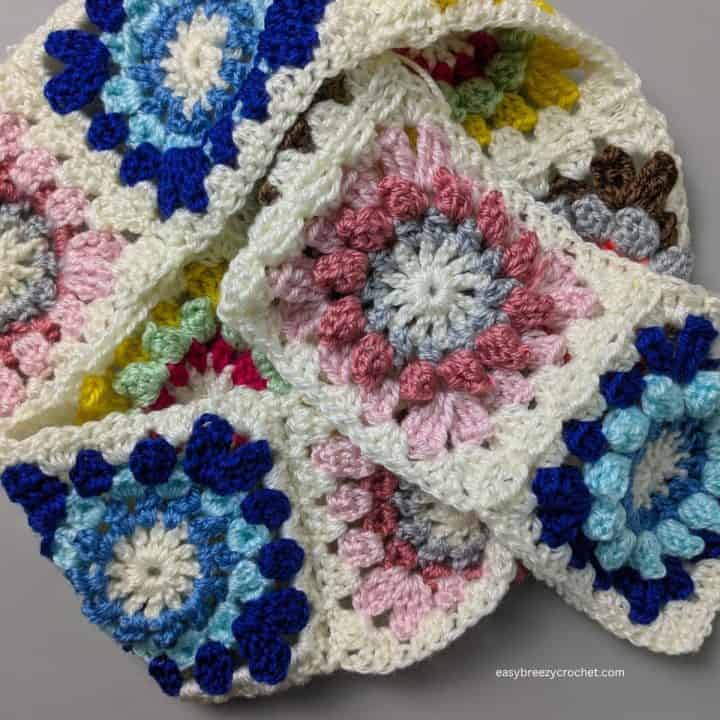
- granny squares
- circular projects
Try this in a project
This crochet rose drawstring pouch uses slip stitches to join each round.
- This creates a smooth, seamless finish with no visible joins.
Moving Across Stitches
Slip stitch lets you move your yarn across stitches without adding height. Useful when:
- repositioning your hook
- starting a new section
Try this in a project
This crochet bunny pouch pattern uses slip stitches to reposition the starting point.
- This ensures the first bunny foot is placed neatly and in the correct position.
Creating Clean Edges
Slip stitches create a neat, finished edge. Often used for:
- borders
- edging
Try this in a project
This simple basket weave crochet bag uses slip stitches to finish the edges.
- This gives the project a neat, polished look.
Joining Crochet Pieces
Use slip stitch to join separate pieces together. Examples:
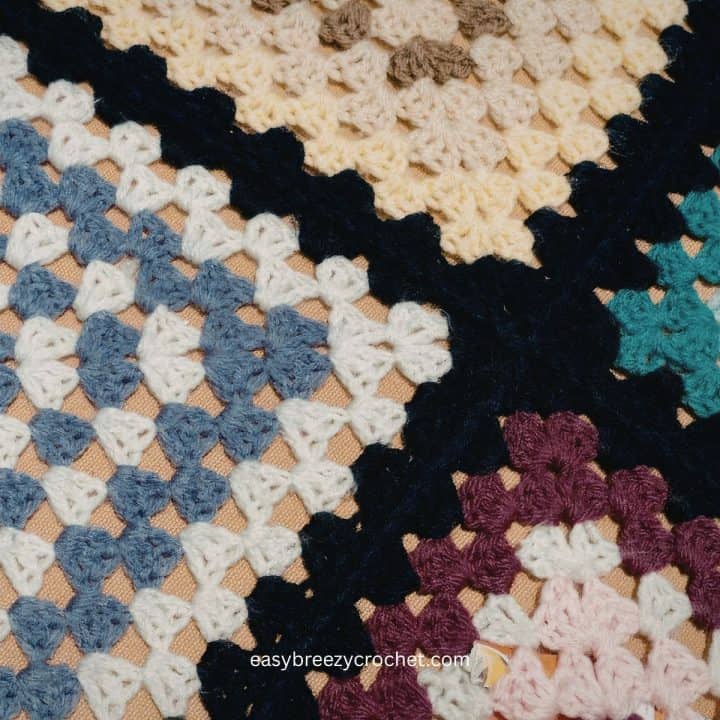
- joining squares
- seaming panels
Try this in a project
This crochet cupcake bookmark uses a slip stitch to attach the strap to the top of the cupcake.
- This ensures a strong join with a clean, seamless finish.
Invisible Joins
Slip stitch creates a subtle, seamless finish. Ideal for:
- finishing rounds cleanly
- reducing visible joins
Try this in a project
This round crochet coaster uses slip stitches to join each round.
- This helps maintain a clean, continuous look.
Surface Crochet (Decorative Slip Stitch)
Slip stitch can be worked on the surface for decorative designs. Used for:
- outlines
- lettering
- embellishments
Try this in a project
This crochet witch hat uses surface slip stitch to create the hat band.
Creating Texture
Slip stitches can be used as a main stitch to create dense, textured fabric. Often seen in:
- modern crochet designs
- minimalist patterns
Ribbing (Back Loop Only)
Working slip stitch in the back loop creates a stretchy ribbed effect. Used in:
- cuffs
- hats
- waistbands
Fastening Off
Slip stitch helps secure your work before cutting yarn.
Try this in a project
This crochet bunny pouch uses a slip stitch to secure the final stitch before fastening off.
- This helps keep the edge neat and prevents unraveling.
Slip Stitch Chains
Slip stitches can create cord-like chains. Use for:
- straps
- ties
Try this in a project
This crochet flower bookmark uses slip stitches worked along the stitches to create the strap.
- This results in a flat, sturdy strap that holds its shape well.
Foundation for Other Techniques
Slip stitch is often used before moving into stitches like single crochet stitch or double crochet stitch.
Creating A Foundation Ring (Alterative to Magic Ring)
Slip stitch can be used to form a foundation ring by joining a chain into a loop.
This is a common alternative to the magic ring crochet, especially for beginners.
Try this in a project
This solid granny square pattern uses a slip stitch to join a chain into a ring.
- This creates a simple foundation loop to work into.
Common Slip Stitch Mistakes
- Pulling stitches too tight
- Confusing slip stitch with single crochet stitch
- Skipping stitches accidentally
Beginner Tips
- Keep your tension relaxed
- Move slowly when learning
- Practice on a small swatch
If you struggle with tension, learn how to hold yarn when crocheting.
What To Learn Next
Once you've mastered slip stitch, continue with:
Or explore:
Slip Stitch FAQs
Slip stitch is used for joining, finishing, shaping, and decorating crochet projects.
No - slip stitch is shorter and does not add height.
Use it for joining rounds, edging, and moving across stitches.
The slip stitch may be small, but it's one of the most powerful tools in crochet.
Mastering it will help you:
- Create cleaner finishes
- Improve shaping
- Build more advanced techniques
Don't stop here...
Your next 50 crochet projects are ready inside the Pattern Vault - all printable, ad-free, and ready to download instantly.
Stay Connected
Pin this post - Pin now to and take your skills to the next level.
Leave a comment - We're excited to hear your thoughts! Leave a comment below and let us know what you think.
Share on Instagram or Facebook - Capture the beauty of your finished crochet projects and share it on Instagram or Facebook! Tag us @easybreezycrochet or #ebcrochetcreations so we can see your work!
Copyright Notice - This pattern and its contents are protected by copyright law. It may not be copied, altered, redistributed, resold, translated, or used to produce video tutorials in any format, either in whole or in part.
You are permitted to sell finished items made using this pattern. However, the written pattern itself may not be sold, shared, or distributed in any form. When marketing or displaying your finished items, please photograph your own work and refrain from using any of my original images.
Sharing Guidelines For Roundups - Bloggers you are welcome to include this pattern in roundup posts, as long as you use one photo and link directly back to the original post. For full details, please refer to my Terms of Use page.
Comments
No Comments