Learn how to do a back post double crochet stitch with this step-by-step tutorial.
The back post double crochet stitch is a fun and easy way to add texture to your projects.
It is perfect for creating ribbing, raised patterns, blankets, and unique designs. In this post, we will show you step-by-step how to make this crochet stitch - even if you are a beginner.

Table of contents
What Is A Back Post Double Crochet Stitch?
A back post double crochet stitch is a crochet technique that creates a textured pattern by working around the post of a stitch from the previous row. This method gives a raised, ribbed effect on the fabric's surface.
Crochet Abbreviation
The crochet abbreviation for back post double crochet is BPdc.
What Is the Post Of A Stitch In Crochet?
In crochet, the post of a stitch is the vertical part of the stitch located just below the top loops. It is the "stem" of the stitch that connects the stitches.
Post stitches are worked around this vertical section rather than into the top loops of the stitch.
This technique creates texture and patterns, such as raised or recessed areas, in the finished crochet piece.

Exclusive Printable Crochet Patterns
Be inspired and keep creating!
Join us in The Pattern Vault, Easy Breezy Crochet's exclusive community.
Connect with other crocheters from all around the world and gain access to an extensive library of printable PDF crochet patterns.
All patterns are ad-free and available to you when you want, allowing you to crochet in your own time. So, if you're stuck on inspiration or on the hunt for you next crochet project, the Pattern Vault is for you!
How Is A Back Post Crochet Stitch Made?
A back post crochet stitch is a technique where you work around the "post" (the vertical part) of a stitch from the previous row, inserting your hook from the back of the fabric to the front and then back into the back of the fabric.
This method pushes the stitch toward the back, creating a textured effect on the front of your work.

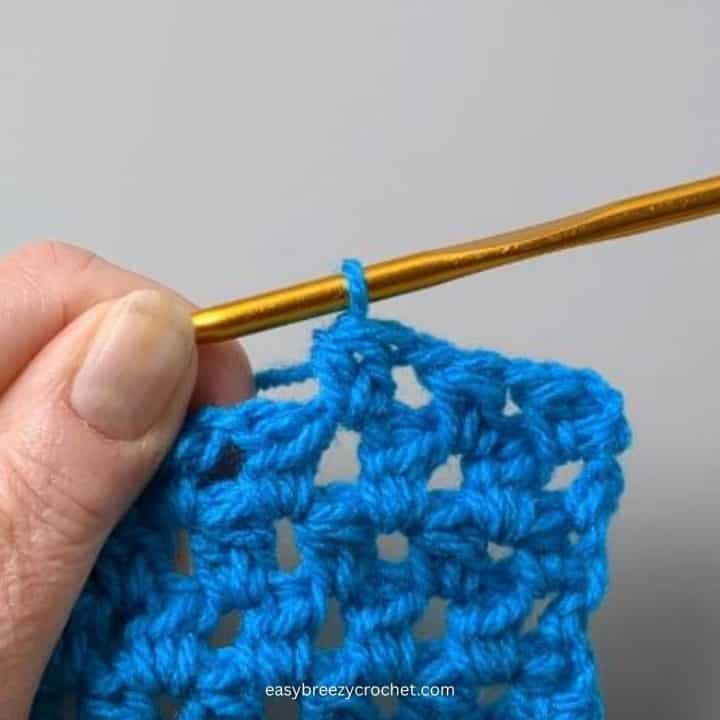
Back Post Double Crochet Stitch - Step-by-Step
Step 1 - Yarn over hook.

Step 2 - Insert your hook from the back right of the stitch post to the front of the work, then insert the hook around the left side of the post and into the back of the work.

Step 3 - Yarn over hook.

Step 4 - Pull through a loop. You will have three loops on the hook.

Step 5 - Yarn over hook.

Step 6 - Pull through two loops.

Step 7 - Yarn over hook.

Step 8 - Pull yarn through two loops on the hook. You will have one loop on the hook.

You have completed a back post double crochet stitch!
Don't stop here...
Your next 50 crochet projects are ready inside the Pattern Vault - all printable, ad-free, and ready to download instantly.
Video Tutorial
If you would like to see, how this this stitch is done, check out our short video on how to make a back post double crochet stitch.
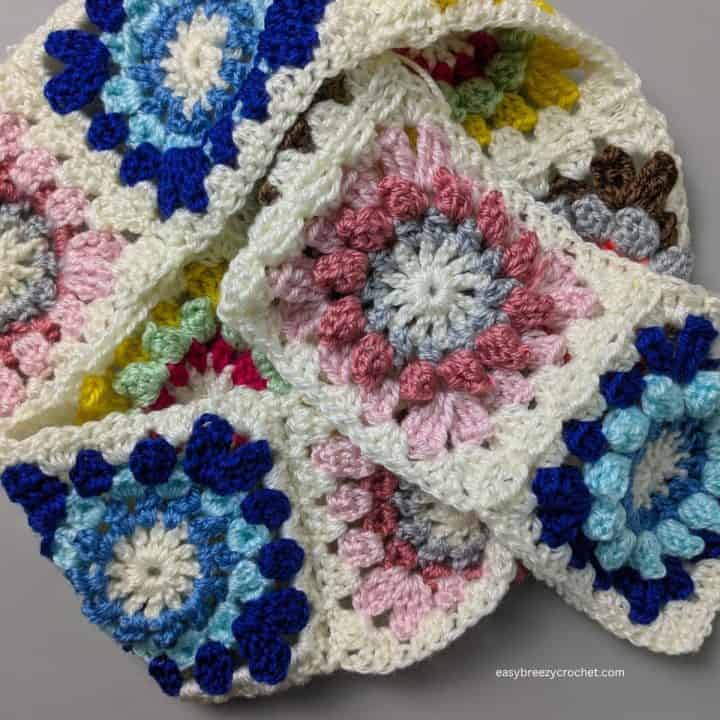
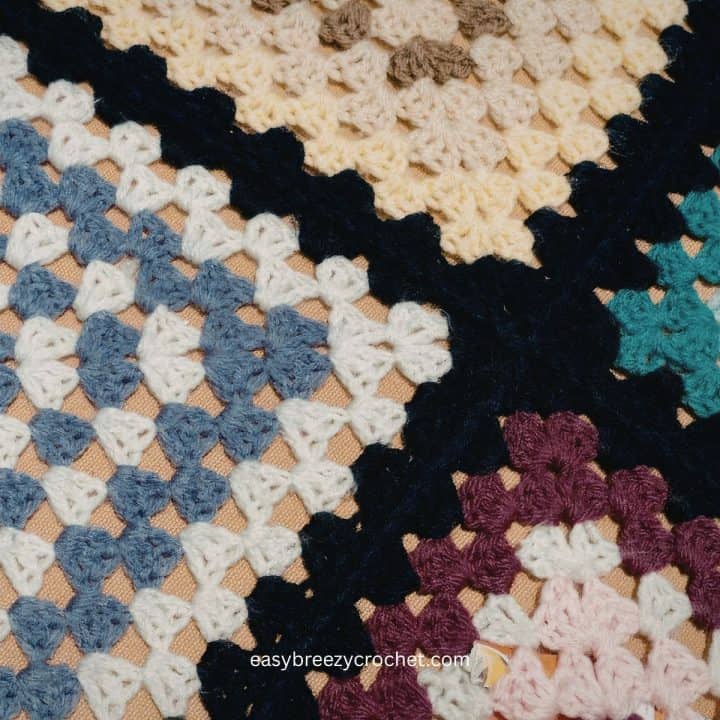
Crochet Blanket Tutorial
As mentioned before, this is a stitch pattern that can be used for clothing, accessories, scarves as well as blankets. If you need help converting a stitch pattern into a blanket, check out our How to crochet a blanket step-by-step page.
Stay Connected
Pin this post - Pin now to and take your skills to the next level.
Leave a comment - We're excited to hear your thoughts! Leave a comment below and let us know what you think.
Share on Instagram or Facebook - Capture the beauty of your finished crochet projects and share it on Instagram or Facebook! Tag us @easybreezycrochet or #ebcrochetcreations so we can see your work!
Like this tutorial, share it with your friends on Pinterest!

Copyright Notice - This pattern and its contents are protected by copyright law. It may not be copied, altered, redistributed, resold, translated, or used to produce video tutorials in any format, either in whole or in part.
You are permitted to sell finished items made using this pattern. However, the written pattern itself may not be sold, shared, or distributed in any form. When marketing or displaying your finished items, please photograph your own work and refrain from using any of my original images.
Sharing Guidelines For Roundups - Bloggers you are welcome to include this pattern in roundup posts, as long as you use one photo and link directly back to the original post. For full details, please refer to my Terms of Use page.
Comments
No Comments