Joining granny squares is the step that transforms individual crochet motifs into finished projects like blankets, cushions, and garments. The joining method you choose affects the look, structure, and durability of your final piece.
In this guide, we'll explore the most common joining approach, when to use it, and how it fits into different crochet projects.
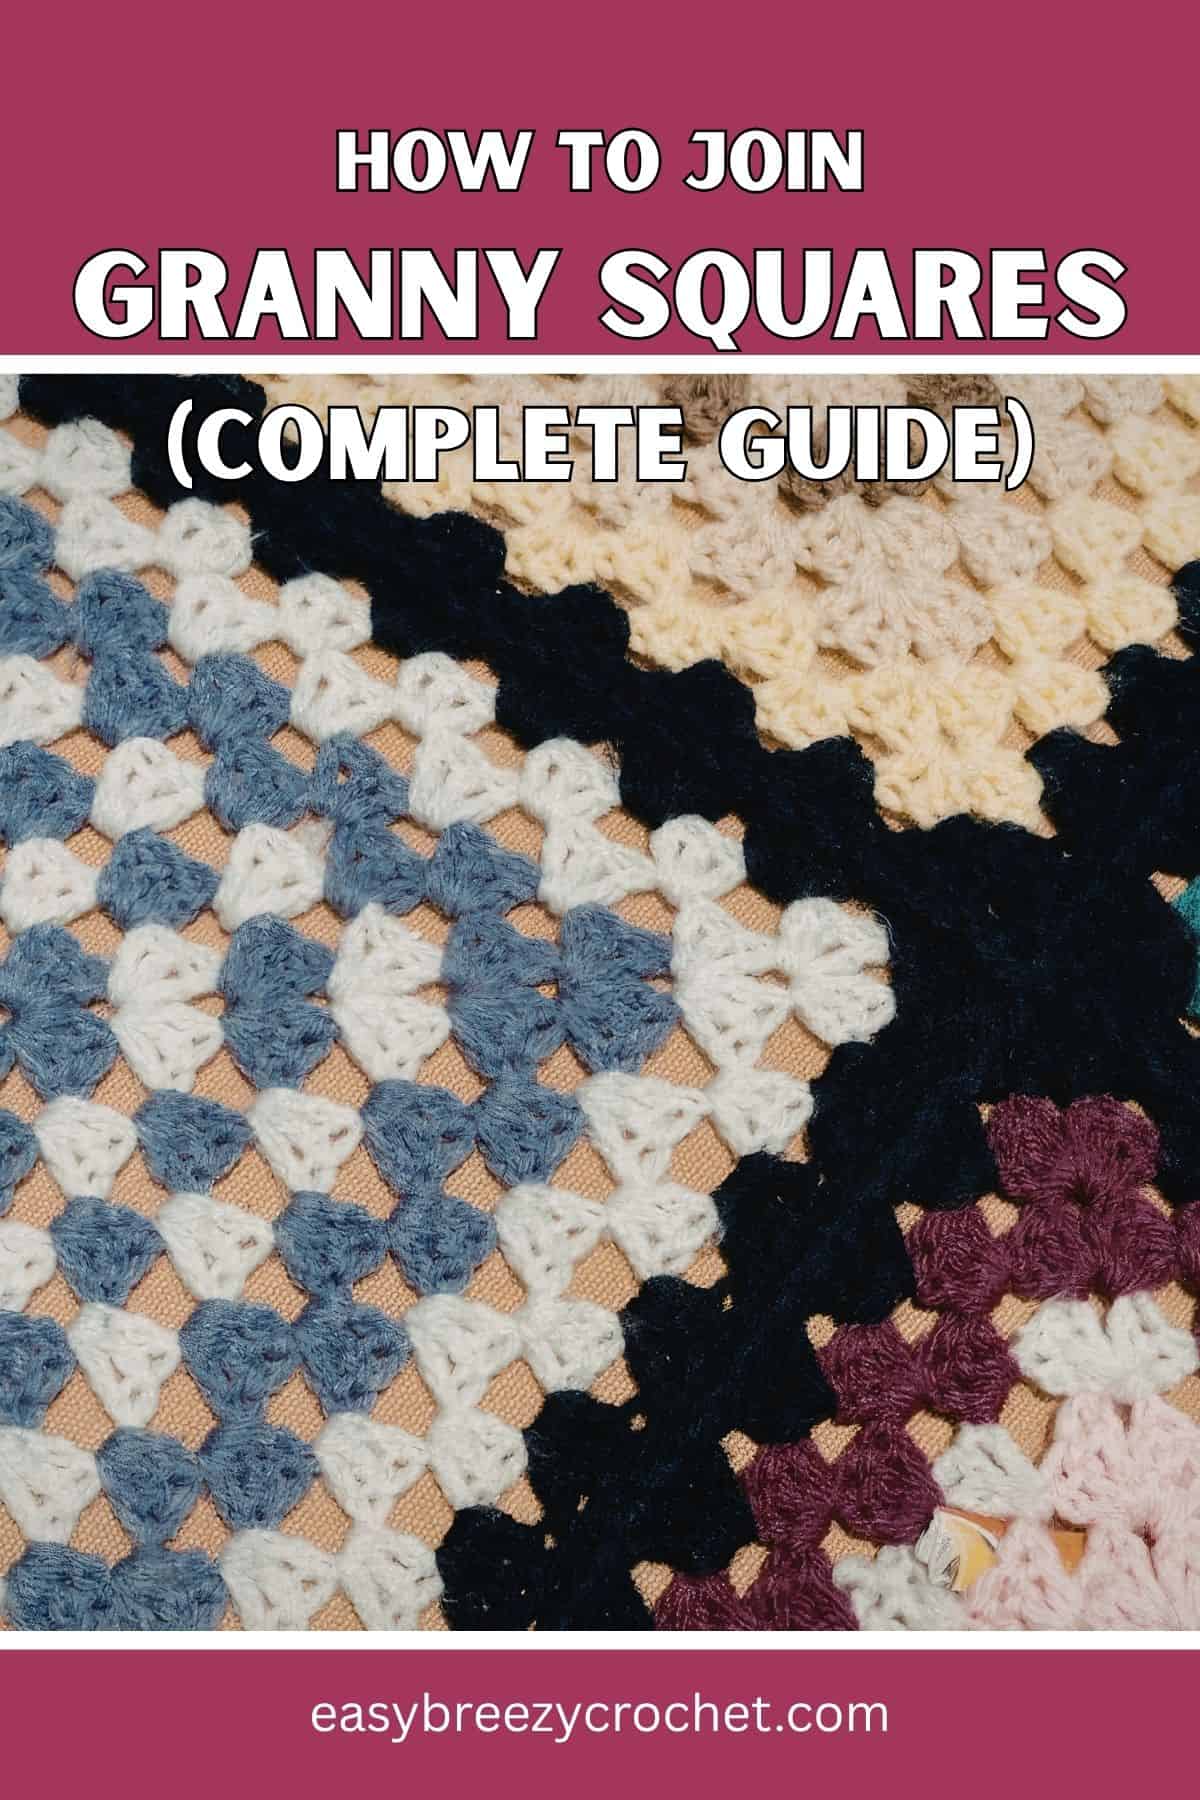
Table of contents
What Is the Best Way to Join Granny Squares?
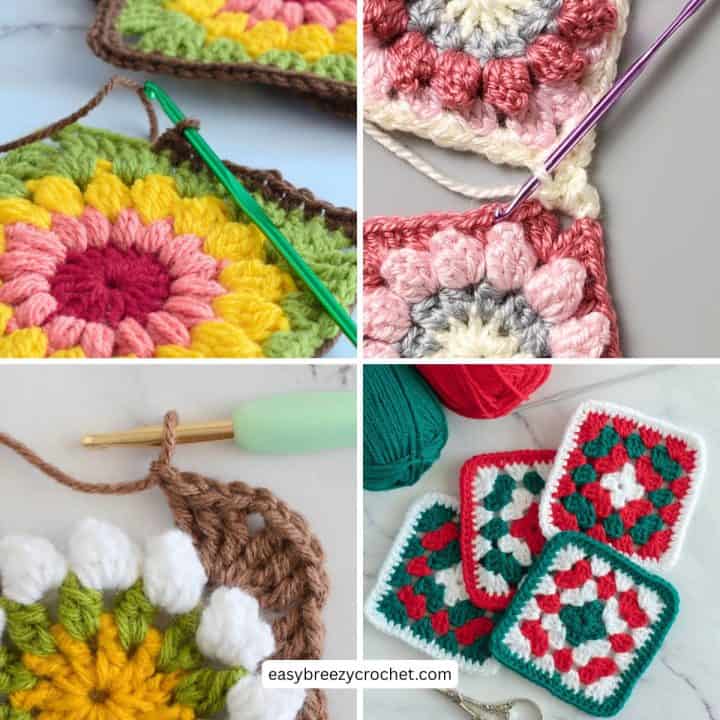
One of the most popular and beginner-friendly methods is the single crochet join. This technique creates a strong, slightly raised seam that adds texture while securely connecting each square.
You can follow a full step-by-step tutorial here: Joining Granny Squares with Single Crochet
This method is ideal for:
- Beginner-friendly projects
- Textured or rustic-style blankets
- Strong, durable seams
While it's one of the easiest methods to learn, it's also widely used in finished crochet blankets because of its strength and simplicity.
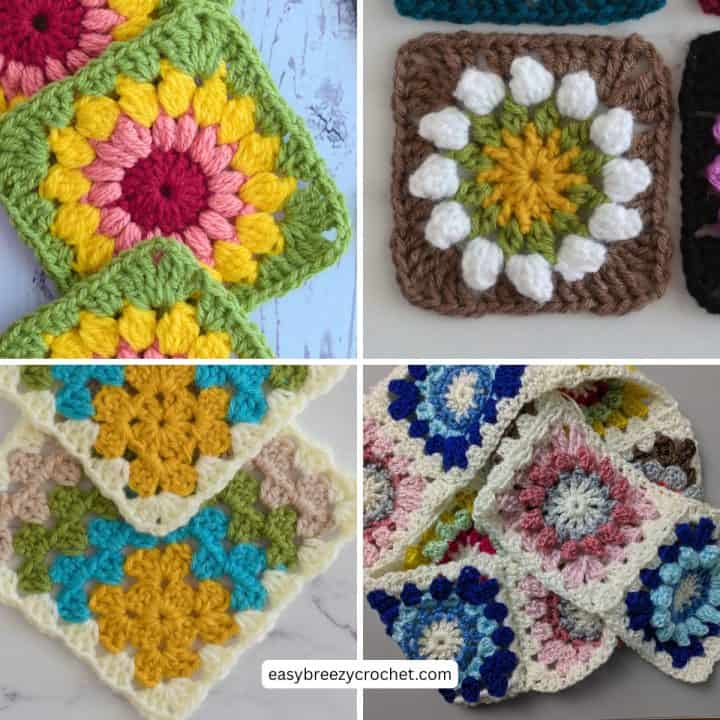
Example Project: Granny Square Blanket Design
Joining is especially important in blanket projects, where multiple squares must be connected evenly to create a flat, cohesive design.
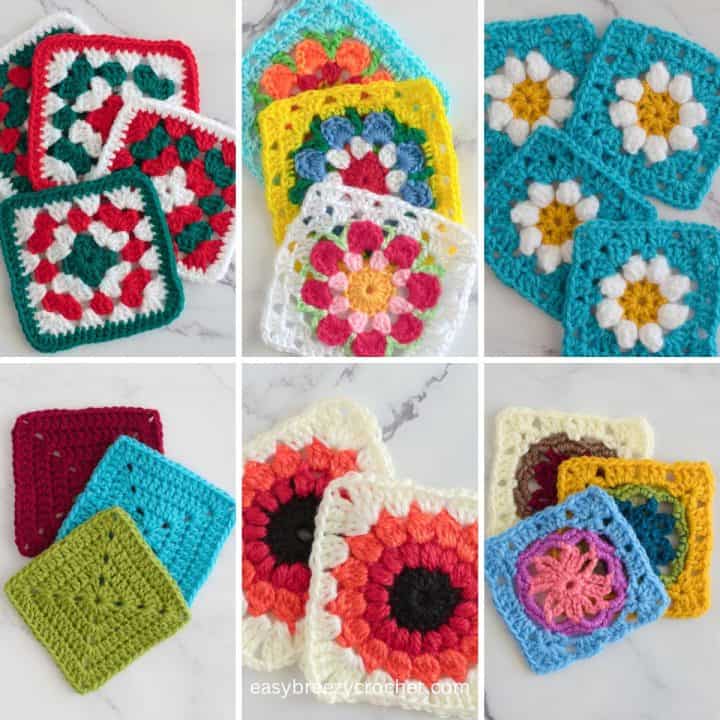
A great example is the Lacy Daisy Granny Square Blanket Pattern, where joining plays a key role in the final structure and appearance of the design.
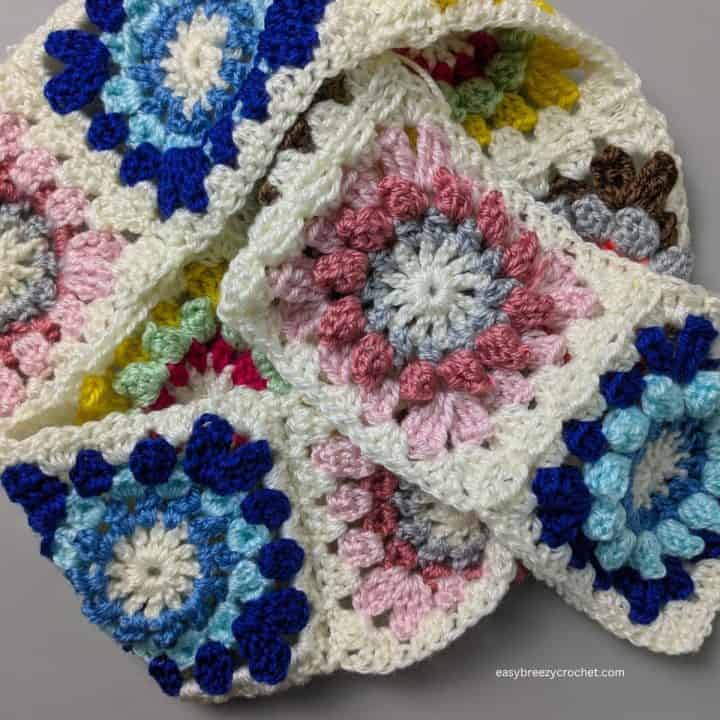
This shows how the joining method directly impacts:
- Stitch alignment
- Overall drape
- Finished texture
Why Joining Method Matters
The way you join granny squares can completely change your project. Even using the same squares, different joining techniques will produce different results.
Your joining method affects:
- How flat your project lies
- How visible the seams are
- How flexible the finished fabric feels
- Overall durability and structure
That's why choosing the right method is just as important as choosing the right square.
When to Use Single Crochet Joining
The single crochet joining method is best used when you want:
- A strong, durable seam
- A slightly raised decorative join
- A simple technique suitable for beginners
It works especially well for:
- Blankets
- Cushions
- Textured crochet projects
If you're new to joining, this is often the easiest method to start with before exploring more advanced techniques.
Other Ways to Join Granny Squares
There are several other popular joining techniques used in crochet, including:
- Single line granny square join - A modified join-as-you-go method for creating a one-row strip of joined granny squares.
- Whip stitch join
- Join-as-you-go (jayg)
- Invisible seam join
Each method creates a different finish, from highly visible decorative seams to nearly invisible joins. These techniques will be covered in future guides.
FAQ: How to Join Granny Squares
The single crochet join is one of the easiest methods because it uses basic stitches and creates a secure seam.
Yes, blocking helps ensure all squares are the same size and makes joining much easier and more even.
You can, but most projects look more consistent when one method is used throughout.
The single crochet join is commonly used for blankets because it is strong, durable, and easy to work with.
Related Guides
If you're planning a full crochet project, these guides may help:
- Crochet for Beginners Guide (learn the basics before starting projects)
- Crochet Essentials: Tools, Yarn & Materials (set up your supplies correctly)
- Crochet Stitches & Techniques (build your core skills)
- Granny Square Sizes & Uses Guide (plan your project layout)
- How to Edge a Crochet Blanket (finish your project neatly)
Putting It All Together
Learning how to join granny squares is an essential skill in crochet, especially for blanket and large-scale projects.
Once you understand the basic methods, you can start experimenting with different finishes to change the look and feel of your work.
Stay Connected
Pin this post - Pin now to and take your skills to the next level.
Leave a comment - We're excited to hear your thoughts! Leave a comment below and let us know what you think.
Share on Instagram or Facebook - Capture the beauty of your finished crochet projects and share it on Instagram or Facebook! Tag us @easybreezycrochet or #ebcrochetcreations so we can see your work!
Copyright Notice - This pattern and its contents are protected by copyright law. It may not be copied, altered, redistributed, resold, translated, or used to produce video tutorials in any format, either in whole or in part.
You are permitted to sell finished items made using this pattern. However, the written pattern itself may not be sold, shared, or distributed in any form. When marketing or displaying your finished items, please photograph your own work and refrain from using any of my original images.
Sharing Guidelines For Roundups - Bloggers you are welcome to include this pattern in roundup posts, as long as you use one photo and link directly back to the original post. For full details, please refer to my Terms of Use page.
Nina says
Love your website and patterns! Just wanted to say thank you, Harriet, for taking the time to post things for other self-taught crochet gals.