You've invested time and effort into making a gorgeous blanket, and now it's time to learn how to edge a crochet blanket, giving it the perfect finishing touch.
Keep reading to uncover easy and effective tips, that will give your work a polished, and professional.

Table of contents
13 Expert Tips For Beautiful Borders and Finishing Touches
Learn how to edge a crochet blanket with our easy and effective tips. Use these suggestions to frame your crochet blanket and give it a refined and elegant finish.
Exclusive Printable Crochet Patterns

Ready to take your crochet skills to the next level?
Join us in The Pattern Vault, Easy Breezy Crochet's exclusive community.
Connect with other crocheters from all around the world and gain access to an extensive library of printable PDF crochet patterns.
All patterns are ad-free and available to you when you want, allowing you to crochet in your own time. So, if you're stuck on inspiration or on the hunt for you next crochet project, the Pattern Vault is for you!
1 - Use the same hook and yarn weight as the blanket
When it comes to edging a crochet blanket, make sure to use the same hook size and yarn weight as you used for the main body of your blanket.
This will ensure that the edging looks cohesive and help it lay flat against the blanket without puckering or stretching.
If you want to use a different yarn for the border, try to find one with a similar weight and fiber content to maintain a consistent look and feel.
If you are uncertain how your chosen yarn will work for the edging, don't hesitate to make a small swatch to test the combination before committing to the entire border.
2 - Choose the right border for your blanket
There are hundreds of different border options, from simple and elegant to intricate and eye-catching.
When choosing your border think about the overall look and feel of your blanket and choose one that will enhance it.
Remember, sometimes less is more! A simple single crochet border can do wonders for a busy blanket, while a more intricate shell border might be perfect for a simple design.
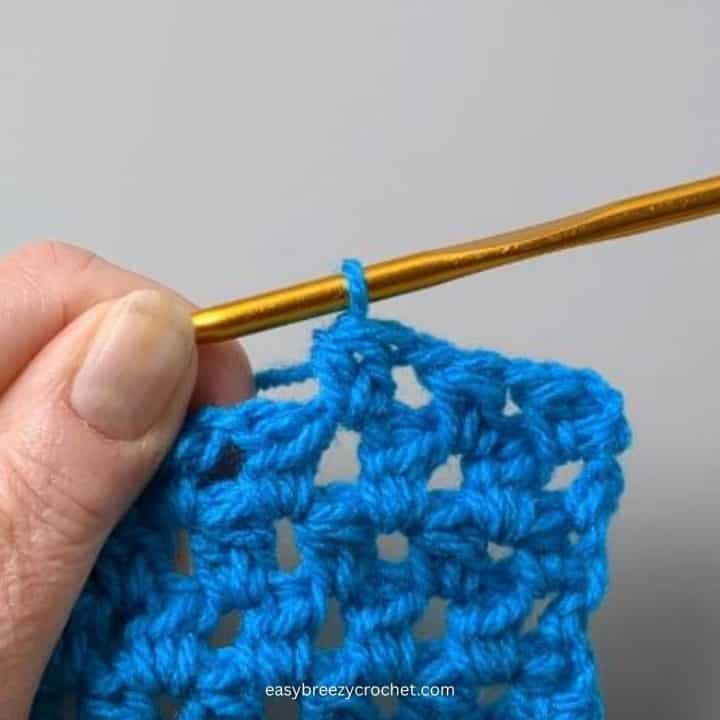
3 - Start with a foundation round
Before starting your chosen border, I recommend working a foundation round of single crochet around the entire blanket.
It will give you a solid base to work from, and it can help even out any inconsistencies in your stitch count.
It is also a good opportunity to add a contrasting color to your blanket if you are feeling adventurous!
4 - Keep your border stitch count consistent
When working on your foundation round, it's essential to maintain a consistent stitch count around the entire blanket.
A consistent stitch count helps to make the border lie flat without puckering and rippling.
When crocheting around the sides of your blanket, it can be tricky to know where to place your stitches, especially when working into the sides of stitches.
My rule of thumb is to make 1 stitch per row of single crochet, 2 stitches per row of double crochet, and so on.
Don't worry about being too precise, just try to be consistent!
5 - Joining New Yarn with a Magic Knot - A Clever Technique
At times, we need to connect a new skein of yarn while working on our border, and we want the transition to be as smooth and unnoticeable as possible.
Here's a nifty method I've picked up along my crochet journey: When you're down to about 6 inches of yarn from your current skein, it's time to use the Magic Knot to make that seamless connection.
To create this knot, place the new yarn end and the old yarn end next to each other, then tie a simple knot with each end around the opposite yarn strand.
Pull the two knots together, and give them a gentle but firm tug to secure them. Now you can trim the ends close to the knots and continue crocheting as usual. The result? A nearly invisible join that's both strong and discreet.
By using the magic knot, you'll have a beautifully continuous border without any obvious yarn joins.
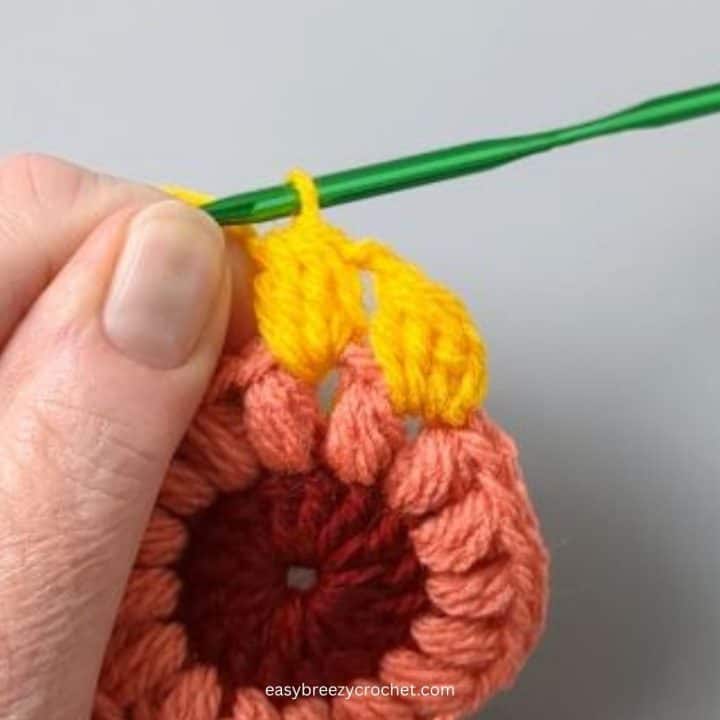
6 - Corners are key
Corners on crochet blankets can be a bit intimidating, but they're super important for a polished look.
When working your border, make sure to add extra stitches at each corner to help the edging lay flat and maintain a nice, sharp angle.
Usually, I add 3 stitches in each corner, but this might vary depending on your specific pattern.
7 - Blocking for a flawless finish
Blocking is the process of gently shaping your finished blanket and border with water or steam to help it lay flat and even out any inconsistencies.
I like to pin my blanket to a blocking mat, spritz it with water, and let it air dry. This little extra step makes all the difference in achieving that professional, polished look.

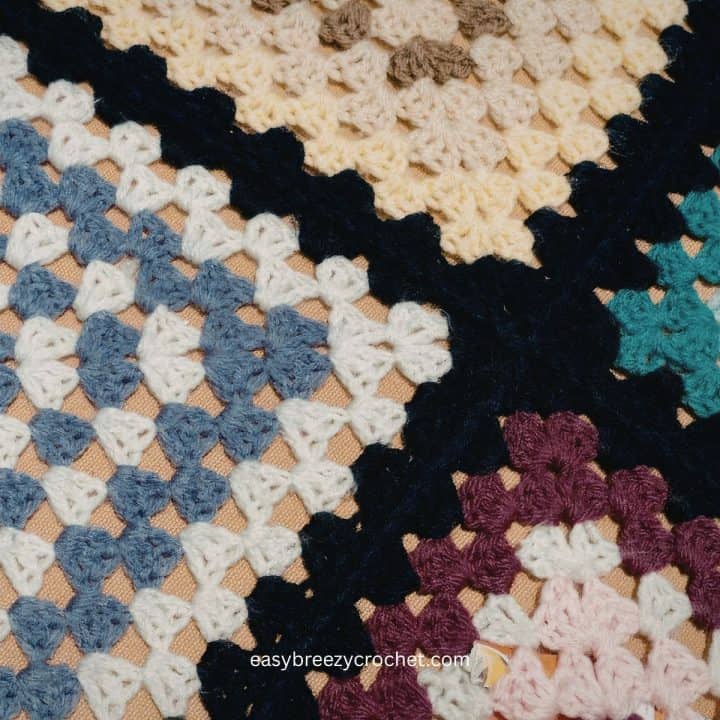
8 - Experiment with color combos
Don't be afraid to play around with different color combinations when it comes to edging.
A pop of contrasting color can add a whole new dimension to your blanket, while a tone-on-tone approach creates a more subtle, sophisticated look.
Feel free to get creative and try out different yarns, too! You might be surprised how a variegated or gradient yarn can transform a simple edging pattern.
9 - Use stitch markers to your advantage
Stitch markers are a crocheter's best friend, especially when it comes to edging.
Use them to mark your corners, as well as any spots where you'll be adding special stitches or embellishments.
This will help you keep track of your progress and ensure you're staying consistent as you work your way around the blanket.
10 - Try adding texture with stitches
One fun way to make your edging stand out is to play with texture. Experiment with different stitch patterns like bobbles, puff stitches, or even cables to add an extra element of interest to your border.
Just be sure to choose a stitch that complements your blanket's overall design, and remember that it's all about balance.
11 - Give Picot edging a go
Picot edging is a classic crochet finishing touch that can add a delicate, lacy feel to your blanket. To create a picot, simply chain 3 and then slip stitch back into the first chain.
Add picots in between regular stitches around your border for a sweet, decorative touch that's perfect for baby blankets or heirloom-quality projects.
12 - Practice makes perfect
Like with any crochet technique, practice is key when it comes to mastering edging.
Don't be discouraged if your first few attempts don't turn out exactly how you envisioned.
The more you practice, the more comfortable you'll become with working around the edges of your blankets and creating beautiful, polished borders.
13 - Turn to the crochet community for inspiration
Finally, don't forget to lean on the wonderful world of fellow crocheters for inspiration and support.
There are so many amazing resources out there, from blogs and YouTube channels to Ravelry groups and Instagram hashtags.
Take the time to explore what others are doing, ask questions, and share your work. You never know where your next great edging idea might come from!
Don't stop here...
Your next 50 crochet projects are ready inside the Pattern Vault - all printable, ad-free, and ready to download instantly.
Related Guides
If you're planning a full crochet project, these guides may help:
- Crochet for Beginners Guide (learn the basics before starting projects)
- Crochet Essentials: Tools, Yarn & Materials (set up your supplies correctly)
- Crochet Stitches & Techniques (build your core skills)
- Ultimate Granny Square Guide (plan your next project using granny squares)
- Granny Square Sizes & Uses Guide (plan your project layout)
Crochet Blanket Size Chart
Planning the perfect blanket just got easier! I've created a free crochet blanket size chart with clear, easy-to-follow guides for all standard blanket sizes: baby, throw, twin, queen, and king.
Download the free Crochet Blanket Size Chart (printable PDF)
Ideal for printing, saving on your phone, or keeping right beside you while crocheting.
Stay Connected
Pin this post - Pin now to and take your skills to the next level.
Leave a comment - We're excited to hear your thoughts! Leave a comment below and let us know what you think.
Share on Instagram or Facebook - Capture the beauty of your finished crochet projects and share it on Instagram or Facebook! Tag us @easybreezycrochet or #ebcrochetcreations so we can see your work!
Copyright Notice - This pattern and its contents are protected by copyright law. It may not be copied, altered, redistributed, resold, translated, or used to produce video tutorials in any format, either in whole or in part.
You are permitted to sell finished items made using this pattern. However, the written pattern itself may not be sold, shared, or distributed in any form. When marketing or displaying your finished items, please photograph your own work and refrain from using any of my original images.
Sharing Guidelines For Roundups - Bloggers you are welcome to include this pattern in roundup posts, as long as you use one photo and link directly back to the original post. For full details, please refer to my Terms of Use page.

Comments
No Comments