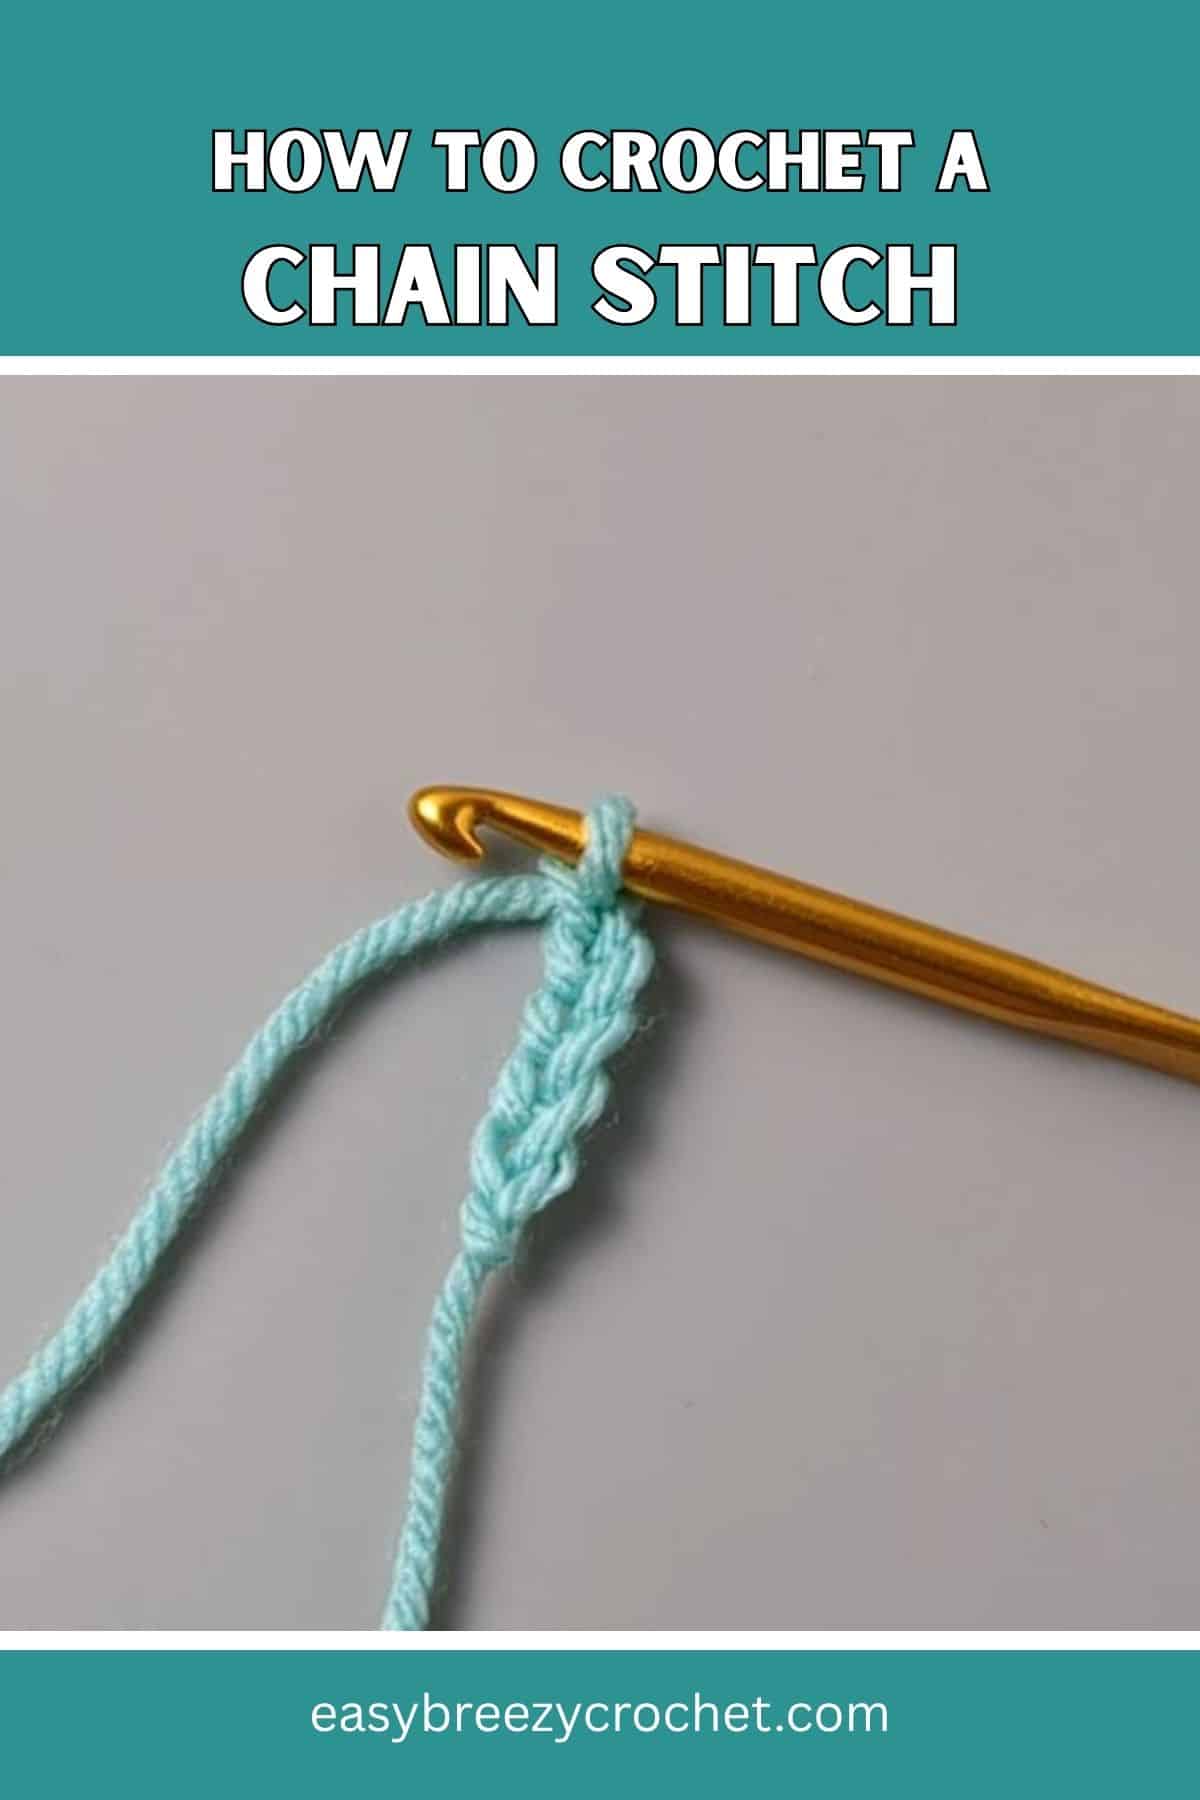
The chain stitch (ch) is the foundation of most crochet projects. It creates the base row that other stitches are worked into.
In this guide, you'll learn how to make a chain stitch step-by-step and how it fits into your crochet workflow.
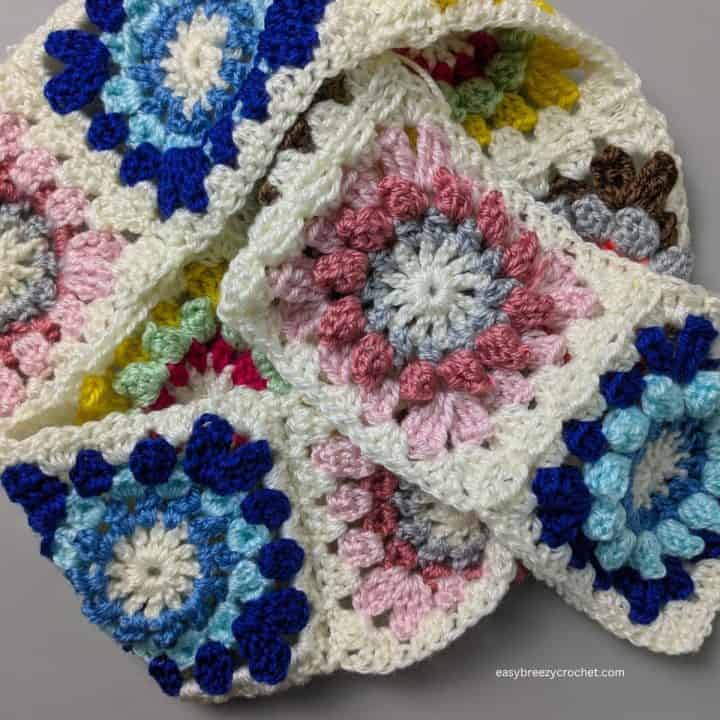
The chain stitch is one of the essential techniques you'll find in our collection of basic crochet stitches.
Table of contents
- Quick Steps: Chain Stitch
- What is a Chain Stitch?
- When to Use a Chain Stitch
- Step-by-Step Instructions
- Watch How to Chain Stitch
- What Does The Back Of A Chain Stitch Look Like?
- How To Count Chain Stitches
- How To Prevent Tight Foundation Chains?
- What Are Turning Chains?
- Common Mistakes
- Beginner Tips
- Related Techniques
- Learn Basic Crochet in Order
- Chain Stitch FAQs
- What to Learn Next
- Stay Connected
- Comments
Quick Steps: Chain Stitch
- Make a slip knot
- Yarn over
- Pull through loop
- Repeat
Each repeat = one chain stitch
What is a Chain Stitch?
The chain stitch is the starting foundation of crochet.
It is used to:
- Begin projects
- Create base rows
- Form spacing in patterns
When to Use a Chain Stitch
Use chain stitches to:
- Start nearly all crochet projects
- Create foundation chains
- Add height between rows
- Form decorative spaces
Step-by-Step Instructions

1 - Make a slip knot by creating a loop with the yarn and pulling the end through the loop. Place the slip knot onto the crochet hook.

2 - Hold the crochet hook in your right hand (or left hand if you are left-handed).
Hold the yarn in your left hand, with the tail end of the yarn held between your middle and ring fingers and the working end of the yarn draped over your index finger.

3 - Slide the crochet hook under the yarn and over the hook, and catch it under the hook.

4 - Pull the hook with the yarn back through the loop on the hook.

5 - You have now made one chain stitch! Repeat steps 3-4 to make additional chain stitches.

Watch How to Chain Stitch
Learn how to make a crochet chain stitch in the video below.
Exclusive Printable Crochet Patterns
Be inspired and keep creating!
Join us in The Pattern Vault, Easy Breezy Crochet's exclusive community.
Connect with other crocheters from all around the world and gain access to an extensive library of printable PDF crochet patterns.
All patterns are ad-free and available to you when you want, allowing you to crochet in your own time. So, if you're stuck on inspiration or on the hunt for you next crochet project, the Pattern Vault is for you!
What Does The Back Of A Chain Stitch Look Like?

When you look at a foundation chain, you'll notice two distinct sides:
- Front: looks like a row of "V" shapes
- Back: has a series of small bumps (often called the back bumps)
Most beginner patterns will have you work into the front of the chain, inserting your hook through the center of the "V".
However, some patterns will ask you to work into the back bump of the chain instead.
Working into the back bump creates a cleaner, more finished edge that closely resembles the top of your stitches-perfect for professional-looking projects.
How To Count Chain Stitches

When counting your chain stitches:
- Do NOT count the slip knot
- Do NOT count the loop on your hook
- Only count the "V" stitches in between
Each "V" = one chain stitch
How To Prevent Tight Foundation Chains?
A tight foundation chain can cause:
- Curling at the edge
- Uneven tension
- Difficulty working into stitches
If your chain feels tight, try this:
Loosen your tension - Make your loops slightly larger as you chain. (You can improve this by learning how to hold yarn when crocheting.)
Use a larger hook - Use a bigger hook for the foundation chain, then switch back to the recommended size for the rest of your project. (See our crochet hook sizes guide for help choosing the right hook.)
This is one of the easiest ways to improve your crochet immediately.
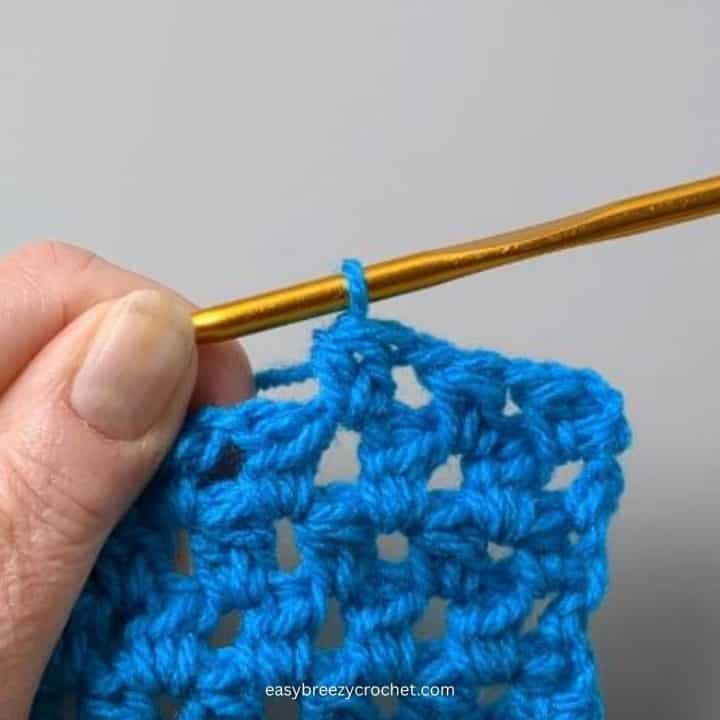
What Are Turning Chains?
A turning chain (t-ch) is used at the beginning of a new row to bring your yarn up to the correct height for the next stitches.
This helps keep your edges straight and even, especially when working stitches like half double crochet stitch, double crochet stitch or treble crochet.
Turning Chain Guide
- Single crochet (sc) - chain 1
- Half double crochet (hdc) - chain 2
- Double crochet (dc) - chain 3
- Treble crochet (tr) - chain 4
If you haven't learned these yet, you can follow the step-by-step tutorials for single crochet stitch, half double crochet stitch, double crochet stitch, and treble crochet.
When To Make A Turning Chain
You can make your turning chain:
- before turning your work
- or after turning your work
The most important thing is to stay consistent throughout your project.
Does the Turning Chain Count as a Stitch?
This depends on the pattern:
- Some patterns count it as a stitch
- Others do not
If you're unsure how patterns work, check our crochet terms and abbreviations guide to understand common instructions.
Common Mistakes
- Chains too tight make it hard to work into
- Uneven loops give inconsistent tension
- Losing count
Beginner Tips
- Keep chains loose and even
- Count stitches as you go
- Practice rhythm for consistency
Related Techniques
- Slip knot (starting step)
- Slip stitch (used after chains)
Chain Stitch FAQs
It stands for chain stitch.
Depends on the pattern.
What to Learn Next
- Learn Single Crochet (next essential stitch)
- Learn Slip Stitch (for joining and finishing)
New to crochet? Start with our crochet beginner essentials guide to get set up with the right tools and materials. Then follow our how to crochet for beginners guide for a step-by-step introduction to your first stitches.
Don't stop here...
Your next 50 crochet projects are ready inside the Pattern Vault - all printable, ad-free, and ready to download instantly.
Stay Connected
Pin this post - Pin now to and take your skills to the next level.
Leave a comment - We're excited to hear your thoughts! Leave a comment below and let us know what you think.
Share on Instagram or Facebook - Capture the beauty of your finished crochet projects and share it on Instagram or Facebook! Tag us @easybreezycrochet or #ebcrochetcreations so we can see your work!
Copyright Notice - This pattern and its contents are protected by copyright law. It may not be copied, altered, redistributed, resold, translated, or used to produce video tutorials in any format, either in whole or in part.
You are permitted to sell finished items made using this pattern. However, the written pattern itself may not be sold, shared, or distributed in any form. When marketing or displaying your finished items, please photograph your own work and refrain from using any of my original images.
Sharing Guidelines For Roundups - Bloggers you are welcome to include this pattern in roundup posts, as long as you use one photo and link directly back to the original post. For full details, please refer to my Terms of Use page.
Comments
No Comments