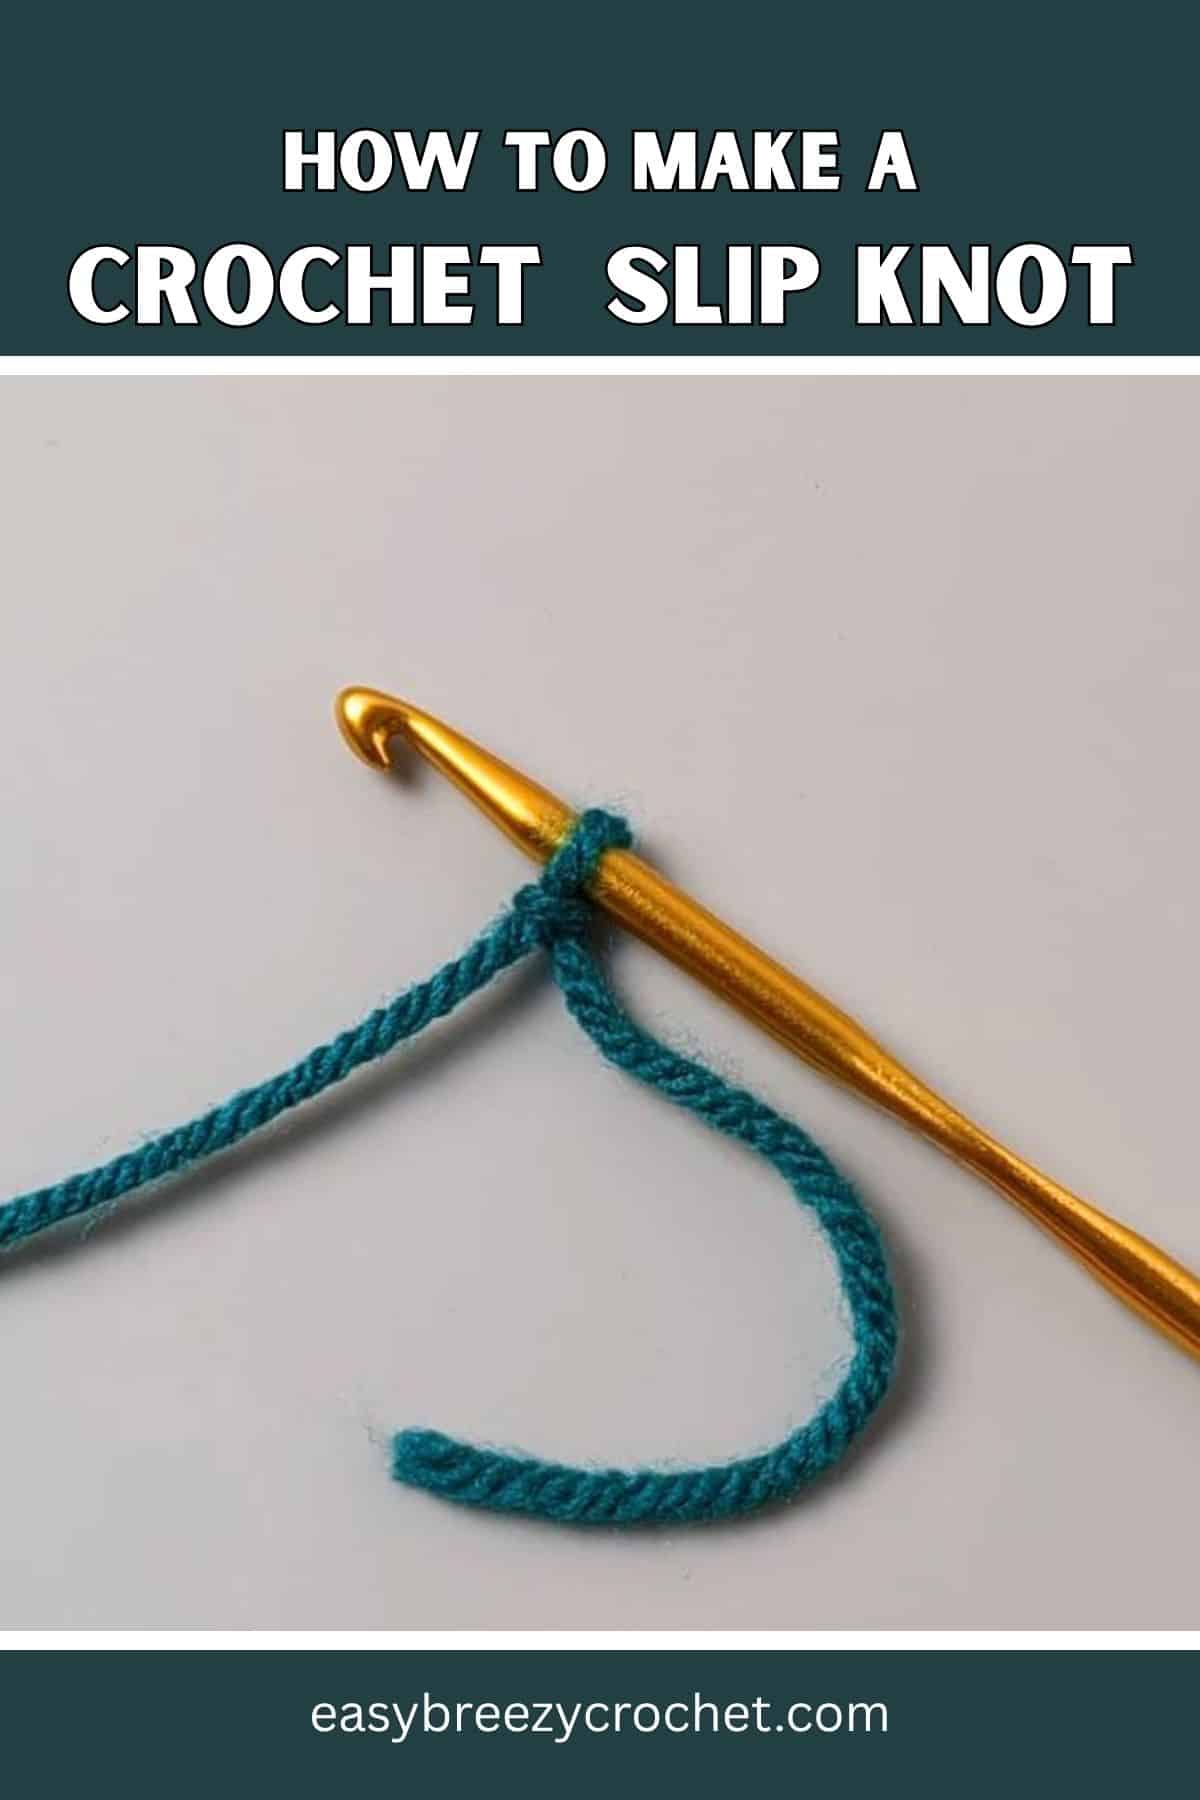
The slip knot is the very first step in almost every crochet project. It creates the adjustable loop that goes onto your hook and starts your stitches.
In this beginner-friendly guide, you'll learn exactly how to make a slip knot, when to use it, and how it fits into your crochet journey.
The crochet slip knot is part of a group of beginner techniques you can explore in our guide to basic crochet stitches.
Table of contents
Quick Steps: Slip Knot
- Make a loop with your yarn
- Pull yarn through the loop
- Place loop onto hook
- Tighten gently
Your slip knot is ready.
What is a Slip Knot?
A slip knot is an adjustable starting loop used to begin crochet projects.
It allows you to:
- Secure yarn onto your hook
- Adjust tension easily
- Start your foundation chain
When to Use a Slip Knot
You'll use a slip knot:
- At the beginning of almost every project
- Before making a chain stitch
- When starting new yarn
Step-by-Step Instructions
1. Make a loop - Cross yarn to form a loop
2. Pull yarn through - Grab yarn and pull through loop
3. Place on hook - Insert hook into loop
4. Tighten - Pull yarn ends to secure
Exclusive Printable Crochet Patterns
Be inspired and keep creating!
Join us in The Pattern Vault, Easy Breezy Crochet's exclusive community.
Connect with other crocheters from all around the world and gain access to an extensive library of printable PDF crochet patterns.
All patterns are ad-free and available to you when you want, allowing you to crochet in your own time. So, if you're stuck on inspiration or on the hunt for you next crochet project, the Pattern Vault is for you!
Step-by-Step Insturctions

1 - Unwind a length of yarn from the ball and hold the yarn in your right hand between your thumb and first finger about 10 inches (26 cm) from the start of the yarn, this will leave a tail hanging down.

2 - With your left hand pick up the yarn tail between your thumb and first finger about 4 inches (10 cm) down from the yarn in your right hand.
Next, bring the tail yarn in your left hand to meet the yarn in your right hand crossing the yarn at the top to form a circle.

3 - Pinch the crossover point between the fingers in your right hand and let the tail fall behind the formed circle.

4 - Use your thumb and first finger on your left hand to pull the tail through the circle to form a loop (but don't pull it all the way through).

5 - Gently pull the yarn (the length coming from the ball) in your right hand to tighten the yarn around the loop in your left hand.

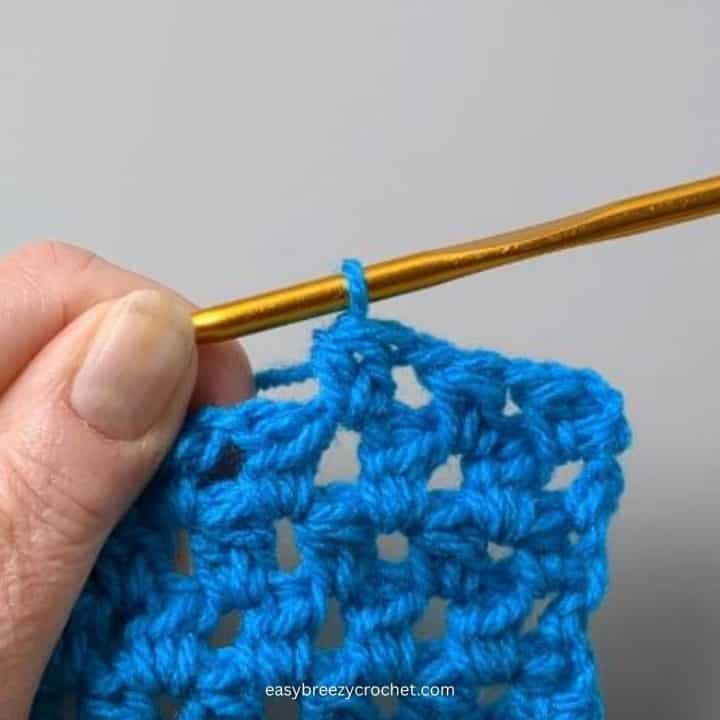
6 - Then slip the loop from your left hand onto the hook and gently pull on the tail to tighten the loop on the hook.
Watch How To Make A Slip Knot
Learn how to make a crochet slip knot.
Learn Basic Crochet in Order
Start here and build your skills:
Slip knot (you are here)
Crochet Slip Knot FAQs
No - it's adjustable and designed for crochet.
Most do, but some use alternatives like magic rings.
What To Learn Next
- Next step: Learn how to chain stitch (foundation of crochet)
New to crochet? Start with our crochet beginner essentials guide to get set up with the right tools and materials. Then follow our how to crochet for beginners guide for a step-by-step introduction to your first stitches.
Don't stop here...
Your next 50 crochet projects are ready inside the Pattern Vault - all printable, ad-free, and ready to download instantly.
Stay Connected
Pin this post - Pin now to and take your skills to the next level.
Leave a comment - We're excited to hear your thoughts! Leave a comment below and let us know what you think.
Share on Instagram or Facebook - Capture the beauty of your finished crochet projects and share it on Instagram or Facebook! Tag us @easybreezycrochet or #ebcrochetcreations so we can see your work!
Copyright Notice - This pattern and its contents are protected by copyright law. It may not be copied, altered, redistributed, resold, translated, or used to produce video tutorials in any format, either in whole or in part.
You are permitted to sell finished items made using this pattern. However, the written pattern itself may not be sold, shared, or distributed in any form. When marketing or displaying your finished items, please photograph your own work and refrain from using any of my original images.
Sharing Guidelines For Roundups - Bloggers you are welcome to include this pattern in roundup posts, as long as you use one photo and link directly back to the original post. For full details, please refer to my Terms of Use page.
Comments
No Comments