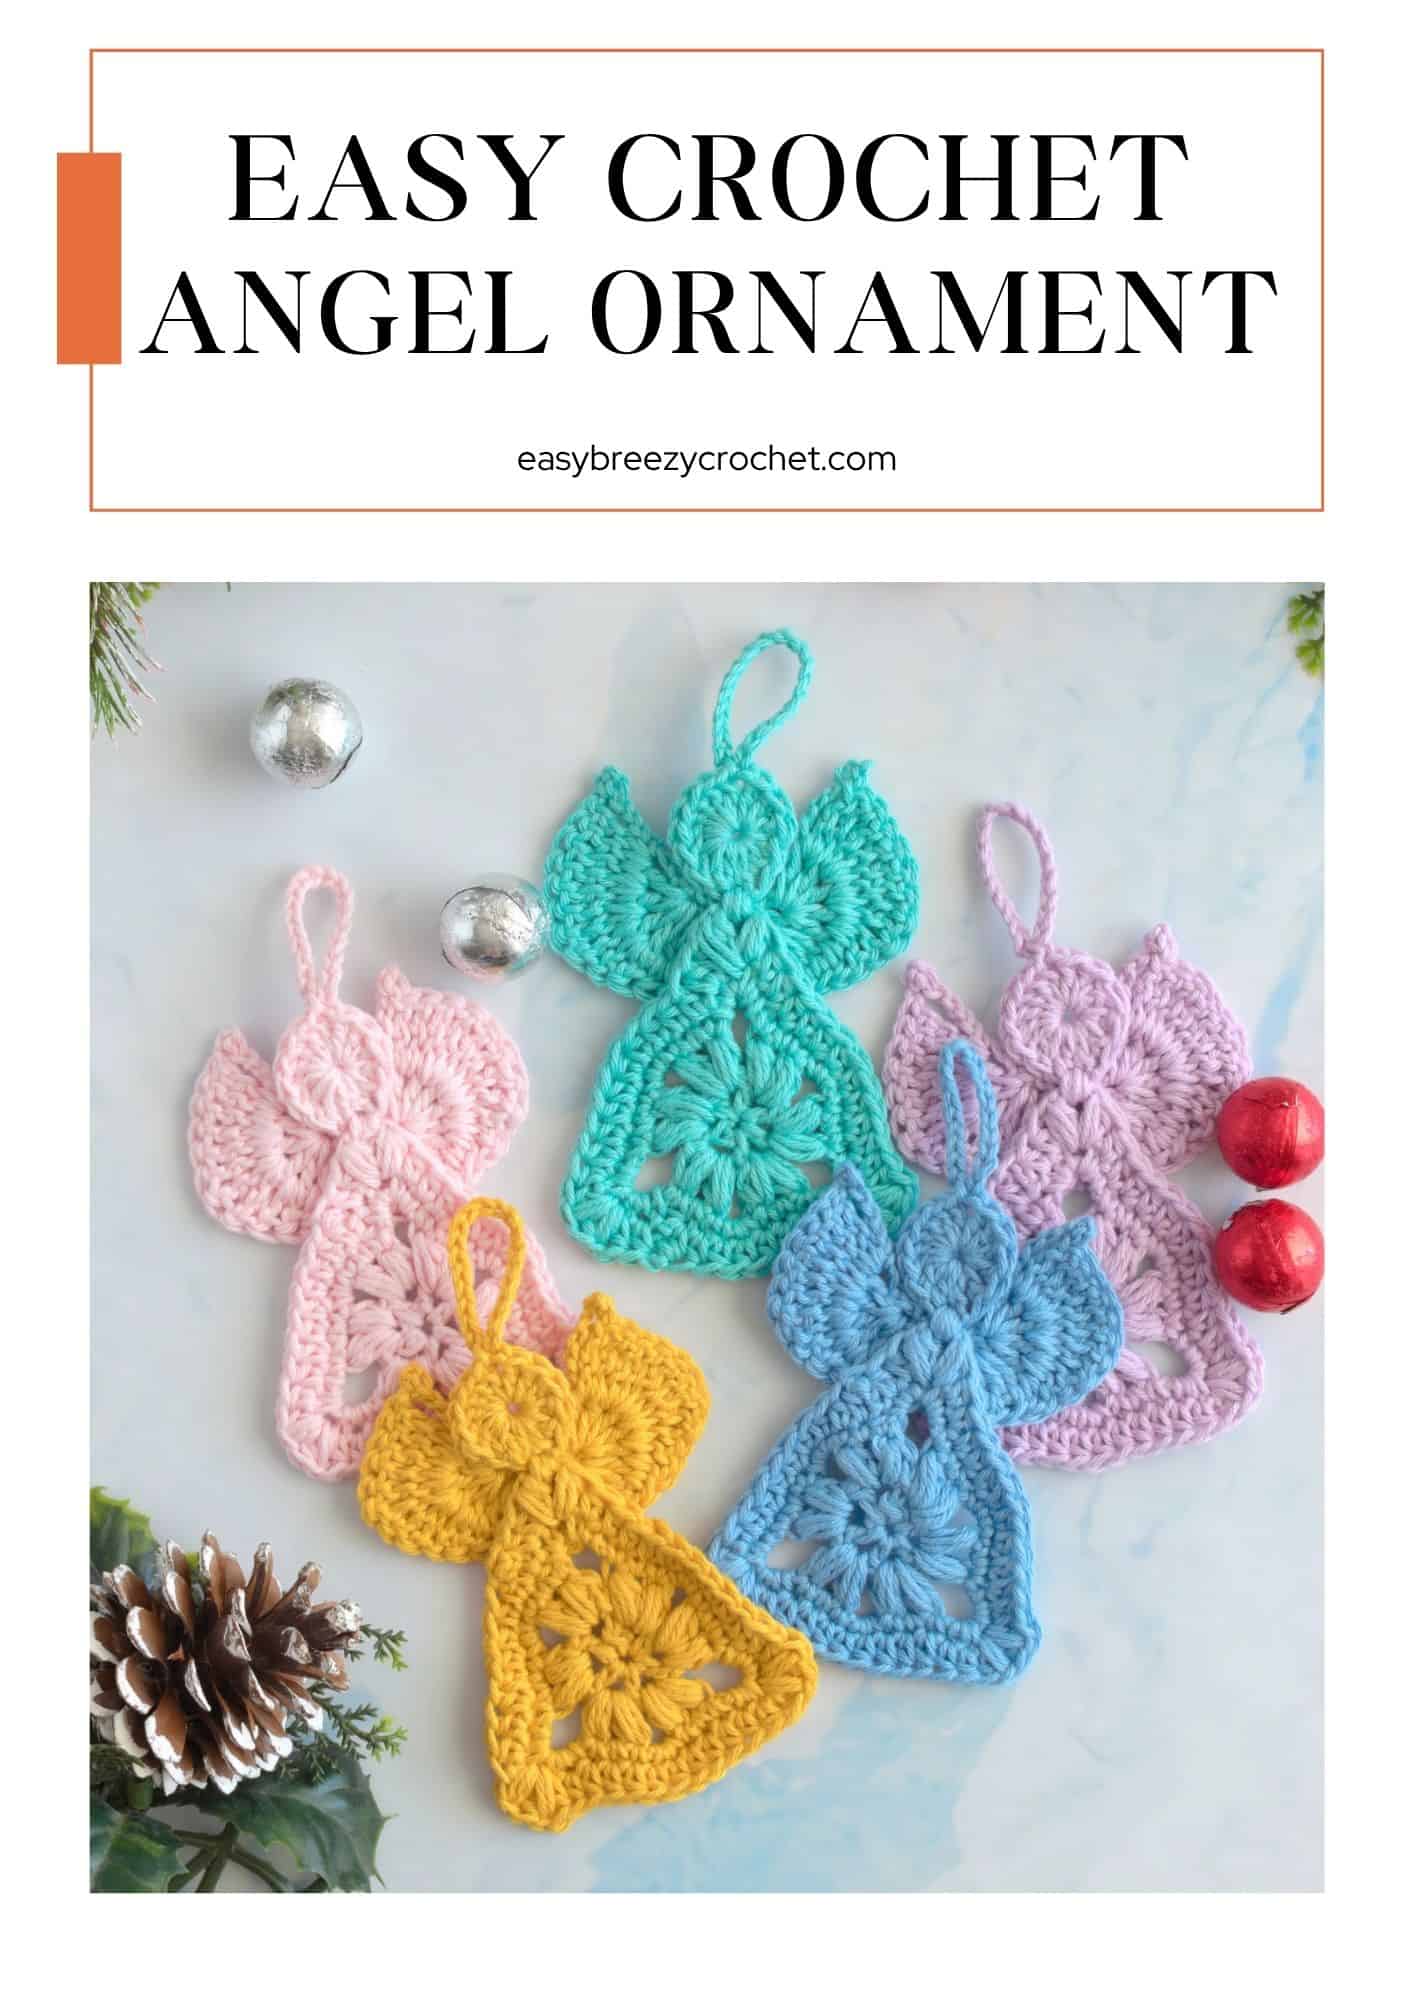
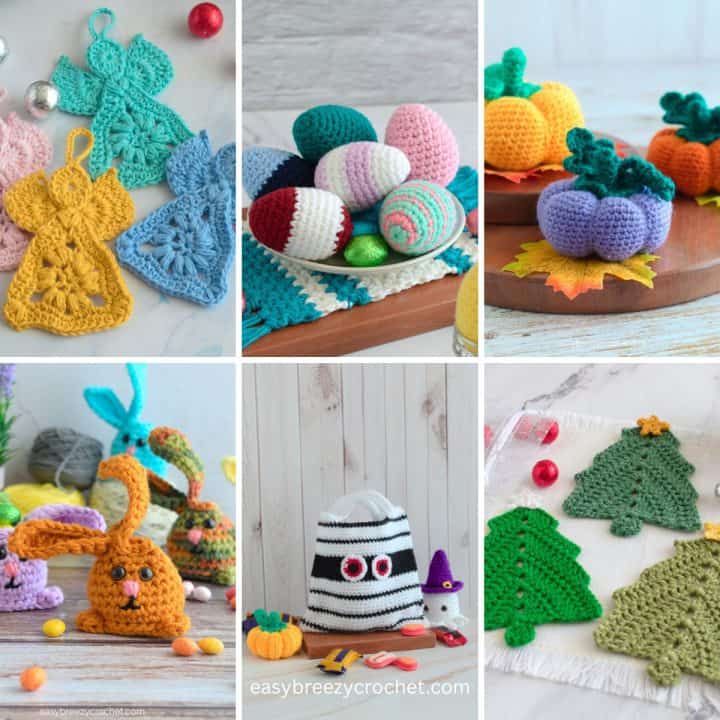
Add a festive touch to your Christmas tree, with this easy crochet angel ornament! The easy, step-by-step instructions and video tutorial make it perfect for any skill level.
Below, you will find the complete pattern, which includes a list of materials and required stitches to guide you through creating a beautiful angel ornament.

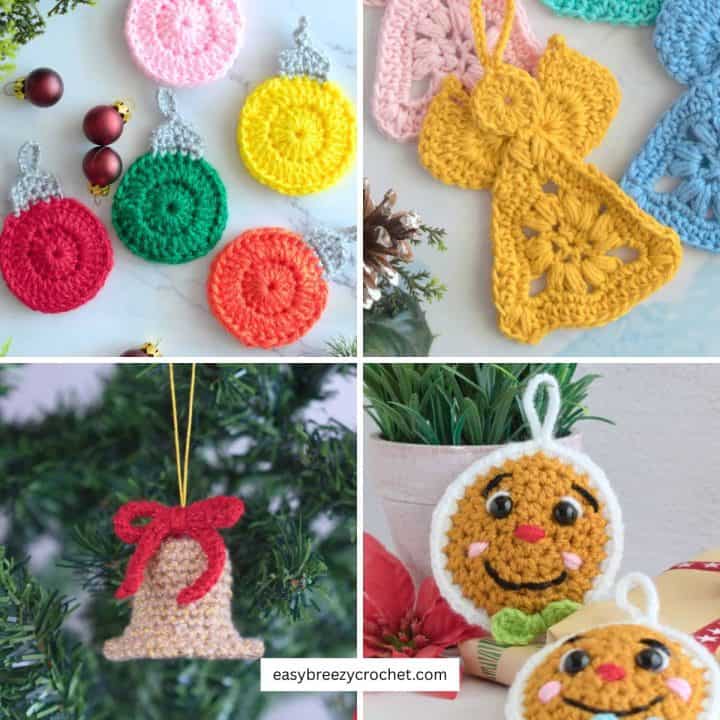
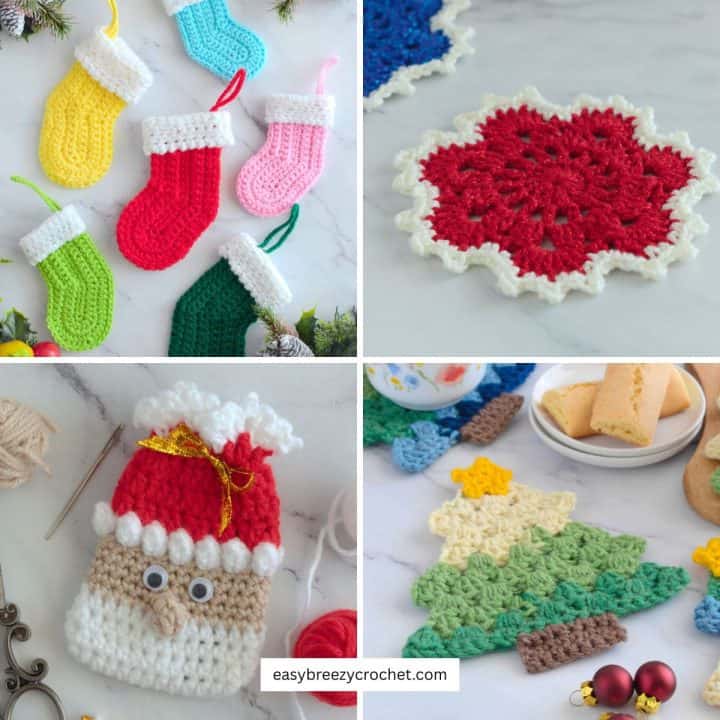
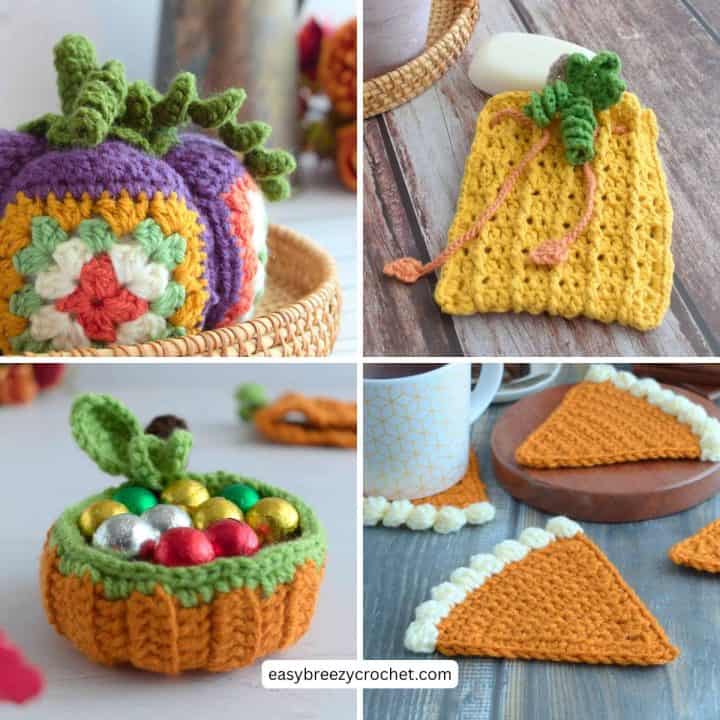
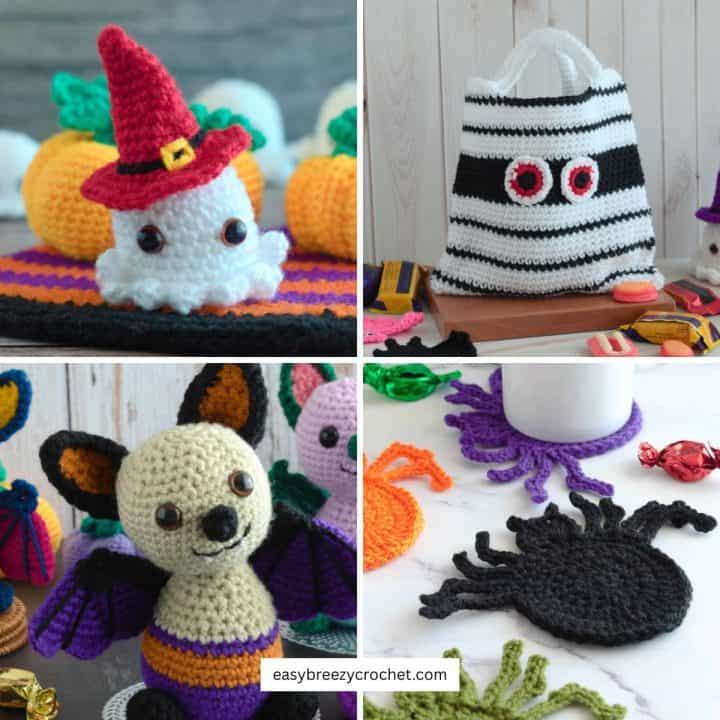
Looking for more festive decorations? Visit our holiday crochet projects guide.
Table of contents
About This Angel Crochet Pattern
- Low-Sew Design - This crochet angel pattern requires minimal sewing, making it a simple and enjoyable project for all skill levels, especially beginners.
- Quick to Make - This angel can be made in under 20 minutes, making it ideal for last-minute gifts or holiday decor.
- Beginner-Friendly - With easy-to-follow steps and video, this pattern is accessible for beginners who want to practice basic crochet stitches while creating something beautiful.
- Two-Part Structure - The angel consists of only two main parts - the body and the head/wings - allowing for a straightforward assembly.
- Perfect Scrap-Buster - Use leftover yarn scraps to create these angels, adding variety to your project without needing new materials.
Pattern Details
- Skill Level - Intermediate beginner
- Yarn Weight - #1 super fine (sock, fingering, baby, 4-ply)
- Hook Size - 3mm
- Finished Size - Approximately 2.5 inches (6.5 cm) across the base and 5 inches (12.5 cm) in height
- Time To Complete - For an experience crochet under 20 minutes
Exclusive Printable Crochet Patterns
Be inspired and keep creating!
Join us in The Pattern Vault, Easy Breezy Crochet's exclusive community.
Connect with other crocheters from all around the world and gain access to an extensive library of printable PDF crochet patterns.
All patterns are ad-free and available to you when you want, allowing you to crochet in your own time. So, if you're stuck on inspiration or on the hunt for you next crochet project, the Pattern Vault is for you!
Stitches Used
For this crochet Christmas angel ornament, you need to know how to chain stitch, single crochet, half double crochet, double crochet, treble crochet, and slip stitch.
You will also need to be familiar with a few special stitches like puff stitch and picot stitch.
Crochet Puff Stitch
Improve your crochet game with the fun Crochet Puff Stitch! This pattern needs you to be know how to make this stitch. If you are not sure how to do it, check out our guide on making a crochet puff stitch.
Crochet Picot Stitch
This easy crochet project uses a picot stitch as a decorative feature. If you do not know how to make this read our blog post on how to crochet picot stitch to learn more.
Yarn and Hook Information
For these angel ornaments, we used 100% cotton yarn with approximately 20 wraps per inch (WPI).
This is a #1 super fine yarn (sock, fingering, baby, 4-ply) with a recommended hook size of 3.25mm. We opted for a 3mm hook instead to create a slightly firmer stitch.
This pattern also works beautifully with other yarn types, such as acrylic or cotton blends, and can be adapted to different weights.
Feel free to experiment with various hook sizes to achieve your preferred look for your angel ornaments.
What You Will Need
Yarn
#1 super fine (sock, fingering, baby, 4-ply) 100% cotton yarn
- Color of choice - 14.2 yards (13 meters)
Crochet hook
- 3mm
Notions
- Scissors
- Yarn needle
Finished Size

Finished Size
When made with the recommended yarn and hook size, the completed crochet angel ornament measures approximately 2.5 inches (6.5 cm) across the base and 5 inches (12.5 cm) in height from the base to the top of the hanging loop.
Gauge
The gauge is not so important for this project.
Stitches and Abbreviations - US Terms
- ch- chain stitch
- sc - single crochet
- dc - double crochet
- hdc - half double crochet
- tr - treble (triple) stitch
- puff - puff stitch - see special stitches below
- picot - picot
- st/sts - stitch/stitches
- sl st - slip stitch
- rpt - repeat
- YO - yarn over hook
- hk - hook
- [ ] - at the end of a round indicates the number of stitches in that round
Special Stitches
Puff - YO, insert hk into st, YO, pull yarn through st (3 loops on hk). YO, insert hk in the same stitch, YO, pull up loop (5 loops on hk). YO, insert hk in same st, YO, pull up loop (7 loops on hk). YO and pull through all loops on hk, ch1.
Picot - ch3, insert hk into 3rd ch from hk, YO pull the yarn back through both the stitch and the loop on the hk
Ready to start crocheting?
Download the ad-free printable PDF and keep the pattern at your fingertips - no scrolling, no ads, no distractions. Get yours in our shop.
Pattern Instructions
Body - Foundation

Foundation - chain 3, slip stitch into the 1st chain to make a ring.
Abbreviated Version
Foundation - ch3, sl st into 1st ch to make a ring.
Round One
Round 1 - chain 3 (count this as 1 double crochet and a chain 1), into the ring make * 1 double crochet and chain 1, repeat from * 5 times, then slip stitch into the 1st st to join. [6 double crochet and 6 x chain 1 space in this round]
Abbreviated Version
Rnd 1 - ch3 (counted as a 1dc, and ch1), into ring *1dc, ch1, rpt from *5 times, sl st into 1st st to join. [6dc, 6 x ch-1 sps]
Round Two
Round 2 - slip stitch into the chain 1 space, chain 2 (do not count this as a stitch) make *2 puff stitches in the chain 1 space, then chain 2 and make 2 puff stitches in the next chain 1 space, chain 4, repeat from * 3 times, then slip stitch into the top of the 1st puff stitch to join. [12 puff stitches, 3 x chain 2 spaces, 3 x chain 4 spaces in this round]
Abbreviated Version
Rnd 2 - sl st into ch-1 sp, ch2 (not counted as a st), make * 2puffs in the ch-1sp, ch2, 2puffs in next ch-1 sp, ch4, rpt from * 3 times, sl st into top of 1st puff to join. [12 puffs, 3 x ch-2sps, 3 x ch-4 sps]
Round Three
Round 3 - chain 1 (do not count this as a stitch), make 1 single crochet in the same space as chain 1, make 1 single crochet in the space between the puffs, then make 1 single crochet in the next puff stitch, then make 2 single crochet in the chain 2 space, then make * 1 single crochet in the next puff stitch, 1 single crochet in the space between the puffs, 1 single crochet in the next puff stitch, then make (2 single crochet, chain 2, and 2 single crochets) int eh chain 4 space, then make 1 single crochet in the next puff, 1 single crochet in the space between the puffs, and 1 single crochet in the next puff stitch, then make 2 single crochet in the chain 2 space, repeat from * twice, then make 1 single crochet in the next puff stitch, 1 single crochet in the space between the puffs, 1 single crochet in the next puff stitch, (2 single crochet, chain 2, 2 single crochet) in the chain 4 space, slip stitch inot the top of the 1st single crochet to join. [36 single crochet, 3 x chain 2 spaces in this round]
Abbreviated Version
Rnd 3 - ch1 (not counted as an st), 1sc in same sp as ch-1, 1sc in sp between puffs, 1sc in next puff, 2sc in ch-2 sp, *1sc in puff, 1sc in sp between puffs, 1sc in next puff, (2sc, ch2, 2sc) in ch-4 sp, 1sc in puff, 1sc in sp between puffs, 1sc in next puff, 2sc in ch2 sp, rpt from * twice, 1sc in puff, 1sc in sp between puffs, 1sc in next puff, (2sc, ch2, 2sc) in ch-4 sp, sl st into top of 1st sc to join. [36sc, 3 x ch-2 sps]
✨ You're almost there! ✨
To unlock the final steps and complete your pattern, create a free account with Grow.me. below.
Make sure to tick the box to subscribe to our newsletter and stay up to date with the latest patterns, tips, and more!
Once you're signed up, you'll get instant access to finish your project and enjoy exclusive content in the future.
Already signed up? Hit the button below and select 'Switch to Log In' to pick up where you left off and finish your project!
Head and Wings - Foundation
Foundation, head - chain 3, slip stitch into the 1st chain to make a ring.
Abbreviated Version
Foundation, head - ch3, sl st into 1st ch to make a ring.
Round One
Round 1 - chain 2 (do not count this as a stitch), make 7 double crochet in the ring, then chain 20, slip stitch into the 1st chain, then make 7 double crochet, slip stitch into the 1st stitch to join, chain 1, turn. [14 double crochets and 1 x ch-20 hanging loop in this round]
Abbreviated Version
Rnd 1 - ch2 (not counted as a st), 7dc into ring, ch20 sl st into 1st ch, 7dc, sl st into 1st st to join, ch1, turn. [14dc, 1 x ch-20 hanging loop]
Attach head to body

With right sides together, sl st the head to the body - insert hk in same sp ch-1 on the head, then insert hk into any ch-2 sp of the body and sl st together.
Wings - While working the wings, keep the head folded down against the body.
Row One
Row 1, wings - chain 3 (count this as 1 double crochet and a chain 1 space0, in the same space as chain 3 (the slip stitch space made to join the head to the body) make * 1 double crochet and chain 1, repeat from * 4 times, then make 1 double crochet, turn. [6 double crochets and 5 x chain 1 space in this round]
Abbreviated Version
Row 1, wings - ch3 (counts as 1dc and ch-1), in same sp as ch-3 (the sl st made to join the head and body) make * 1dc, ch1, rpt from * 4 times, then make 1dc, turn. [6dc, 5 x ch-1 sps]
Row Two
Row 2 - chain 3 (count this as 1 double crochet), then make 4 double crochet into the chain 1 space, then make (3 double crochet, and 1 half double crochet) in the next chain 1 space, then make 1 single crochet in the next chain 1 space, then make (1 half double crochet and 3 double crochet) in the next chain 1 space, then make 5 double crochets in the last space, turn. [16 double crochets, 2 half double crochets, and 1 single crochet in this round]
Abbreviated Version
Row 2 - ch3 (counts as 1dc), 4dc into ch-1 sp, (3dc, 1hdc) in next ch-1 sp, 1sc in next sp, (1hdc, 3dc) in next ch-1 sp, 5dc in next, turn. [16dc, 2hdc, 1sc]
Row Three
Row 3 - chain 4 (count this as 1 treble stitch, make a picot stitch, then make 2 treble in the same stitch as chain 4, then make 3 treble in the next 2 stitches, then make 2 double crochet in the next stitch, then make 1 half double crochet in the next 3 stitches, then make 1 single crochet in the next 4 stitches, then make 1 half double crochet in the next 3 stitches, 2 double crochets in the next stitch, 3 treble in the next 2 stitches, then (2 treble, picot, and chain 4) in the last stitch, slip stitch into the top of chain 3 to join, cut the yarn, leave a longish tail for sewing and fasten off.
Abbreviated Version
Row 3 - ch4 (counts as tr), picot, 2tr in same st as ch-4, 3tr in next 2-sts, 2dc in next, 1hdc in next 3-st, 1sc in next 4-sts, 1hdc in next 3-sts, 2dc in next st, 3tr in next 2-sts, (2tr, picot, ch4) in last st, sl st into top of ch-3 to join, cut yarn, leave a longish tail for sewing, and fasten off.

Don't stop here...
Your next 50 crochet projects are ready inside the Pattern Vault - all printable, ad-free, and ready to download instantly.
Finishing
Pull the head up and away from the body, and gently tug the wings into shape.
Thread the yarn tail from the wings onto a needle and weave it down the back of the wing, and down to sit between the single crochet stitches of the last round.
Secure the base of the wings to the base of the 2 puff stitches on the body.
If necessary wet block the angel to give it a better shape. Or, if preferred, stiffen the ornament with fabric starch or PVA glue diluted with a small amount of water, pin it to a flat surface, and allow it to dry.
Video Instructions
Learn how to make these easy crochet stars with our video tutorial. This step by step guide walks you through the process.
If you enjoyed making this crochet angel ornament, you might also love our "Angelica" sitting angel pattern. This easy amigurumi design is perfect for intermediate beginners looking to expand their skills!
Easy Go-To Stitch Guide
New to crochet? Make every stitch count! Grab this free crochet cheat sheet with easy-to-follow guides for basic stitches (US terms) and more-perfect for tackling any pattern with confidence.
Download your free Crochet Cheat Sheet (printable PDF)
Print it, save it on your phone, or keep it right next to you while crocheting.
Related Guides
- Find gift ideas in our crochet gifts and small projects hub.
- Explore decorative designs in our crochet home and lifestyle hub.
Stay Connected
Pin this post - Pin now to and take your skills to the next level.
Leave a comment - We're excited to hear your thoughts! Leave a comment below and let us know what you think.
Share on Instagram or Facebook - Capture the beauty of your finished crochet projects and share it on Instagram or Facebook! Tag us @easybreezycrochet or #ebcrochetcreations so we can see your work!
Copyright Notice - This pattern and its contents are protected by copyright law. It may not be copied, altered, redistributed, resold, translated, or used to produce video tutorials in any format, either in whole or in part.
You are permitted to sell finished items made using this pattern. However, the written pattern itself may not be sold, shared, or distributed in any form. When marketing or displaying your finished items, please photograph your own work and refrain from using any of my original images.
Sharing Guidelines For Roundups - Bloggers you are welcome to include this pattern in roundup posts, as long as you use one photo and link directly back to the original post. For full details, please refer to my Terms of Use page.

Dina Scherba says
Adorable! Thank you for sharing. Can these be attached to make a blanket? I'm new to crocheting...
Harriet says
These can be used as an applique to decorate blankets. When making the omit the hanging loop.