Create a beautiful, feminine scarf with colorful popcorn flower granny squares and a soft cream granny stitch border.
The Harmony crochet scarf is an easy intermediate-beginner pattern that looks intricate but works up surprisingly quickly.
With no sewing required and step-by-step instructions, this is the perfect weekend crochet project.
Looking for more wearable ideas check out our crochet accessories patterns page.
Table of contents
- Harmony Granny Square Crochet Scarf
- Why You'll Love This Crochet Scarf Pattern
- Pattern Details
- About the Popcorn Flower Granny Squares
- Decorative Edging Details
- Choosing the Right Yarn
- What You Will Need
- Finished Size & Gauge
- Stitches and Abbreviations (US Terms)
- Pattern Notes
- How To Make A Granny Square Scarf
- Joining tips
- Perfect for Every Season
- Stay Connected
- Comments
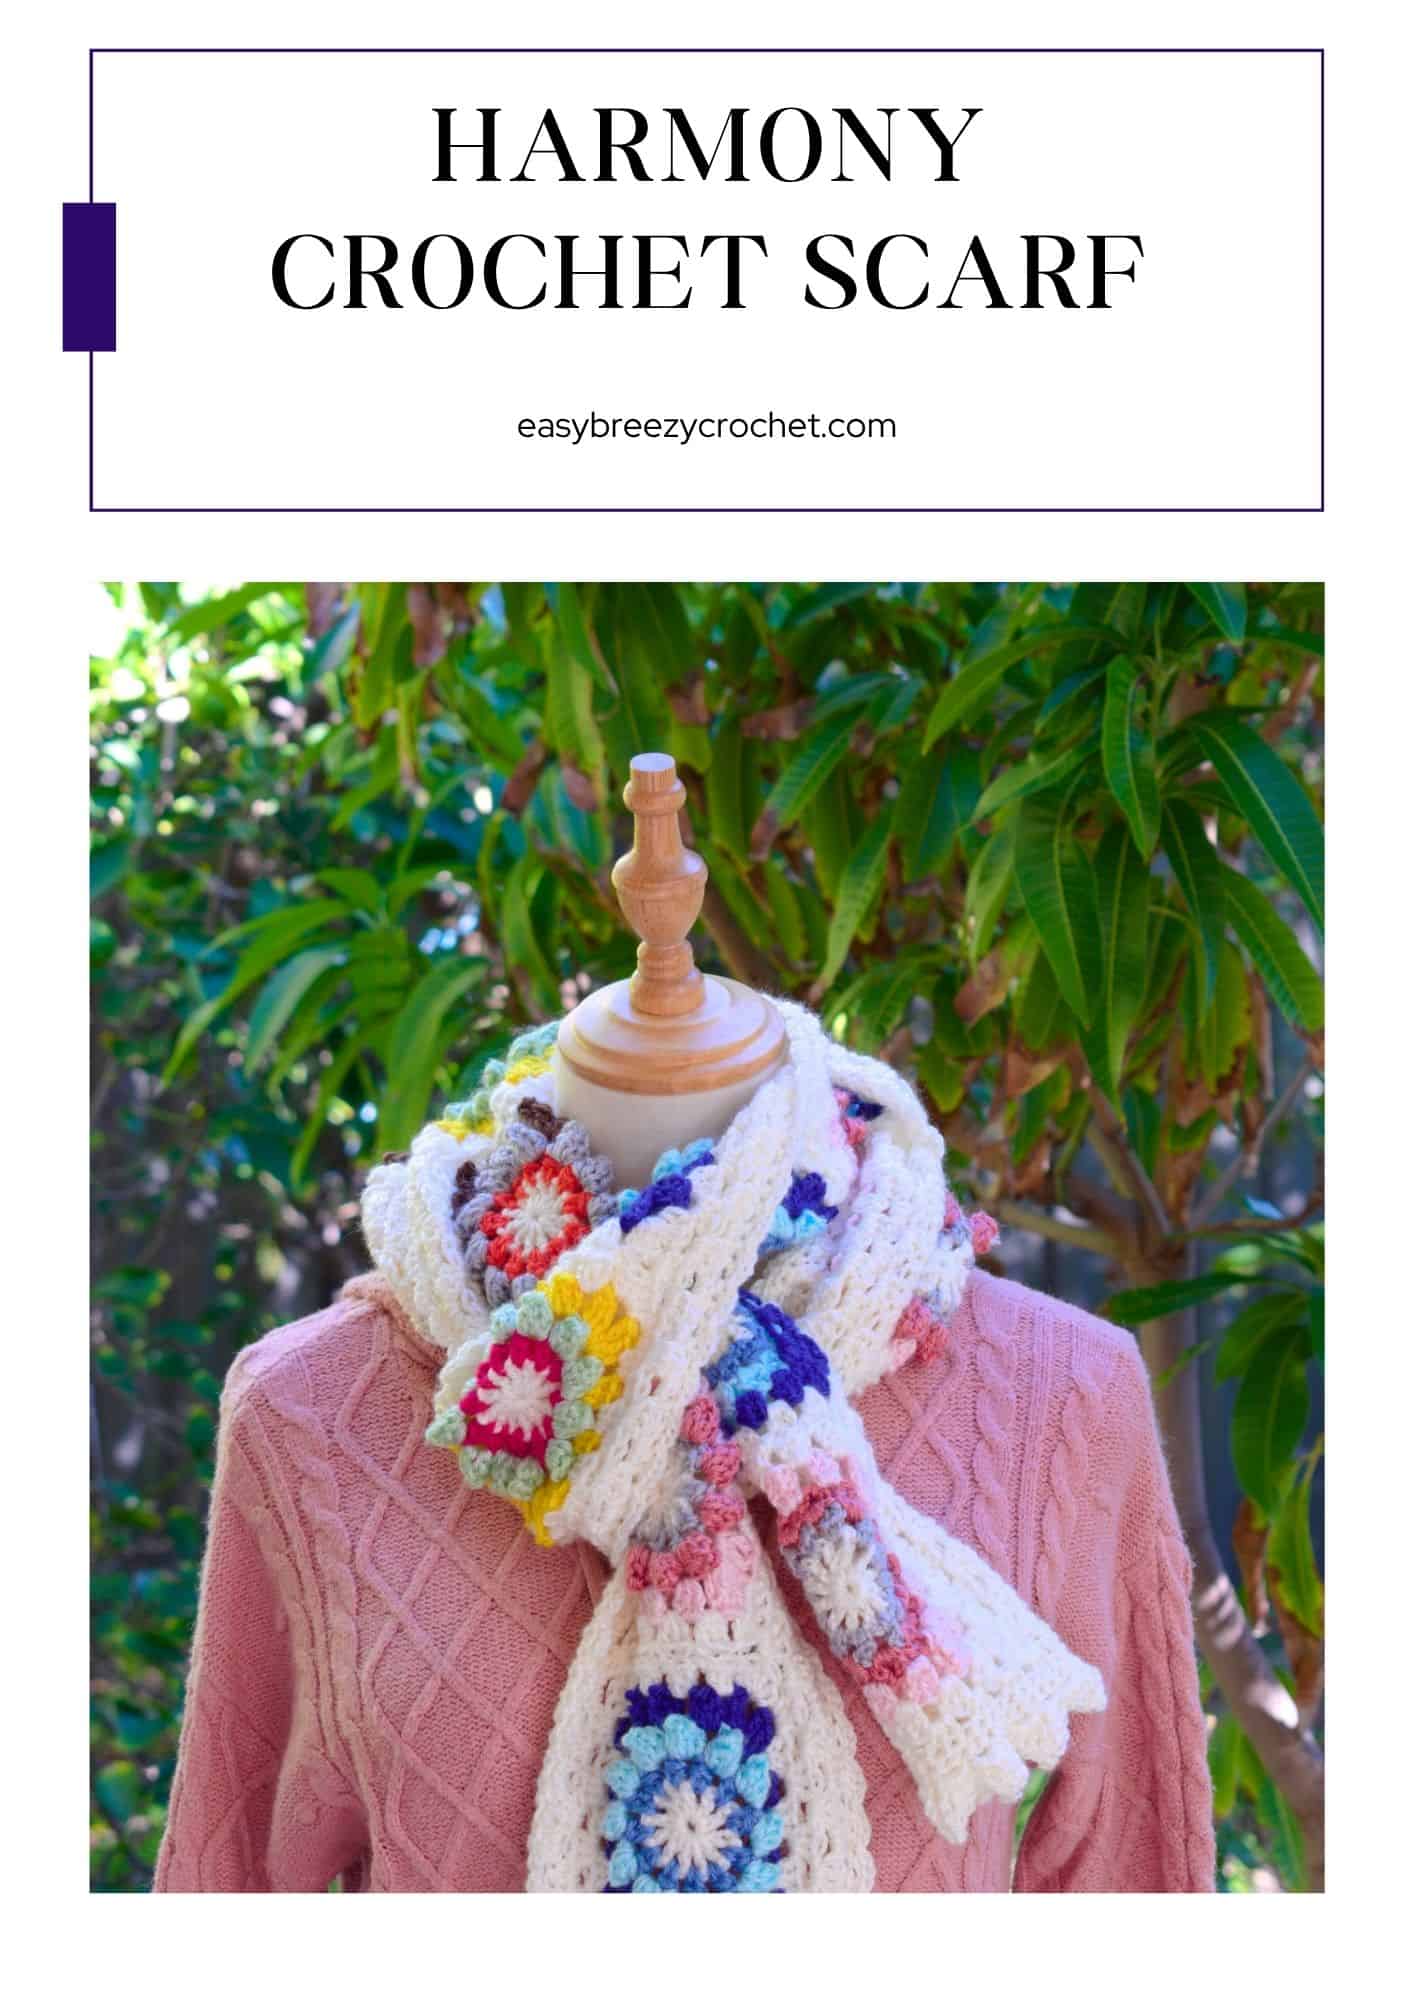
Harmony Granny Square Crochet Scarf
Looking for a crochet scarf pattern that's eye-catching, easy to make, and wearable all year round?
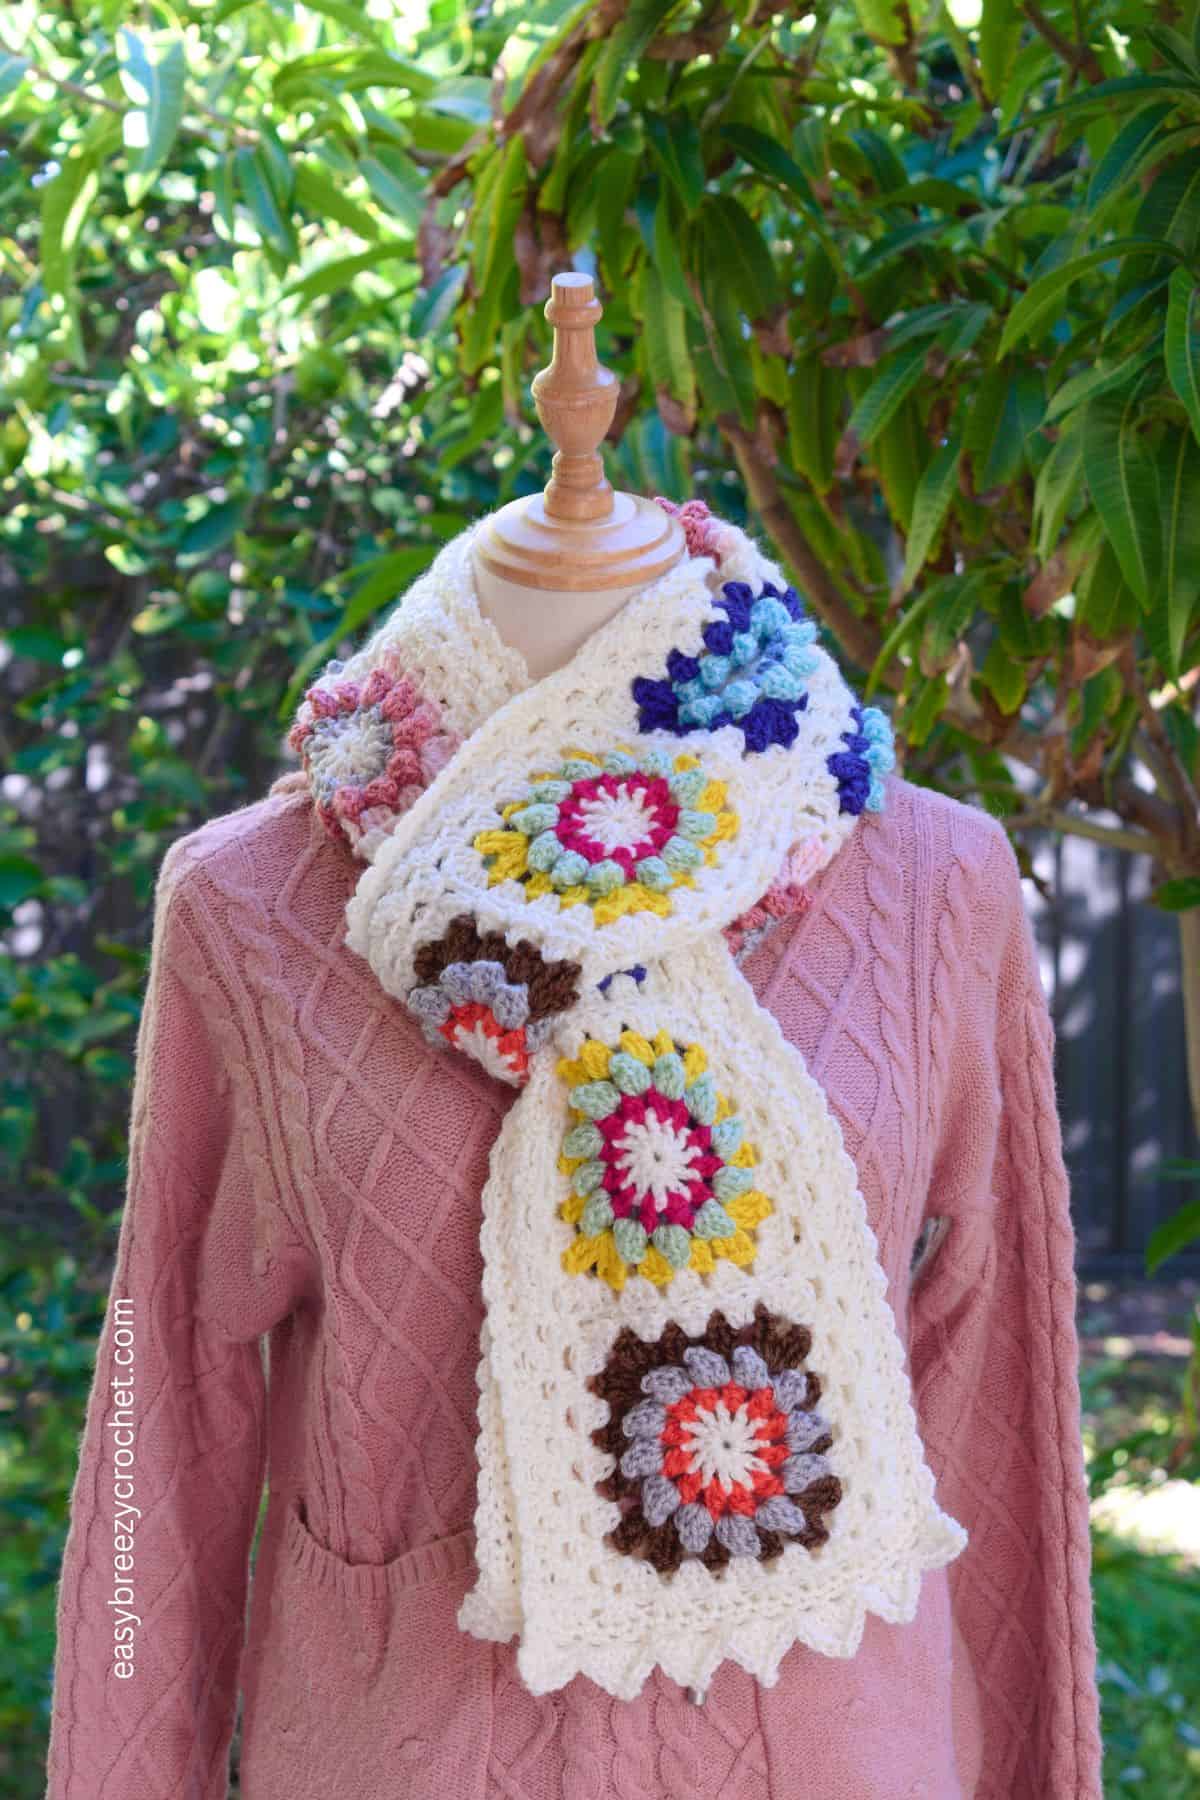
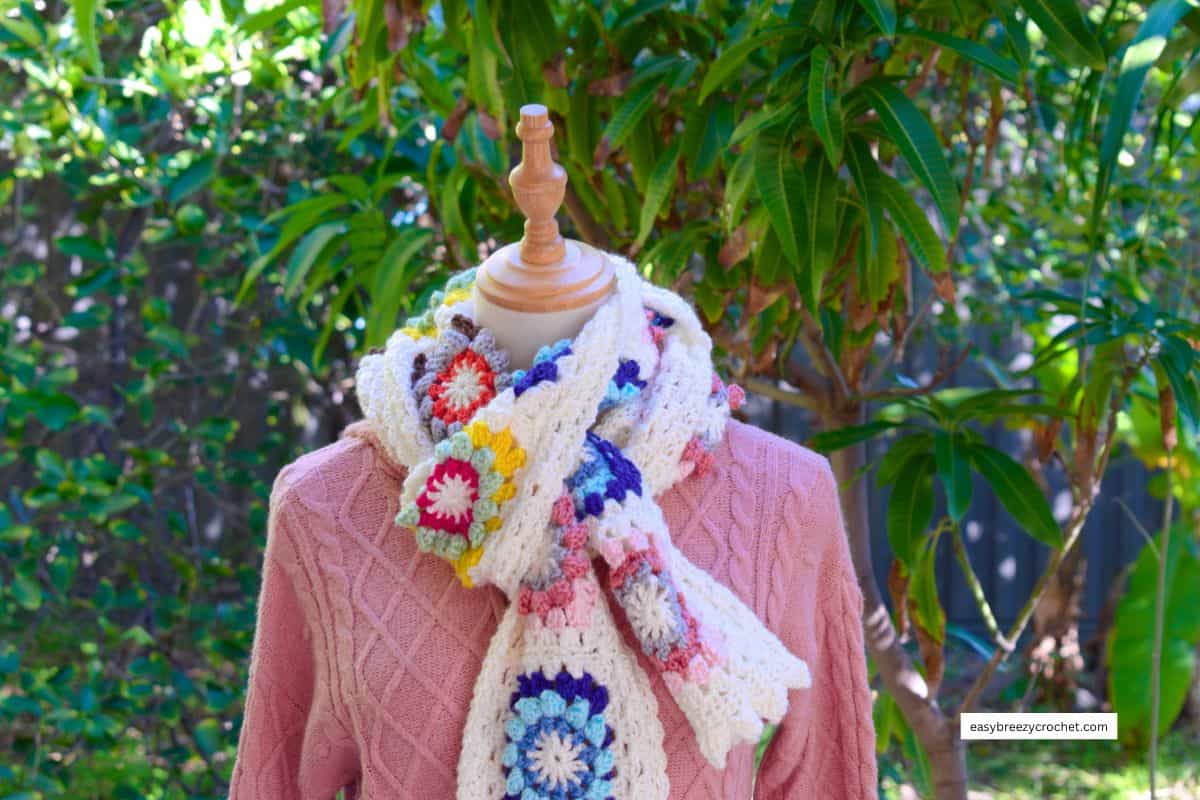
The Harmony crochet scarf combines cheerful popcorn flower granny squares with classic granny stitch to create a lightweight accessory you'll reach for in every season.
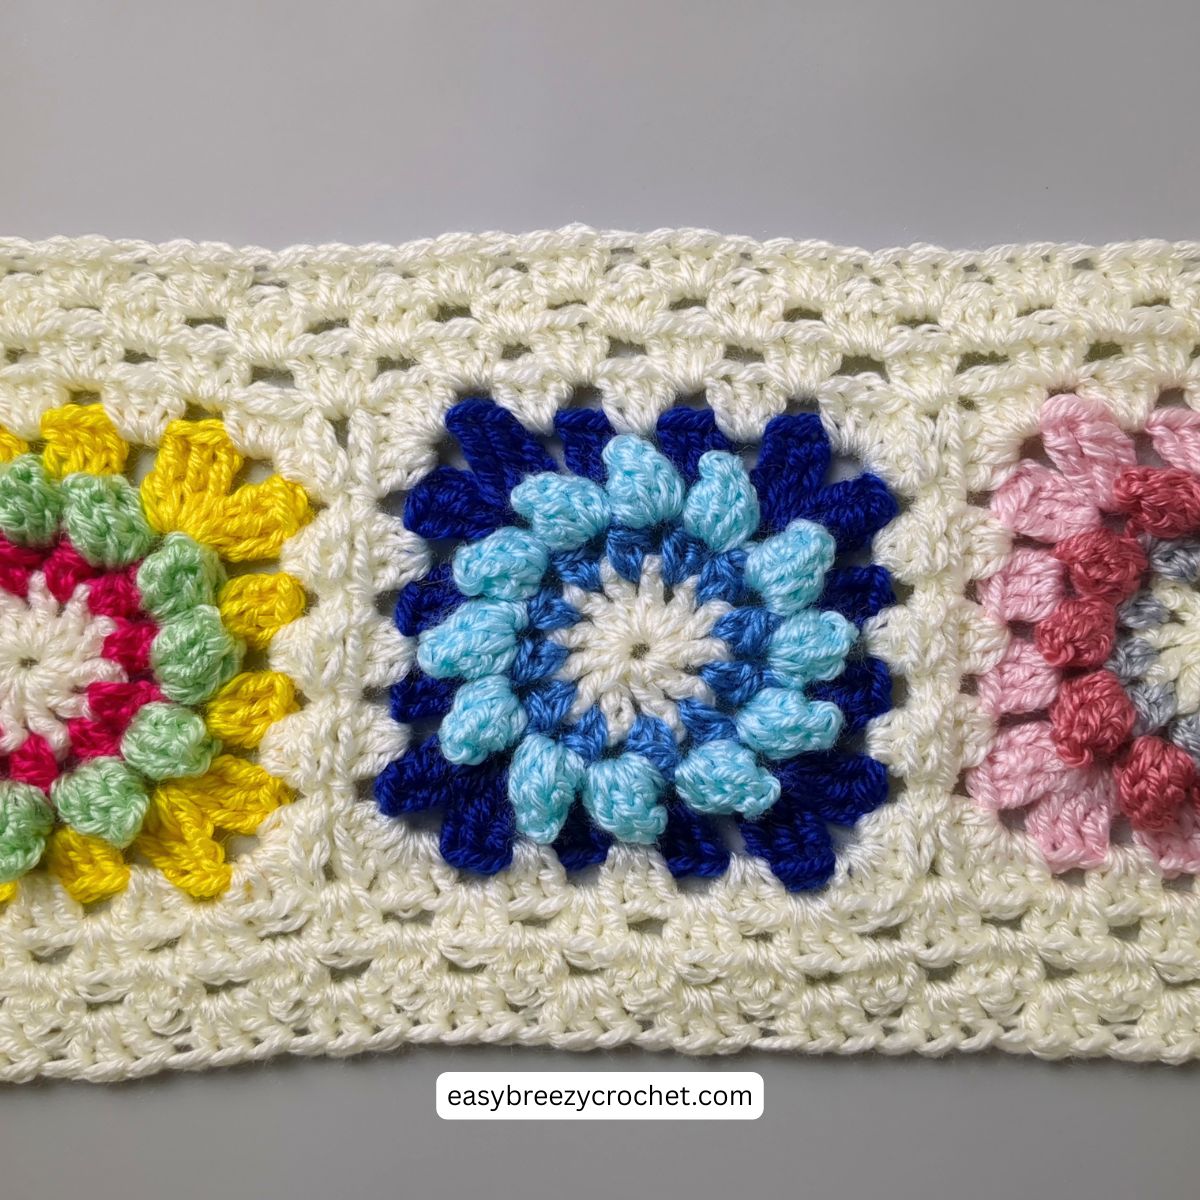
Featuring four colourful flower squares with pink, navy, yellow, and brown backgrounds, this scarf is framed in a soft cream border that ties everything together beautifully.
The result is a scarf that feels both modern and timeless, with a feminine style that complements everything from jeans and a sweater to your favorite dress.
Although the finished scarf looks detailed and intricate, it's designed with the confident beginner in mind.
If you're comfortable with basic crochet stitches and ready to learn a few new techniques, you'll find this project both fun and rewarding.
Best of all, there's no sewing required to join the squares. The motifs are joined as you go, so once you've woven in your ends, your scarf is ready to wear.
Whether you're making it for yourself, creating a handmade gift, or using up your favorite colors of lightweight yarn, this scarf is a satisfying weekend project you'll love crocheting.
Why You'll Love This Crochet Scarf Pattern
- Easy intermediate-beginner friendly design
- Features beautiful 12-petal popcorn flower granny squares
- No sewing required for joining motifs
- Works up quickly over a weekend
- Includes step-by-step instructions and photos
- Lightweight and comfortable for year-round wear
- Perfect for gifting or treating yourself
Pattern Details
- Skill level - Intermediate beginner
- Finished size - Approximately 70 inches long × 7 inches wide
- Hook size - 5 mm crochet hook
- Yarn weight - #3 light yarn (approximately 14 wraps per inch)
- Time to complete - easy one day or a slow weekend project depending on you skill level
- Sewing required - no
- Construction - Popcorn flower granny squares joined as you go, finished with granny stitch and decorative edging
About the Popcorn Flower Granny Squares
The scarf is worked by crocheting individual popcorn flower granny squares and joining them as you go.
Once all motifs are connected, a cream granny stitch border is added, followed by chain stitch edging along the long sides and decorative picot triangles at each end.
Decorative Edging Details
The finishing touches make this scarf truly special.
The long sides are bordered with a simple chain stitch edging that keeps the design clean and elegant.
On the short ends, a row of delicate triangles worked with half double crochet, double crochet, and picot stitches creates a subtle fringe effect without adding bulk.
These decorative details elevate the scarf while keeping it practical and easy to wear.

Choosing the Right Yarn
For the best drape and softness, I recommend choosing a soft #3 acrylic yarn.
When designing this scarf, I made a test version using a different acrylic yarn that felt noticeably stiffer.
Although the scarf looked lovely, it lacked the fluid drape that makes this design so comfortable to wear.
It's a great reminder that not all acrylic yarns are created equal. Fibre content is important, but texture, softness, and flexibility matter just as much.
When selecting your yarn, look for options that feel soft and supple rather than firm or rigid. A yarn with good drape will allow the finished scarf to move naturally and showcase the textured flower motifs beautifully.
Designer Tip - Not sure which yarn to go for? A simple way to decide is to buy one ball first and crochet a test square in a single color. It's the best way to feel how the yarn behaves - especially its softness and drape - before investing in enough yarn for the entire scarf.
What You Will Need
Yarn
#3 Light (light worsted, DK, 8ply) yarn weight, with 14 WPI (wraps per inch) in the following colors:
- Color A, cream - 356 - 465 yards (325m - 425 meters)
- Color B, silver - 42 - 53 yards (38 - 48 meters)
- Color C, rose - 27 - 38 yards (25 - 35 meters)
- Color D, pink - 27 - 38 yards (25 - 35 meters)
- Color E, royal blue - 14 - 25 yards (13- 23 meters)
- Color F, light blue - 27 - 38 yards (25 - 35 meters)
- Color G, navy - 27 - 38 yards (25- 35 meters)
- Color H, pale green - 14 - 25 yards (13 -23 meters)
- Color I, fuchsia - 27 - 38 yards (25- 35 meters)
- Color J, yellow - 27 - 38 yards (25 -35 meters)
- Color K, orange - 14 - 25 yards (13 - 23 meters)
- Color L, brown - 27 - 38 yards (25 - 35meters)
Crochet Hook
- 5mm
Notions
- Scissors
- Yarn needle
Finished Size & Gauge
Finished size - about 80 inches (2meters) long and 7 inches (18cm) wide
Gauge - use the finished size of square rounds 1 - 4, they should be about 3.75 inches (9cm) square
Stitches and Abbreviations (US Terms)
- ch - chain
- col - color
- dc - double crochet
- hdc - half double crochet
- HDC2CL - half double crochet cluster stitch
- pc - popcorn stitch
- picot - picot
- rnd - round
- rpt - repeat
- sl st - slip stitch
- sp/sps - space/spaces
- st/sts - stitch/stitches
- tr - treble stitch
- [ ] - at the end of a round, indicates the number of stitches in that round
Pattern Notes
Make 16 squares in the following colorways
Rose and Silver - 4 squares
- Foundation, Rnd 1 - Color A, cream
- Rnd 2 - Color B, silver
- Rnd 3 - Color C, rose
- Rnd 4 - Color D, pink
Ocean Blues - 4 squares
- Foundation, Rnd 1 - Color, A - cream
- Rnd 2 - Color E - royal blue
- Rnd 3 - Color F - light blue
- Rnd 4 - Color G - navy
Spring Garden Colors - 4 squares
- Foundation, Rnd 1 - Color A, cream
- Rnd 2 - Color H, pale green
- Rnd 3 - Color I, fuchsia
- Rnd 4 - Color J, yellow
Autumn Harvest Tone - 4 squares
- Foundation, Rnd 1 - Color A, cream
- Rnd 2 - Color K, orange
- Rnd 3 - Color B, silver
- Rnd 4 - Color L, brown
Ready to start crocheting?
Download the ad-free printable PDF and keep the pattern at your fingertips - no scrolling, no ads, no distractions. Get yours in our shop.
How To Make A Granny Square Scarf
Granny Squares
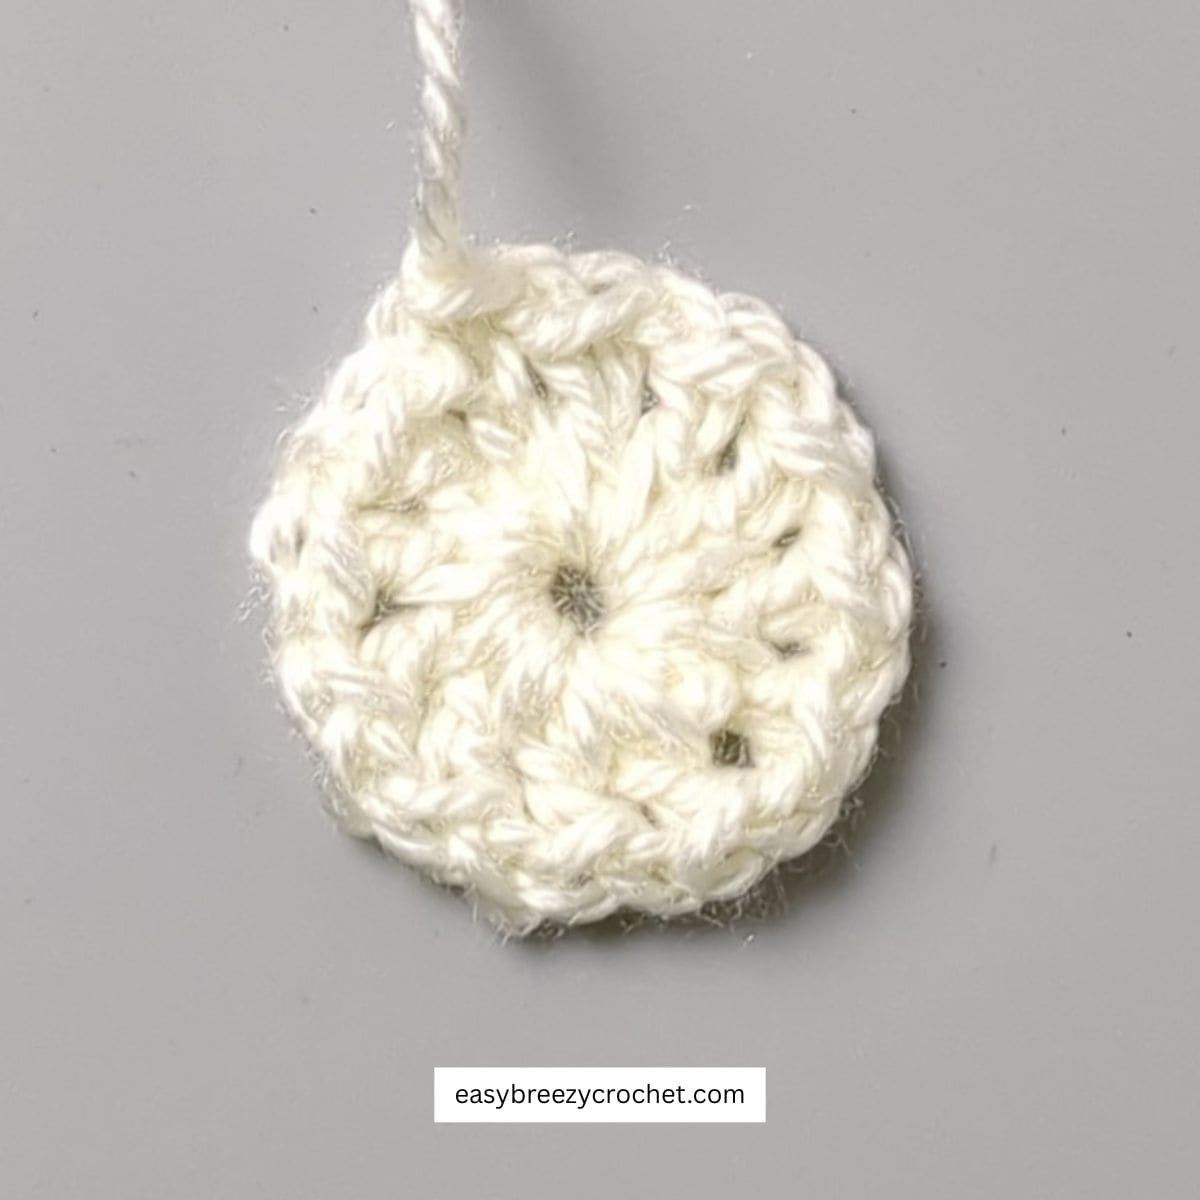
Foundation, col A - Chain 3, slip stitch into the 1st stitch to join.
Rnd 1 - ch4 (counts as dc and ch1), * 1dc, ch1, rpt from * 11 times, sl st into 3rd ch to join, cut yarn, fasten off. [12dc, 12 x ch-1 sps]
Rnd 2, col B - Sl st new col into any ch-1 sp, ch2 and 1hdc in same sp (this counts as 1st HDC2CL), ch2, *HDC2CL in next ch-1 sp, ch2, rpt from * 11 times, sl st into ch-2 sp to join, cut yarn, fasten off, and weave in ends. [12 x HDC2CL, and 12 x ch-2 sps]

Rnd 3, col C - Sl st new col into any ch-2 sp, ch3 (counts as 1st dc of 1st pc), pc in same sp as ch-3, ch1, * pc in next ch-2 sp, ch1, rpt from * 10 more times, sl st into back of 1st pc to join, cut yarn, fasten off. [12pc, 12 x ch-1 sps]
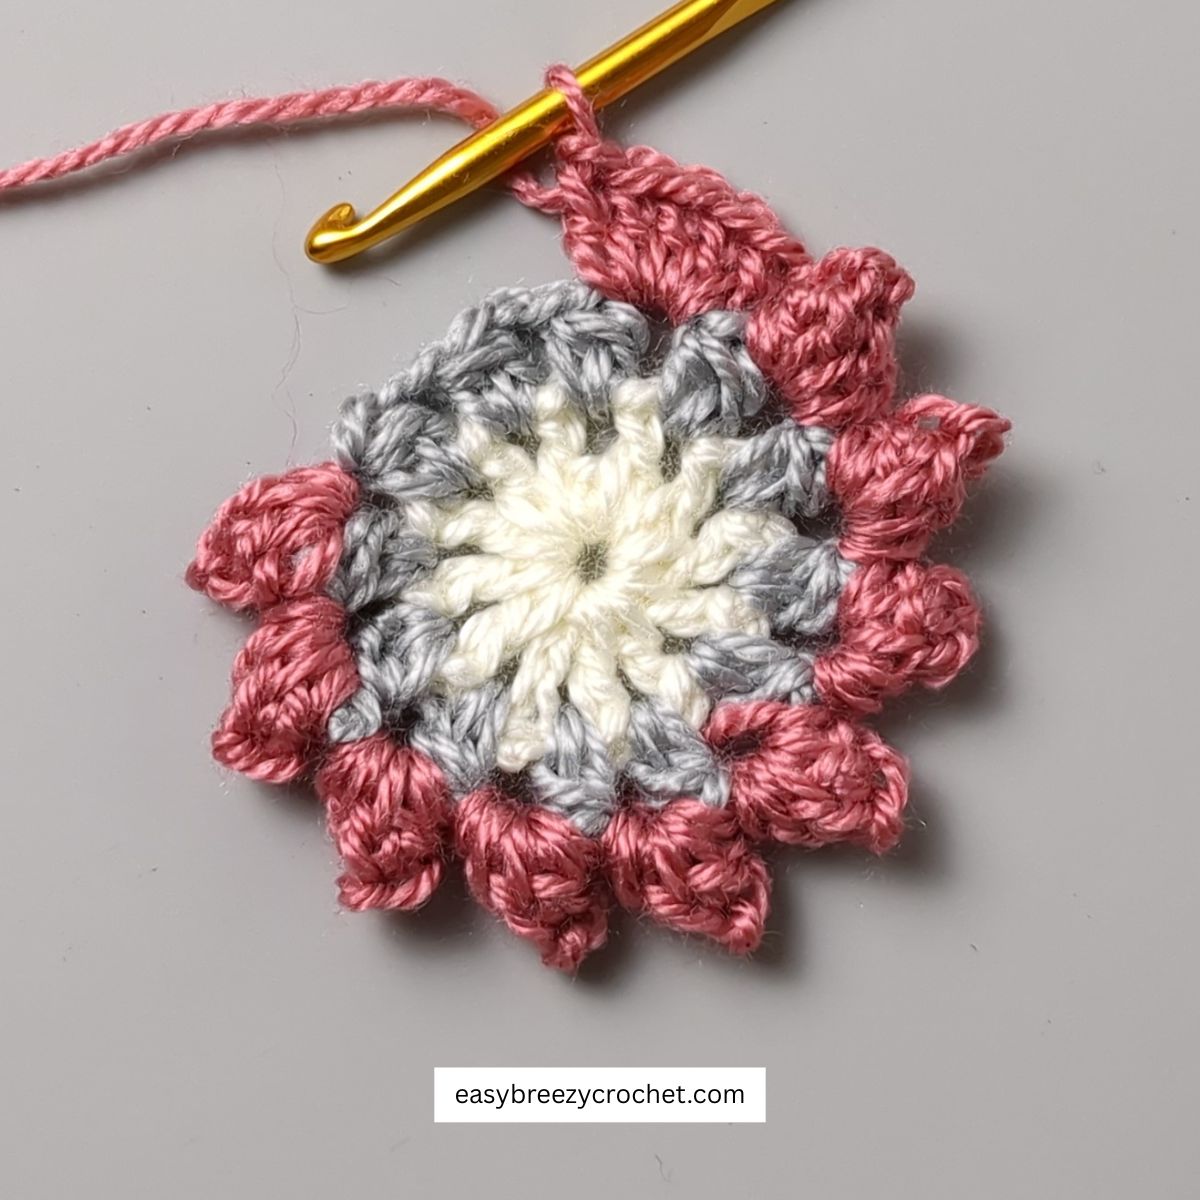
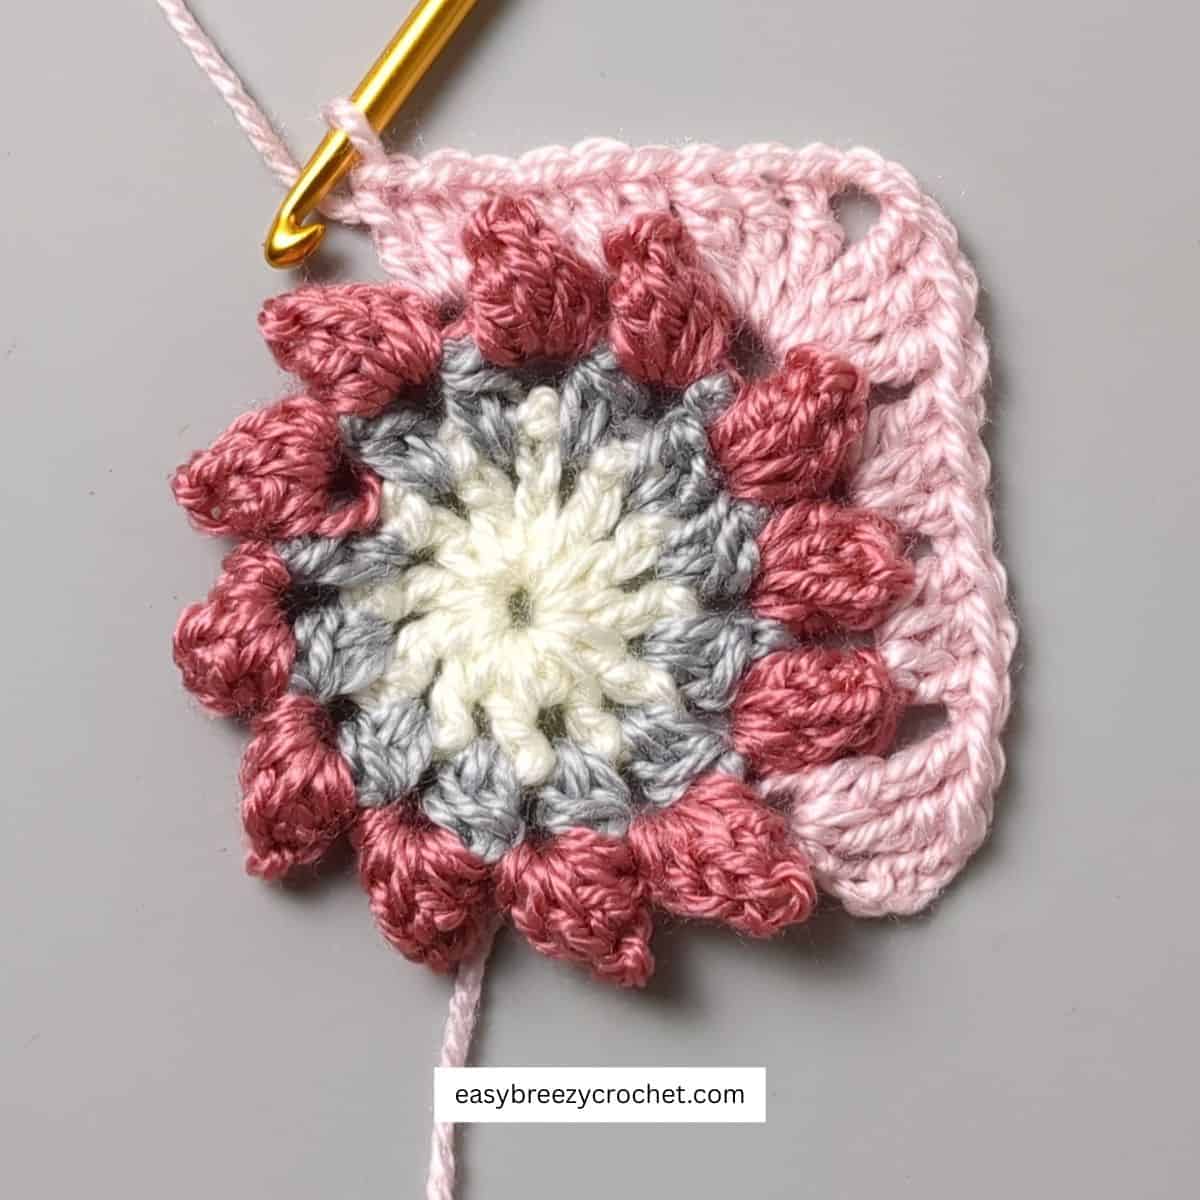
Rnd 4, col D - Sl st new col into any ch-2 sp, ch4 (counts as tr), 2tr in same sp as ch-3, * 3dc in sps between next 2 cluster sts, (3tr, ch2, 3tr) in next ch-2 sp, rpt from * 2 more times, 3dc in each sp between next 2 clusters sts, ch1, 3tr in same sp as ch-4, ch2, sl st into top of ch-4 to join, cut yarn, fasten off. [24tr, 24dc, 4 x ch-2 sps]
Make 15 more square using the colorway suggestions in the pattern notes above.
✨ You're almost there! ✨
To unlock the final steps and complete your pattern, create a free account with Grow.me. below.
Make sure to tick the box to subscribe to our newsletter and stay up to date with the latest patterns, tips, and more!
Once you're signed up, you'll get instant access to finish your project and enjoy exclusive content in the future.
Already signed up? Hit the button below and select 'Switch to Log In' to pick up where you left off and finish your project!
Joining tips
- If you've never joined crochet squares before, the first few might feel a bit awkward. Stick with it, and you'll find your rhythm in no time!
- Keep an even tension
- Can be helpful to work on a tabletop especially when the scarf gets longer - easier to manage the joining.
- When joining the squares always have the square with the border at the back of the square without the border.
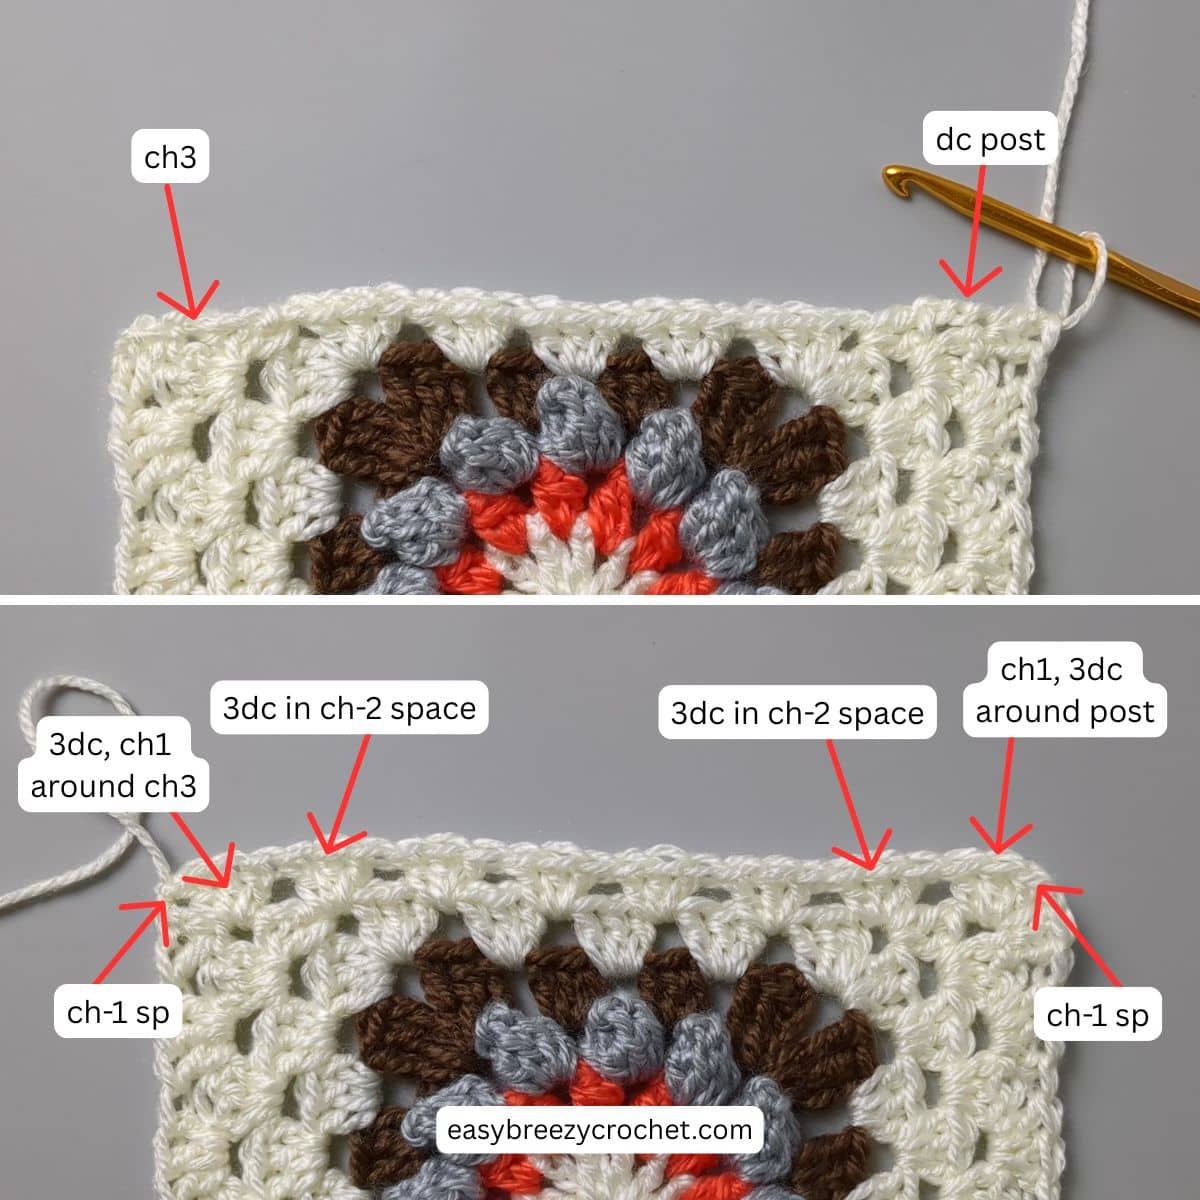
Scarf Side Borders
Border Long Side 1
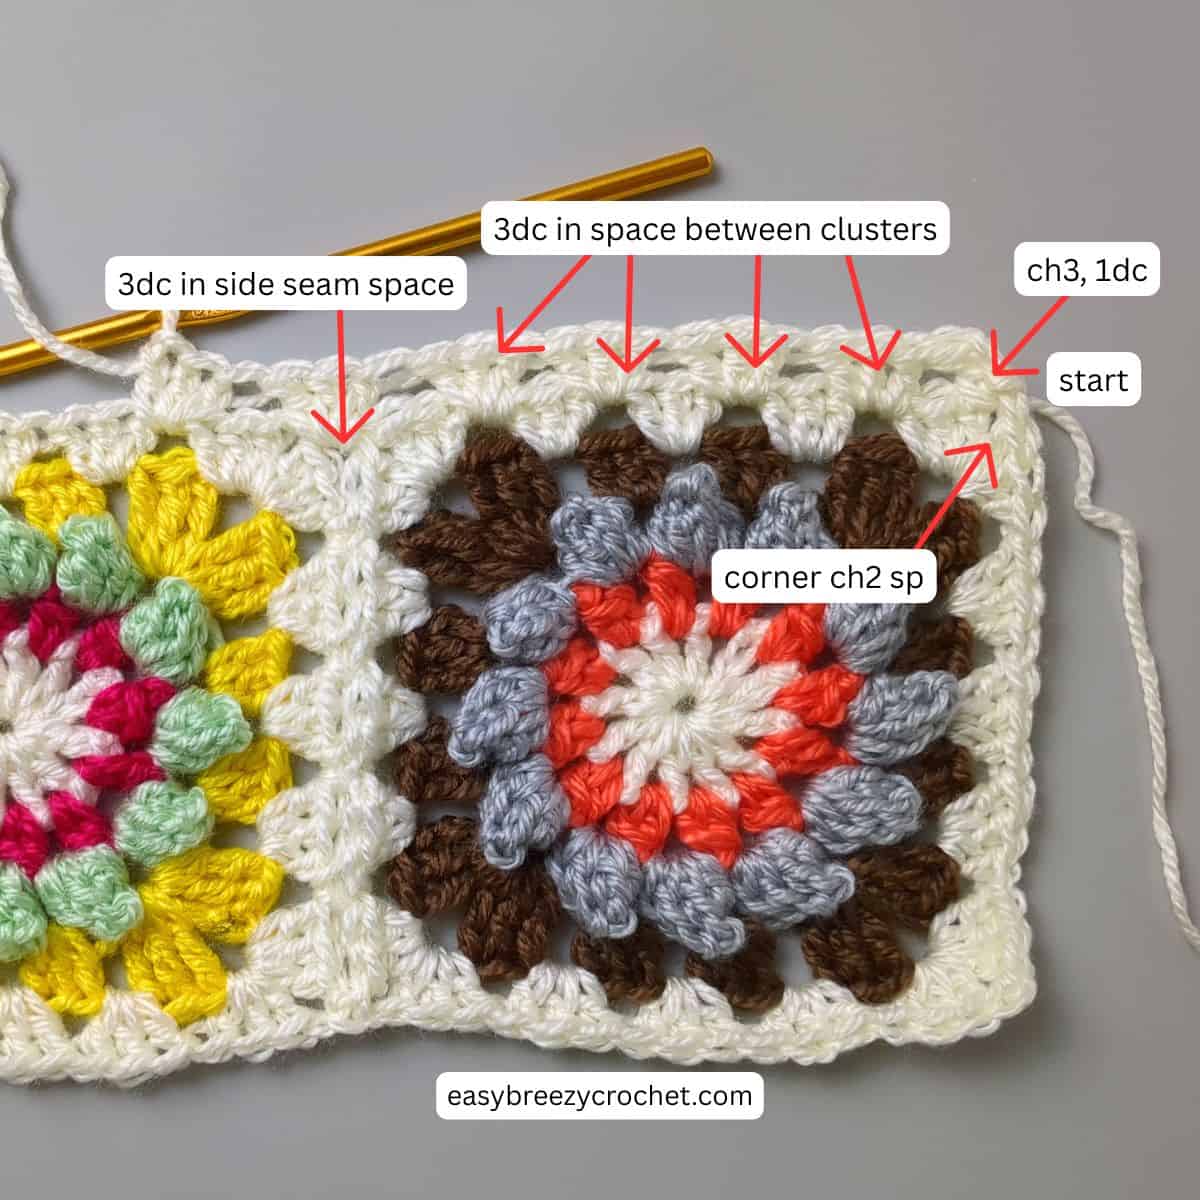
Row 1, col A (right side facing you)- sl st yarn into the corner ch-2 sp on the right hand side of a long side, ch3, 1dc in same sp, make 3dc in each sp between the next 4 cluster groups, then make 3dc in the seam between the joined squares, continue to make 3dc in each of the next 4 cluster sps and into the side seams until you reach the end, make 2dc in the ch-2 sp at the end, turn. [2x2dc groups, 79x3dc cluster groups]
Row 2 - ch3, 3dc in 1st sp, then make 3dc in each sp between clusters until you reach then end, 1dc into the top of ch-3, turn. [80x 3dc cluster groups, 2x dc]
Row 3 - ch3, 1dc in same sp as ch-3, 3dc in each sp between clusters until you reach the end, 2dc in top of ch-3, turn. [2x2dc groups, 79x3dc cluster groups]
Border Long Side 2
Work on the other long side
Rows 1-3 the same as above but don't cut yarn after completing row 3
Border Short Edge 1
Turn piece so that you are now working on the short edge,
Row 1, col A - ch1, 3dc around the post of the 1st dc st, 3dc into the ch-2 corner sp of the granny square, 3dc in the sps between the next 4 cluster sts, 3dc in ch-2 sp of square, sk 1-dc st, 3dc around the post of the next dc, 1dc at end of row, ch1, sl st into the top of the ch-3 of the last st in the last row of the long edge, ch1, cut yarn fasten off, weave in end. [8x 3dc cluster groups, 2xch1]
Border Short Side 2
Working along the opposite end
Row 1, col A - sl st yarn into the top of the last dc st made on the long side border, ch1, 3dc into the corner sp (the same sp as the last 2 stitches made on the long side), 3dc into the ch-2 corner sp of the granny square, 3dc in next 4 sps between clusters, 3dc in ch-2 corner sp on granny square, sk next dc st, 3dc around the ch-3, ch1, sl st into the top of the ch-3 of the last st in the last row of the long edge, ch1, cut yarn fasten off, weave in end. [8x 3dc cluster groups, 2xch1]
Perfect for Every Season
Light enough for spring evenings, colorful enough for summer accessories, cozy enough for autumn layering, and perfect for brightening winter wardrobes, the Harmony Crochet Scarf truly lives up to its name.
Its lightweight construction and versatile colour palette make it a wonderful accessory you'll enjoy all year long.
Ready to crochet your own? Gather your favorite colors, grab your 4 mm hook, and let's get started.
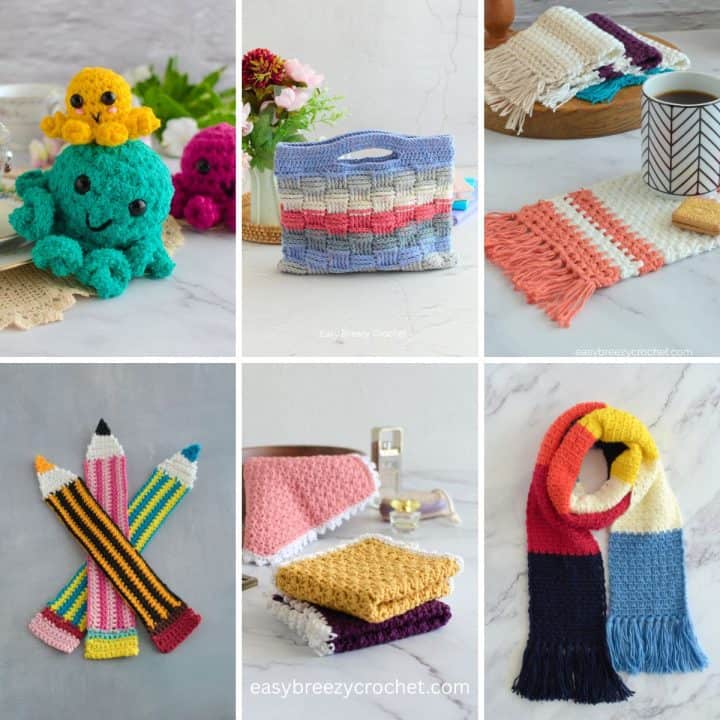
Related Patterns
If you like this crochet scarf you might also like to create a matching set with this easy slouchy beanie (coming soon), this super simple crochet headband (coming soon). Or see our Ultimate granny square guide for more crochet square ideas.
Stay Connected
Pin this post - Pin now to and take your skills to the next level.
Leave a comment - We're excited to hear your thoughts! Leave a comment below and let us know what you think.
Share on Instagram or Facebook - Capture the beauty of your finished crochet projects and share it on Instagram or Facebook! Tag us @easybreezycrochet or #ebcrochetcreations so we can see your work!
Copyright Notice - This pattern and its contents are protected by copyright law. It may not be copied, altered, redistributed, resold, translated, or used to produce video tutorials in any format, either in whole or in part.
You are permitted to sell finished items made using this pattern. However, the written pattern itself may not be sold, shared, or distributed in any form. When marketing or displaying your finished items, please photograph your own work and refrain from using any of my original images.
Sharing Guidelines For Roundups - Bloggers you are welcome to include this pattern in roundup posts, as long as you use one photo and link directly back to the original post. For full details, please refer to my Terms of Use page.
Comments
No Comments