
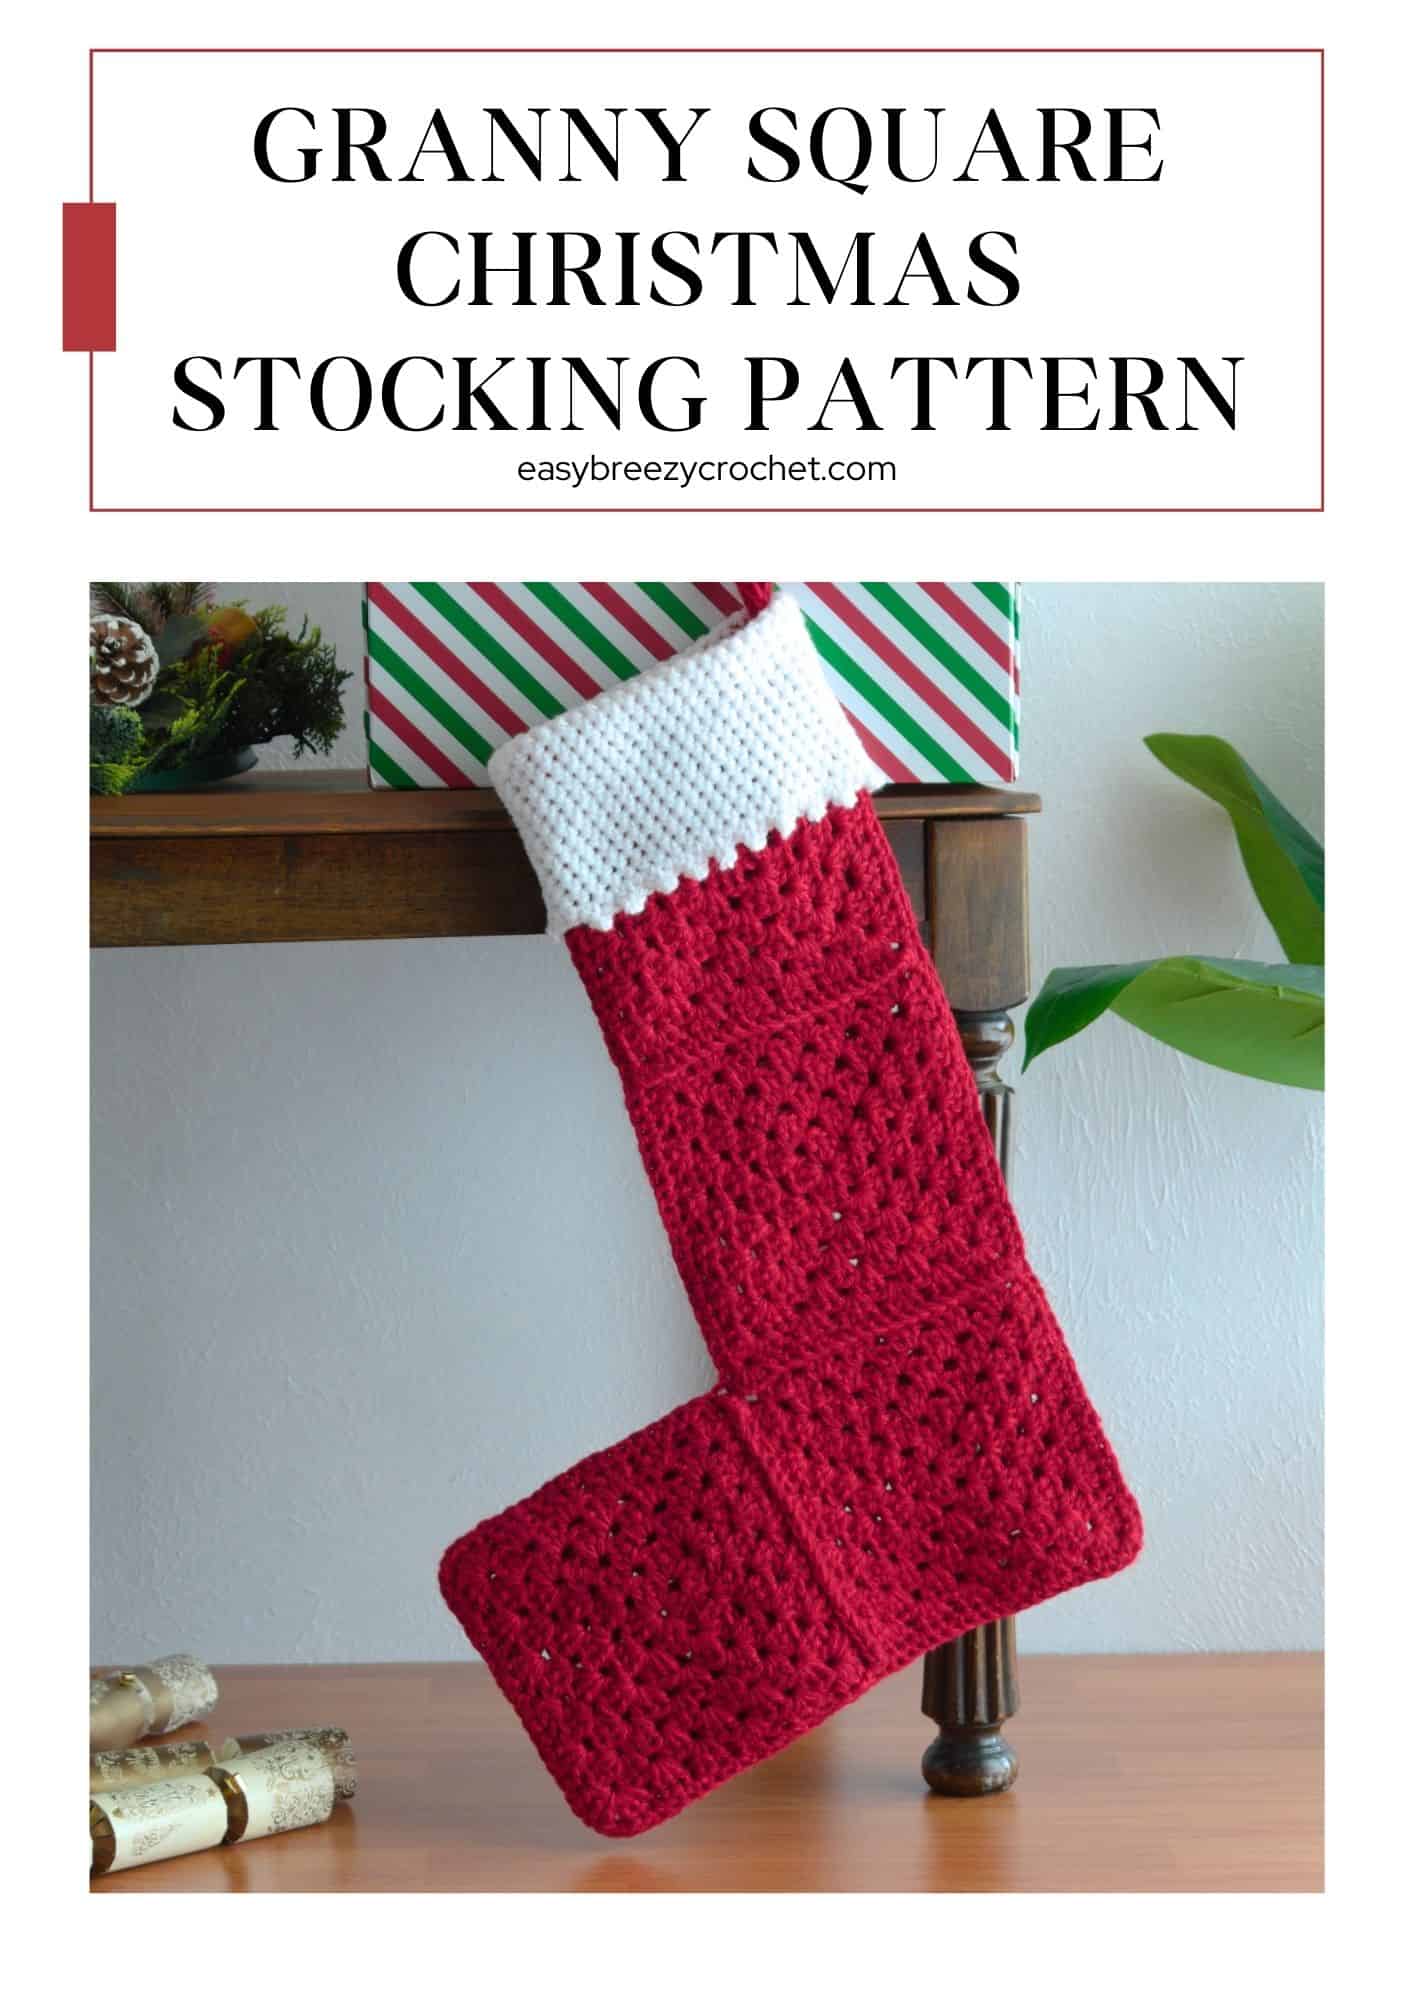
This granny square Christmas stocking pattern is easy to make and a great project for a beginner.
Based on the classic granny square, this pattern is made with two strands of yarn to make big squares. The squares are joined together to form a large stocking and is completed with a simple white crocheted cuff.
About This Crochet Granny Square Stocking
- This granny square pattern is based on the classic granny square making it an easy project for a beginner.
- The pattern is worked with two strands of #3 light (DK, light worsted, 8ply) yarn which is similar to bulky yarn, and because of the thickness, this stocking is quick to crochet.
- This granny stocking is made with 8 individual squares. The squares are sewn into two "L" shapes and joined together to form the stocking.
- I chose to add a single crochet white cuff to the stocking, but if you don't like this look, a faux fur cuff can be hand stitched in place.
Pattern Details
- Skill Level - Beginner
- Yarn Weight - Two strands of #3
- Hook Size - 6 mm (J-10)
- Finished Size - About 20.5 inches (52 cm) long and about 7 inches (18 cm) wide
- Time To Complete - Weekend project
Prefer a printable, ad-free pattern? Members can download this pattern as a clean, easy-to-print PDF.
Table of contents
Stitches Used
You will need to know a few basic crochet stitches like chain stitch, single crochet, double crochet, and slip stitch for this granny square Christmas stocking.
Crochet Picot Stitch
This easy crochet project uses a picot stitch as a decorative feature. If you do not know how to make this read our blog post on how to crochet picot stitch to learn more.
Yarn and Hook Information
Yarn - I used two strands of #3 Light (light worsted, DK, 8-ply) acrylic yarn to make the stocking.
The sock was worked in two different shades and brands of red to give a speckled look.
- Dark Red - Malli knitting yarn, also known as Sizzle (Kayo Bazaar), 3.53 ounces (100 grams)/185 yards (170 meters) per ball.
- Red - Semco stallion yarn, 3.53 ounces (100 grams)/230 yards (210 meters) per ball.
The cuff was crocheted in 2 strands of the same shade of white and brand for a consistent look.
- White - Sean Sheep, 3.53 ounces (100 grams)/350 yards (320 meters) per ball.
Hook - I used a 6mm (J-10) hook because I wanted a slightly firmer fabric.
Alternatives
You don't need to use 2 strands of #3 yarn, one strand of worsted weight yarn or bulky yarn, or a combination of other yarn weights and a different hook size can be used to make this Christmas stocking.
For the yarn combination and hook size, I used, the squares made of 6 rounds and measured 7 inches (17.8 cm) from edge to edge..
I have used the size of the granny square as the measurement for the gauge.
If you choose to use another yarn weight or hook size, you will need to either increase or decrease the number of rounds, to achieve the correct size gauge.
What You Will Need
Yarn
#3 Light (DK, light worsted, 8ply) 100% acrylic yarn.
- Dark Red - you will need about 317 yards (290 meters).
- Red - you will need about 317 yards (290 meters).
- White - you will need about 57 yards (52 meters) - divide this into two lots of 28.5 yards (26 meters).
Hook
- 6 mm (J-10) or a crochet hook size to obtain the correct gauge.
Notions
- Scissors
- Yarn needle
Finished Size & Gauge

Finished Size
The length of this granny square stocking is about 20.5 inches (52 cm) long and about 7 inches (18 cm) wide at the leg and 14 inches (35 cm) wide at the foot.
Gauge
Each granny square is 7 inches (17.8 cm) from edge to edge or about 9 ½ inches (24.1 cm) on the diagonal.
Check your gauge: Use any hook size to obtain the correct gauge.
Stitches And Abbreviations - US Terms
- ch - chain
- dc - double crochet
- picot - picot, see special stitches below
- rnd - round
- rpt - repeat
- sc - single crochet
- sl st - slip stitch
- sp/sps - space/spaces
- st/sts - stitch/stitches
- [ ] - at the end of a round indicated the number of stitches in that round
Special Stitches
Picot - chain 3, slip stitch into 1st chain.
Abbreviated version
Picot - Ch3, sl st in 1st ch.
Pattern Notes
- The yarn listed in this pattern is a guide, you can substitute it with other brands.
- The pattern is worked using 2 strands of yarn.
- You will need to make 8 granny squares.
Printable PDF Pattern
Want an ad-free printable version of this crochet pattern?
Join the Easy Breezy Crochet Pattern Vault to get this printable pattern (and more)!
The Pattern Vault is Easy Breezy Crochet's newest exclusive community where you can access a growing library of ad-free printable crochet patterns, and join a community of crocheters around the world.
Pattern Instructions
Foundation, use 2 strands of red - Chain 4, slip stitch into the 1st chain to form a ring.
Abbreviated version
Foundation, use 2 strands of red - Ch 4, sl st in 1st ch to form a ring.
Round One

Round 1 - Chain 3 (counts as double crochet) and 2 double crochet in the ring, chain 2, * 3 double crochet, chain 2, repeat from* 2 more times, slip stitch into the top of chain 3 to join. Do not turn. [You should have 12 double crochet stitches in this round]
Abbreviated version
Rnd 1 - Ch3 (counts as dc), 2 dc in the ring, ch2, * (3dc, ch2), rpt from * 2 more times, sl st into the top of ch-3 to join. Do not turn. [12dc]
Round Two

Round 2 - Slip stitch into the next 2 stitches, then slip stitch into chain 2 space. Chain 3 (counts as double crochet), 2 double crochet, chain 2, 3 double crochet into the same space, * 3 double crochet, chain 2, 3 double crochet into the next chain 2 space, repeat from * 2 more times, slip stitch into top of chain 3 to join. Do not turn. [You should have 24 double crochets in this round]
Abbreviated version
Rnd 2 - Sl st into the next 2 sts, then sl st into ch-2 sp, ch3 (counts as dc), 2dc, ch2, 3dc in same sp, * (3dc, ch2, 3dc) in next ch-2 sp, rpt from * 2 more times, sl st in top of ch-3 to join. Do not turn. [24dc]
Round Three

Round 3 - Slip stitch into the next 2 stitches, then slip stitch into chain 2 space. Chain 3 (counts as double crochet), 2 double crochet, chain 2, 3 double crochet into the same space, then 3 double crochet in the next space * 3 double crochet, chain 2, 3 double crochet into the next chain 2 space, then 3 double crochet in the next space, repeat from * 2 more times, slip stitch into top of chain 3 to join. Do not turn. [You should have 36 double crochets in this round]
Abbreviated version
Rnd 3 - Sl st into the next 2 sts, then sl st into ch-2 sp, ch3 (counts as dc), 2dc, ch2, 3dc in same sp, then (3dc) in next sp * (3dc, ch2, 3dc) in next ch-2 sp, (3dc) in next sp, rpt from * 2 more times, sl st in top of ch-3 to join. Do not turn. [36dc]
Round Four

Round 4 - Slip stitch into the next 2 stitches, then slip stitch into chain 2 space. Chain 3 (counts as double crochet), 2 double crochet, chain 2, 3 double crochet into the same space, then 3 double crochet in the next 2 spaces * 3 double crochet, chain 2, 3 double crochet into the next chain 2 space, then 3 double crochet in the next 2 spaces, repeat from * 2 more times, slip stitch into top of chain 3 to join. Do not turn. [You should have 48 double crochets in this round]
Abbreviated version
Rnd 4 - Sl st into the next 2 sts, then sl st into ch-2 sp, ch3 (counts as dc), 2dc, ch2, 3dc in same sp, then (3dc) in next 2 sps * (3dc, ch2, 3dc) in next ch-2 sp, (3dc) in next 2 sps, rpt from * 2 more times, sl st in top of ch-3 to join. Do not turn. [48dc]
Round Five

Round 5 - Slip stitch into the next 2 stitches, then slip stitch into chain 2 space. Chain 3 (counts as double crochet), 2 double crochet, chain 2, 3 double crochet into the same space, then 3 double crochet in the next 3 spaces * 3 double crochet, chain 2, 3 double crochet into the next chain 2 space, then 3 double crochet in the next 3 spaces, repeat from * 2 more times, slip stitch into top of chain 3 to join. Do not turn. [You should have 60 double crochets in this round]
Abbreviated version
Rnd 5 - Sl st into the next 2 sts, then sl st into ch-2 sp, ch3 (counts as dc), 2dc, ch2, 3dc in same sp, then (3dc) in next 3 sps * (3dc, ch2, 3dc) in next ch-2 sp, (3dc) in next 3 sps, rpt from * 2 more times, sl st in top of ch-3 to join. Do not turn. [60dc]
Round Six

Round 6 - Slip stitch into the next 2 stitches, then slip stitch into chain 2 space. Chain 3 (counts as double crochet), 2 double crochet, chain 2, 3 double crochet into the same space, then 3 double crochet in the next 4 spaces * 3 double crochet, chain 2, 3 double crochet into the next chain 2 space, then 3 double crochet in the next 4 spaces, repeat from * 2 more times, slip stitch into top of chain 3 to join, chain 1, cut yarn and fasten off. [You should have 72 double crochets in this round]
Abbreviated version
Rnd 6 - Sl st into the next 2 sts, then sl st into ch-2 sp, ch3 (counts as dc), 2dc, ch2, 3dc in same sp, then (3dc) in next 4 sps * (3dc, ch2, 3dc) in next ch-2 sp, (3dc) in next 4 sps, rpt from * 2 more times, sl st in top of ch-3 to join, ch1, cut yarn and fasten off. [72dc]
Make eight granny squares, then use a darning needle to weave in the ends before joining the squares.

✨ You're almost there! ✨
To unlock the final steps and complete your pattern, create a free account with Grow.me. below.
Make sure to tick the box to subscribe to our newsletter and stay up to date with the latest patterns, tips, and more!
Once you're signed up, you'll get instant access to finish your project and enjoy exclusive content in the future.
Already signed up? Hit the button below and select 'Switch to Log In' to pick up where you left off and finish your project!
Joining the Squares

With the right sides of the granny squares facing up, lay out two "L" shapes, one a right-facing "L" and the other a left-facing "L"(see image above).
Working on one stocking side at a time:

Place two squares together with the right sides facing out. Crochet them together by working through the stitches on both sides with two strands of red yarn.
Start by joining the yarn with a slip stitch and chain 1 in the corner chain 2 space of both squares and make 2 single crochet stitches in the same space.
Then single crochet into each stitch across the row ending with 2 single crochets in the chain 2 space at the end of the row, chain 1, cut yarn, and fasten off.
Repeat the above two more times to join the remaining squares, keeping the "L" shapes as laid out.
Note: Each stocking half will have three seams of single crochet stitches.

Use a yarn needle to weave in the loose ends.
Joining The Back A Front

Place the two sides together with the wrong sides facing in. Crochet them together by working through the stitches on both sides with two strands of red yarn.

Start at the top back of the stocking (and work down to the heel), join the yarn with a slip stitch and chain 1 in the corner chain 2 space of both squares and make 2 single crochets in the same space.
Then single crochet into each stitch down to the stocking heel, and make 3 single crochets in the corner chain 2 space.
Next, single crochet in each stitch across the bottom of the stocking foot, making 3 single crochet stitches in the corner chain 2 spaces at the end of the row.
Then single crochet into each stitch up the front of the stocking foot, and make 3 single crochets in the corner chain 2 space at the end of the row.
Continue to single crochet in each stitch across the top of the stocking foot and up the front of the stocking ending with 2 single crochets in the corner chain 2 space at the top, chain 1, cut yarn, and fasten off and weave in the ends.
Adding The Cuff

Round 1, use 2 strands white - At the top opening and starting at the back seam, slip stitch the yarn into any chain 2 space. Chain 1 (not counted as a stitch), working around, make 2 single crochets in the same space, then make a single crochet in each stitch and 2 single crochets in each chain 2 space, join with a slip stitch into the 1st single crochet. Do not turn. [You should have 44 single crochet stitches in this round]
Abbreviated version
Rnd 1, use 2 strands white - At the top opening and starting at the back seam, sl st yarn in any ch-2 sp, ch1 (not counted as a st), working around, make 2sc in the same sp, then sc in each st and 2sc in each ch-2 sp, sl st in 1st sc to join. Do not turn. [44sc]
Round 2 - Chain 1 (not counted as a stitch), single crochet in each stitch across, then slip stitch into 1st single crochet to join. Do not turn.
[You should have 44 single crochet stitches in this round]
Abbreviated version
Rnd 2 - Ch1 (not counted as a stitch), sc in each st across, then sl st into 1st sc to join. Do not turn. [44sc]
Rnds 3 - 15 - as round 2
Round 16 - Chain 1 (not counted as a stitch), single crochet in 1st stitch, picot, single crochet in next stitch, * single crochet in next stitch, pico, then single crochet in next stitch, repeat from * to the end of the round, slip stitch into 1st single crochet to join, chain 1, cut yarn, fasten off. Use a yarn needle to weave in the ends.
Abbreviated version
Rnd 16 - Ch1 (not counted as a st), sc in 1st st, picot, sc in next st, * (sc, picot) in next st, then sc in next st, rpt from * to the end of the rnd, sl st into 1st sc to join, ch1, cut yarn, fasten off. Use a yarn needle to weave in the ends and fold down the cuff.

Hanging Loop

- For the hanger make 20 chain stitches, then slip the chain in between the two holes inside the stocking at the back seam just below the first row of white.
- Slip stitch into the first chain to create a loop.
- Chain 1 and single crochet in each stitch around the loop, slip stitch into the 1st single crochet to join, chain 1, cut yarn leaving a long tail.
- Use the tail to tack the crocheted hanging loop to the seam at the back of the stocking.
Frequently Asked Questions
How many squares you need to make for a Christmas stocking will vary from pattern to pattern.
This is because each pattern is different and uses different-sized squares and shapes as well as stocking sizes.
The number of chain stitches in the corner of a granny square can be 2 or 3 chains, and this is based on personal preference.
Christmas
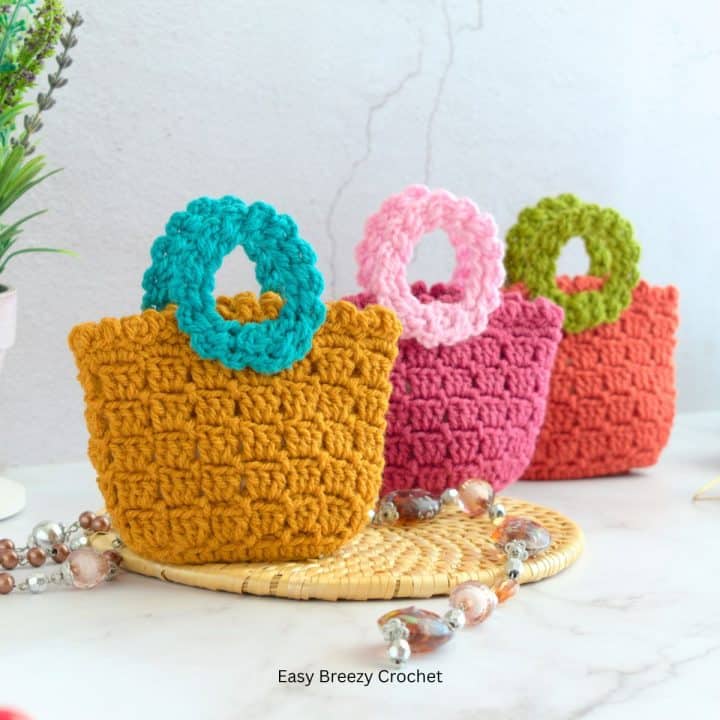
- Block Stitch Crochet Gift Bag
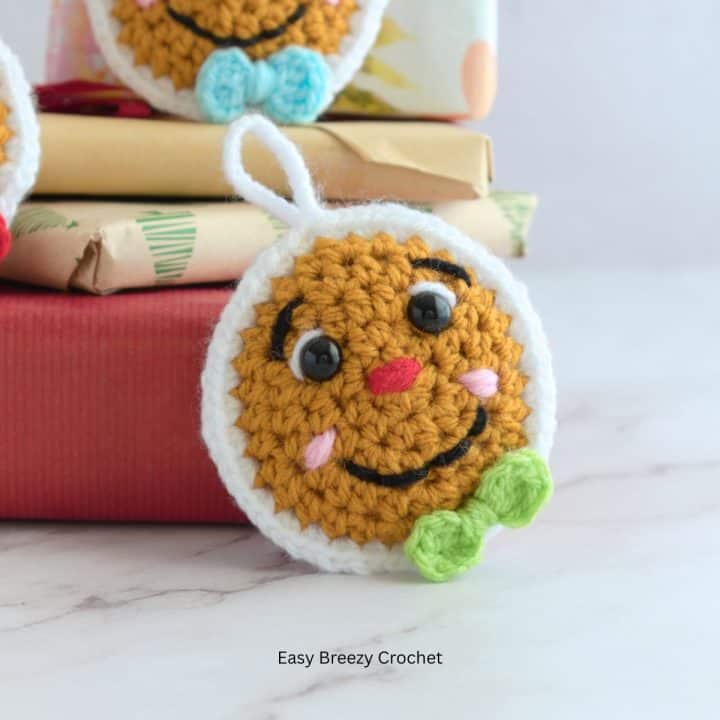
- Crochet Gingerbread Ornament
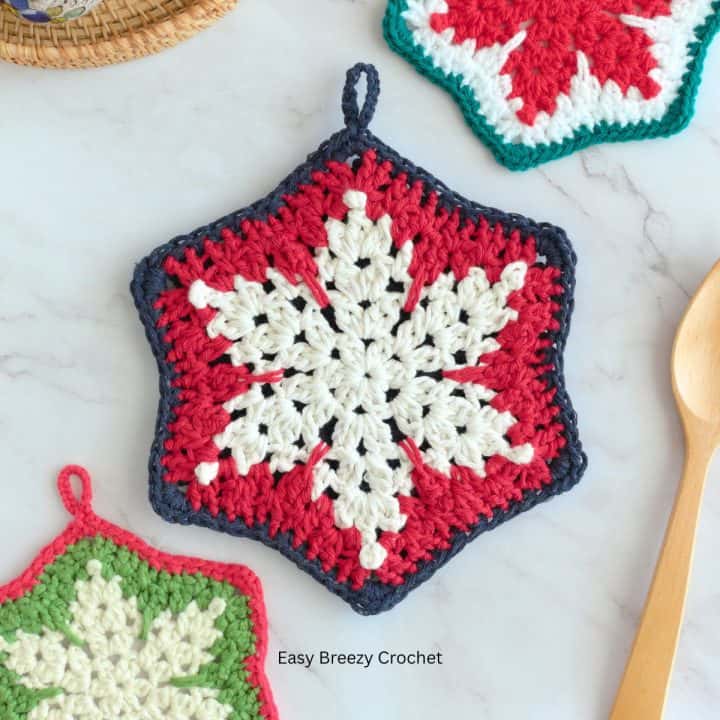
- Snowflake Pot Holder (Hot Pad)
- Granny Stitch Crochet Christmas Tree Coaster Pattern

Learn To Crochet
If you are new to crochet and would like to learn more. You might like these:
- Basic crochet stitches for beginners
- How to crochet for beginners
- Crochet terms and abbreviations
- How to read a crochet pattern for beginners
- How to read a yarn label
- How to hold yarn when crocheting
Stay Connected
Pin this post - Pin now to and take your skills to the next level.
Leave a comment - We're excited to hear your thoughts! Leave a comment below and let us know what you think.
Share on Instagram or Facebook - Capture the beauty of your finished crochet projects and share it on Instagram or Facebook! Tag us @easybreezycrochet or #ebcrochetcreations so we can see your work!
Copyright Notice - This pattern and its contents are protected by copyright law. It may not be copied, altered, redistributed, resold, translated, or used to produce video tutorials in any format, either in whole or in part.
You are permitted to sell finished items made using this pattern. However, the written pattern itself may not be sold, shared, or distributed in any form. When marketing or displaying your finished items, please photograph your own work and refrain from using any of my original images.
Sharing Guidelines For Roundups - Bloggers you are welcome to include this pattern in roundup posts, as long as you use one photo and link directly back to the original post. For full details, please refer to my Terms of Use page.


Comments
No Comments