
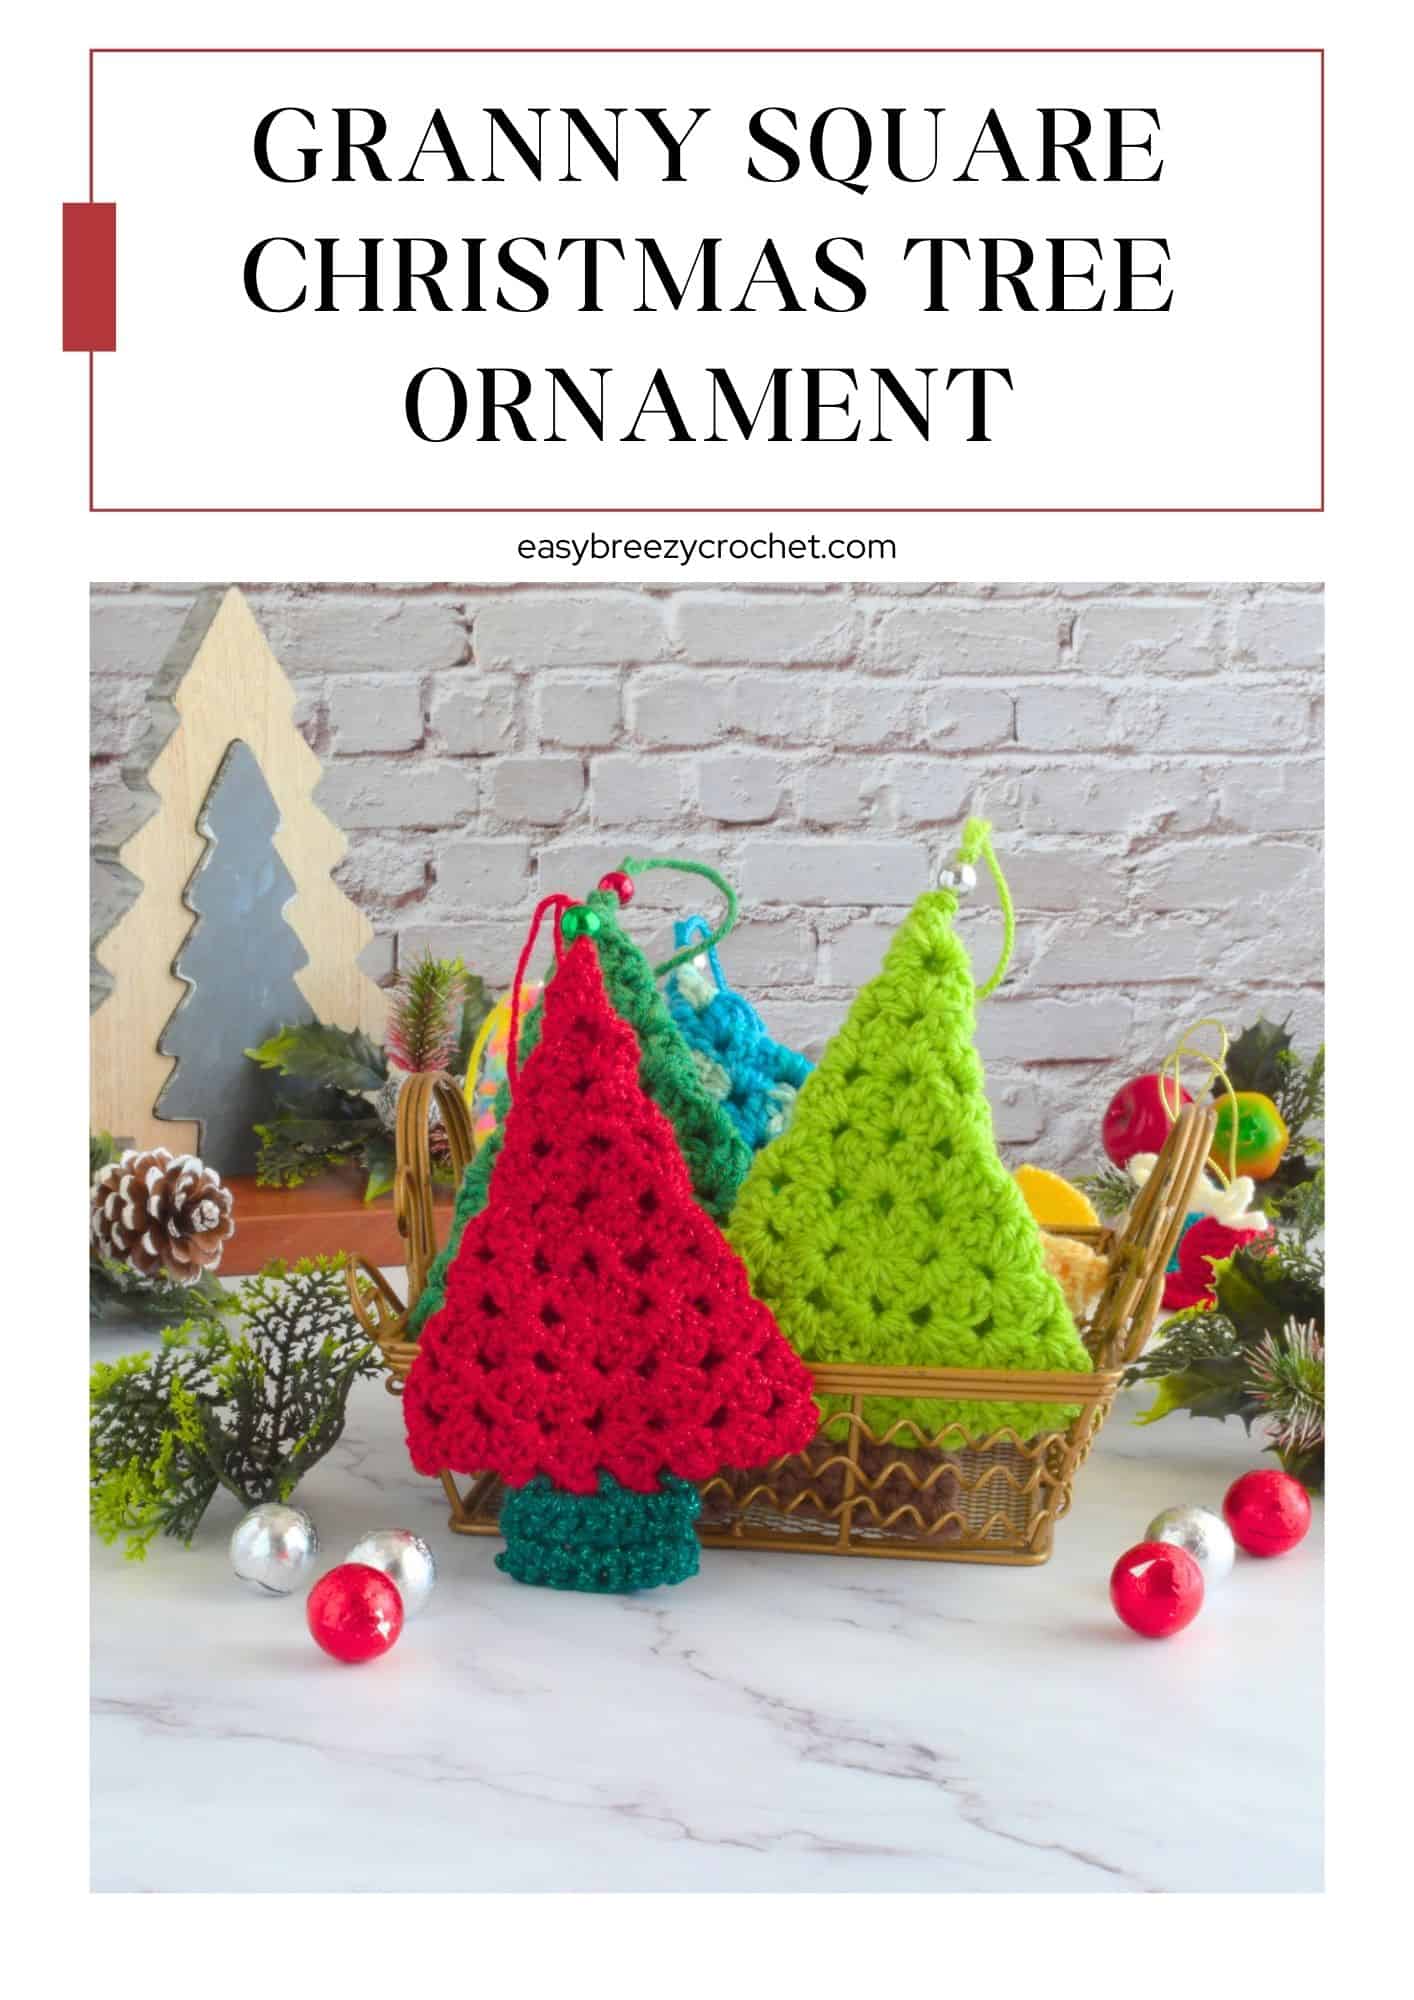
Welcome to our fun and easy granny square Christmas tree pattern! This project is perfect for beginners and experienced crafters alike.
Based on a classic granny square this festive tree is fun and quick to make.
About This Crochet Pattern
- This design builds on the timeless classic granny square pattern.
- It is quick to create and can be completed in under 30 minutes.
- By adjusting the number of rounds, you can craft trees of various sizes.
- Also, using thinner or thicker yarn and an appropriate hook size allows for making trees in different sizes.
Pattern Details
- Skill Level - Beginner
- Yarn Weight - #3 light (DK, light worsted, 8ply)
- Hook Size - 4mm (G/6)
- Finished Size - about 6.5 inches (16.5 cm) from the tree tip to the base of the trunk and about 4.5 inches (11.5 cm) at its widest point
- Time To Complete - 30 - 60 minutes depending on your skill level
Exclusive Printable Crochet Patterns
Be inspired and keep creating!
Join us in The Pattern Vault, Easy Breezy Crochet's exclusive community.
Connect with other crocheters from all around the world and gain access to an extensive library of printable PDF crochet patterns.
All patterns are ad-free and available to you when you want, allowing you to crochet in your own time. So, if you're stuck on inspiration or on the hunt for you next crochet project, the Pattern Vault is for you!
Table of contents
- About This Crochet Pattern
- Pattern Details
- How To Make A Granny Square Christmas Tree
- Stitches Used
- Yarn and Hook Information
- What You Will Need
- Finished Size & Gauge
- Stitches and Abbreviations Used
- Pattern Notes
- Pattern Instructions
- More Easy Christmas Crochet Patterns
- Christmas
- Easy Go-To Stitch Guide
- Stay Connected
- Comments
How To Make A Granny Square Christmas Tree
The Christmas tree pattern is based on a classic granny square and is worked using a single strand of yarn, turning the work at the end of each row.
After finishing the last row, the hanging loop is created in the last corner.
To create the tree shape, fold the granny square into a triangle and sew it together at the back to form the tree.
For the tree trunk, two strands of yarn are used and crocheted with the same hook size used for the tree.
Using double strands of yarn and a smaller hook size for the trunk improves the look and ensures it matches the tree.
Stitches Used
This pattern uses basic stitches like chain stitch, single crochet, double crochet, and slip stitch.
Yarn and Hook Information
To make this crochet tree we used a #3 light (DK, light worsted, 8ply) yarn with about 14 WPI (wraps per inch), with the recommended hook size for this yarn.
Feel free to use another yarn weight with a suitable hook size. If you opt for a heavier yarn like #4 worsted or a lighter yarn like #2, your granny square Christmas tree will turn out larger or smaller, respectively.
Use solid green yarn to create traditional evergreen trees, or for a modern look, use variegated or other colored yarn.
What You Will Need
Yarn
#3 light (DK, light worsted, 8ply) yarn with 14 WPI (wraps per inch)
- Color A (tree) - 28.5 yards (26 meters)
- Color B, brown (trunk) - 2.7 yards (2.5 meters) - this is enough to work double-stranded.
Crochet hook
- 4mm (G/6)
Notions
- Scissors
- Yarn needle
- 1 x 5mm bead (optional)
Finished Size & Gauge

Finished Size
The finished size of the tree ornament is about 6.5 inches (16.5 cm) from the tree tip to the base of the trunk and about 4.5 inches (11.5 cm) at its widest point, using the yarn weight and hook size mentioned above.
Gauge
Not so important for this project
Stitches and Abbreviations Used
- MR - magic ring
- ch- chain stitch
- sc - single crochet
- dc - double crochet
- col - color
- st/sts - stitch/stitches
- sl st - slip stitch
- rpt - repeat
- hk - hook
- [ ] - at the end of a round indicates the number of stitches in that round
Pattern Notes
- Turn the work after each round, this will give your granny square a better shape.
Ready to start crocheting?
Download the ad-free printable PDF and keep the pattern at your fingertips - no scrolling, no ads, no distractions. Get yours in our shop.
Pattern Instructions
Tree

Round One
Round 1, color A - Into a magic ring chain 3 (this counts as 1 double crochet), then make 2 double crochets, chain 2, make * 3 double crochet, chain 2, repeat from * 3 more times, slip stitch into the top of the chain 3 to join, turn. [You should have 12 double crochet stitches and 4 x chain 2 spaces in this round]
Abbreviated Version
Rnd 1, col A - MR, ch3 (counts as 1dc) 2dc, ch2, * 3dc, ch2, rpt from* 3 times, sl st into top of ch-3 to join, turn. [12dc, 4 x ch-2 sps]
Round Two
Round - Slip stitch into the chain 2 space, chain 3 (this counts as 1 double crochet), make 2 double crochets in the same space as chain 3, then make * 3 double crochets, chain 2, and 3 double crochets into the chain 2 space, repeat from * 3 times, then make 3 double crochets and chain 2 into the same space as the chain 3, slip stitch into the top of the chain 3 to join, turn. [You should have 24 double crochets and 4 x chain 2 spaces in this round]
Abbreviated Version
Rnd 2 - sl st into ch-2 sp, ch3 (counts as 1dc), 2dc in same sp as ch-3, * (3dc, ch2, 3dc) in next ch-2 sp, rpt * 3 times, (3dc, ch2) in same sp as ch-3, sl st into top of ch-3 to join, turn. [24dc, 4 x ch-2 sps]
Round Three
Round 3 - Slip stitch into the chain 2 space, chain 3 (this counts as 1 double crochet), make 2 double crochets in the same space as chain 3, then make * skip 3 stitches, make 3 double crochets into the next space, skip 3 stitches and make (3 double crochets, chain 2, and 3 double crochets) into the chain 2 space, repeat from * 3 times, skip 3 stitches, make 3 double crochets into the next space, skip 3 stitches, then make (3 double crochets and chain 2) into the same space as the chain 3, slip stitch into the top of the chain 3 to join, turn. [You should have 30 double crochets and 4 x chain 2 spaces in this round]
Abbreviated Version
Rnd 3 - sl st into ch-2 sp, ch3 (counts as 1dc), 2dc in same sp as ch-3, * sk 3-sts, 3dc into next sp, sk 3-sts, (3dc, ch2, 3dc) in next ch-2 sp, rpt from * 3 times, sk 3-sts, 3dc into next sp, sk 3-sts, (3dc, ch2) in same sp as ch-3, sl st into top of ch-3 to join, turn. [30dc, 4 x ch-2 sps]
Round Four
Round 4 - Slip stitch into the chain 2 space, chain 3 (this counts as 1 double crochet), make 2 double crochets in the same space as chain 3, then make * (skip 3 stitches, make 3 double crochets into the next space) do this twice, then make (3 double crochets, chain 2, and 3 double crochets) into the chain 2 space, repeat from * 3 times, (skip 3 stitches, make 3 double crochets into the next space) do this twice, then make (3 double crochets and chain 2) into the same space as the chain 3, slip stitch into the top of the chain 3 to join, turn. [You should have 42 double crochets and 4 x chain 2 spaces in this round]
Abbreviated Version
Rnd 4 - sl st into ch-2 sp, ch3 (counts as 1dc), 2dc in the same sp as ch-3, * (sk 3-sts, 3dc into next sp) do this twice, (3dc, ch2, 3dc) in next ch-2 sp, rpt from * 3 times, (sk 3-sts, 3dc into next sp) do this twice, (3dc, ch2) in same sp as ch-3, sl st into top of ch-3 to join, turn. [42dc, 4 x ch-2 sps]
Round Five
Round 5 - Slip stitch into the chain 2 space, chain 3 (this counts as 1 double crochet), make 2 double crochets in the same space as chain 3, then make * (skip 3 stitches, make 3 double crochets into the next space) do this three times, then make (3 double crochets, chain 2, and 3 double crochets) into the chain 2 space, repeat from * 3 times, (skip 3 stitches, make 3 double crochets into the next space) do this three times, then make (3 double crochets and chain 2) into the same space as the chain 3, slip stitch into the top of the chain 3 to join, turn. [You should have 58 double crochets and 4 x chain 2 spaces in this round]
Abbreviated Version
Rnd 5 - sl st into ch-2 sp, ch3 (counts as 1dc), 2dc in the same sp as ch-3, * (sk 3-sts, 3dc into next sp) do this three times, (3dc, ch2, 3dc) in next ch-2 sp, rpt from * 3 times, (sk 3-sts, 3dc into next sp) do this three times, (3dc, ch2) in same sp as ch-3, sl st into top of ch-3 to join, turn. [58dc, 4 x ch-2 sps]
Round Six
Round 6 - Slip stitch into the chain 2 space, chain 3 (this counts as 1 double crochet), make 2 double crochets in the same space as chain 3, then make * (skip 3 stitches, make 3 double crochets into the next space) do this four times, then make (3 double crochets, chain 2, and 3 double crochets) into the chain 2 space, repeat from * 3 times, (skip 3 stitches, make 3 double crochets into the next space) do this four times, then make (3 double crochets and chain 2) into the same space as the chain 3, slip stitch into the top of the chain 3 to join, chain 1, cut yarn leaving a 40 inch (1 meter) long tail for sewing and the hanging loop and fasten off. [You should have 74 double crochets and 4 x chain 2 spaces in this round]
Abbreviated Version
Rnd 6 - sl st into ch-2 sp, ch3 (counts as 1dc), 2dc in the same sp as ch-3, * (sk 3-sts, 3dc into next sp) do this four times, (3dc, ch2, 3dc) in next ch-2 sp, rpt from * 3 times, (sk 3-sts, 3dc into next sp) do this four times, (3dc, ch2) in same sp as ch-3, sl st into top of ch-3 to join, ch1, cut yarn leaving a 40 inch (1 meter) long tail for sewing and the hanging loop and fasten off. [74dc, 4 x ch-2 sps]
✨ You're almost there! ✨
To unlock the final steps and complete your pattern, create a free account with Grow.me. below.
Make sure to tick the box to subscribe to our newsletter and stay up to date with the latest patterns, tips, and more!
Once you're signed up, you'll get instant access to finish your project and enjoy exclusive content in the future.
Already signed up? Hit the button below and select 'Switch to Log In' to pick up where you left off and finish your project!
Shape the tree and attach the hanging loop
- Pull the starting yarn tail tight to close the circle and weave in the ends.
- Fold the yarn tail to create a hanging loop about 4 inches (10cm) long and secure it to the square with a few back stitches.

- With the hanging loop end pointing away from you, create a triangle by folding the long sides together to form the tip of the tree, then fold up the remaining end to make the tree base.
- Sew the folded ends together with your yarn needle, fasten off, and weave in the ends.

- Thread a bead onto the hanging loop, slide it down to the tip of the tree, tie a knot, or add a drop of glue to secure the bead onto the hanging loop.

Tree Trunk

Work with two strands of yarn and 4mm hook. With the tree base up and front of the tree facing you, locate the three center spaces along the tree base.
Slip knot yarn onto the hook, insert the hook into the first of the three spaces, and slip stitch the yarn into place.
Row One
Row 1, color B - Single crochet into the same space as the slip stitch, chain 2, then make a single crochet into the next space (this should be the center of the tree), chain 2, and make 1 single crochet into the next space, turn. [7 single crochet in this round]
Abbreviated version
Row 1, color B - 1sc into same sp as sl st, ch2, 1sc into next sp (this should be the center of the tree), ch2, 1sc into next sp, turn. [7sc]
Row Two
Row 2 - Chain 1 (this does not count as a stitch),1 single crochet into the 1st stitch, then 2 single crochet into the chain 2 space, 1 single crochet into the next stitch, 2 single crochet into the chain 2 space, and 1 single crochet into the last stitch, turn. [7 single crochet in this round]
Abbreviated version
Row 2 - ch1 (not counted as a st), 1sc into 1st st, 2sc into ch-2 sp, 1sc in next st, 2sc in ch-2 sp, 1sc in last st, turn. [7sc]
Row Three
Row 3 - Chain 1 (this does not count as a stitch),1 single crochet into the 1st stitch, then 2 single crochet into the chain 2 space, 1 single crochet into the next stitch, 2 single crochet into the chain 2 space, and 1 single crochet into the last stitch, chain 1, cut yarn, fasten off and weave in ends. [7 single crochet in this round]
Abbreviated version
Row 3 - ch1 (not counted as a st), 1sc into 1st st, 2sc into ch-2 sp, 1sc in next st, 2sc in ch-2 sp, 1sc in last st, chain 1, cut yarn, fasten off and weave in ends. [7sc]
Don't stop here...
Your next 50 crochet projects are ready inside the Pattern Vault - all printable, ad-free, and ready to download instantly.
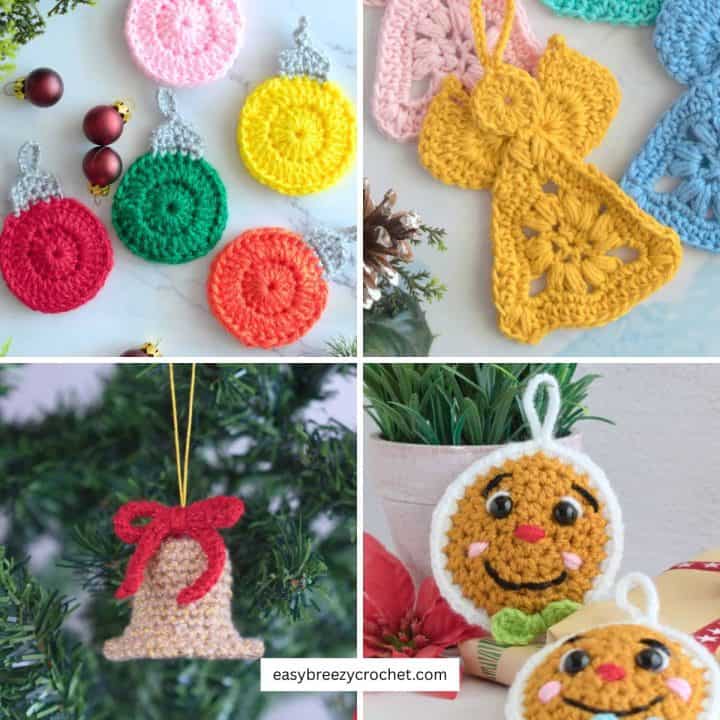
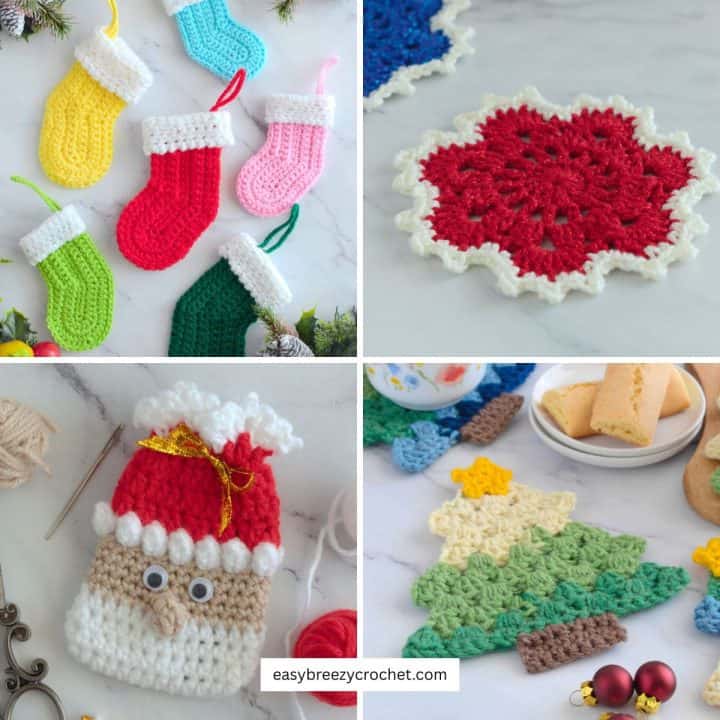
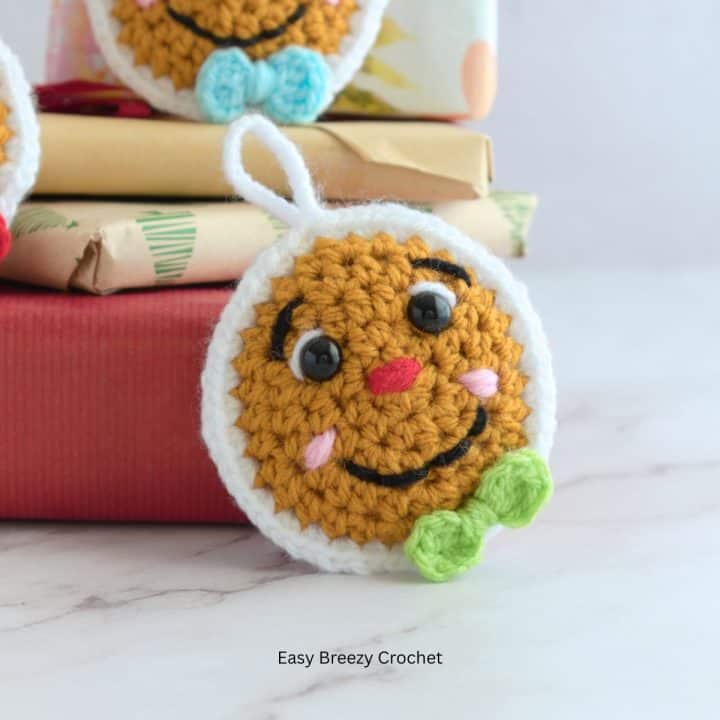
More Easy Christmas Crochet Patterns
If you like this pattern you might also like this fast Christmas granny square pattern for beginners or these:
Easy Go-To Stitch Guide
New to crochet? Make every stitch count! Grab this free crochet cheat sheet with easy-to-follow guides for basic stitches (US terms) and more-perfect for tackling any pattern with confidence.
Download your free Crochet Cheat Sheet (printable PDF)
Print it, save it on your phone, or keep it right next to you while crocheting.

Stay Connected
Pin this post - Pin now to and take your skills to the next level.
Leave a comment - We're excited to hear your thoughts! Leave a comment below and let us know what you think.
Share on Instagram or Facebook - Capture the beauty of your finished crochet projects and share it on Instagram or Facebook! Tag us @easybreezycrochet or #ebcrochetcreations so we can see your work!
Copyright Notice - This pattern and its contents are protected by copyright law. It may not be copied, altered, redistributed, resold, translated, or used to produce video tutorials in any format, either in whole or in part.
You are permitted to sell finished items made using this pattern. However, the written pattern itself may not be sold, shared, or distributed in any form. When marketing or displaying your finished items, please photograph your own work and refrain from using any of my original images.
Sharing Guidelines For Roundups - Bloggers you are welcome to include this pattern in roundup posts, as long as you use one photo and link directly back to the original post. For full details, please refer to my Terms of Use page.


Join the Discussion