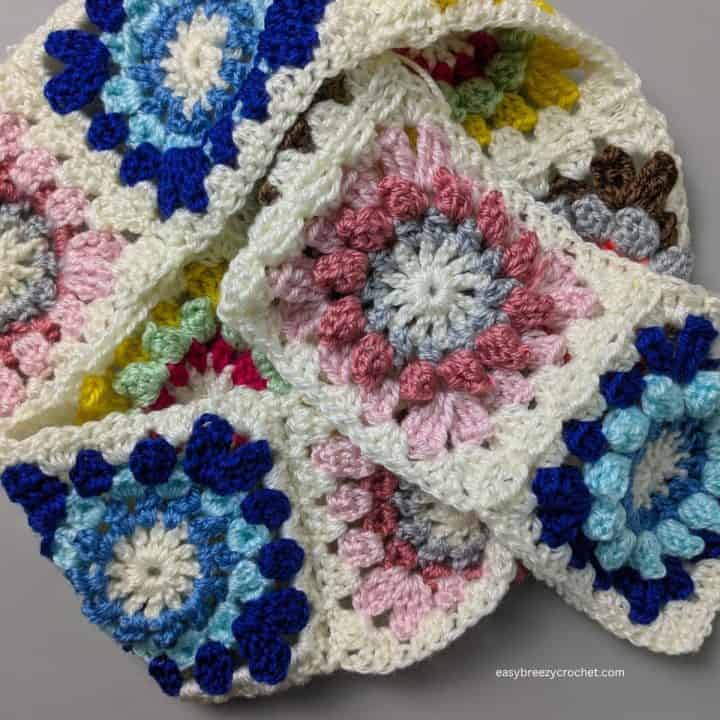
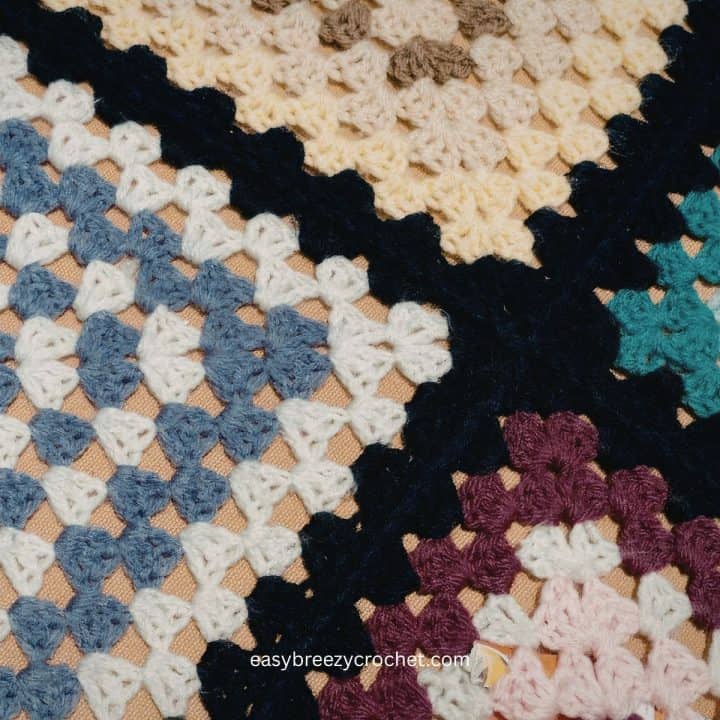
To give any crocheted piece a nice neat finish you will have to learn how to weave in crochet ends.
Weaving in ends correctly not only finishes the piece but will also ensure that it does not come undone over time.
In this tutorial, you will learn how to weave in ends with easy step-by-step instructions, along with tips to ensure a seamless and polished finish for your crochet work.

Just starting out? Our crochet beginner essentials guide covers everything you need to get set up, from tools and yarn to the basic skills you'll use in every project.
Table of contents
What Is Weaving in Ends
Weaving in ends is an important part of the crochet process, as it helps secure your work and ensures a tidy appearance.
When done properly the yarn ends will be held securely in place, and your work won't unravel over time due to washing and wear.
Also, it gives your project a professional finish.
Exclusive Printable Crochet Patterns
Be inspired and keep creating!
Join us in The Pattern Vault, Easy Breezy Crochet's exclusive community.
Connect with other crocheters from all around the world and gain access to an extensive library of printable PDF crochet patterns.
All patterns are ad-free and available to you when you want, allowing you to crochet in your own time. So, if you're stuck on inspiration or on the hunt for you next crochet project, the Pattern Vault is for you!
Choosing the Right Tools
Before you begin weaving in ends, it's important to have the right tools for the task. These include:
- Yarn needle: When it comes to crochet, tapestry needles are commonly used for weaving loose ends and seaming together pieces of a project. The best tapestry needles for crochet are those that are sturdy, easy to thread, and have a blunt tip to prevent snagging or splitting the yarn.
- Scissors: Sharp scissors for trimming yarn neatly and accurately.
- Crochet hook: A crochet hook can help pull yarn through tight spaces or manipulate stitches.
How To Weaving in Ends
Follow these steps to weave in ends seamlessly:

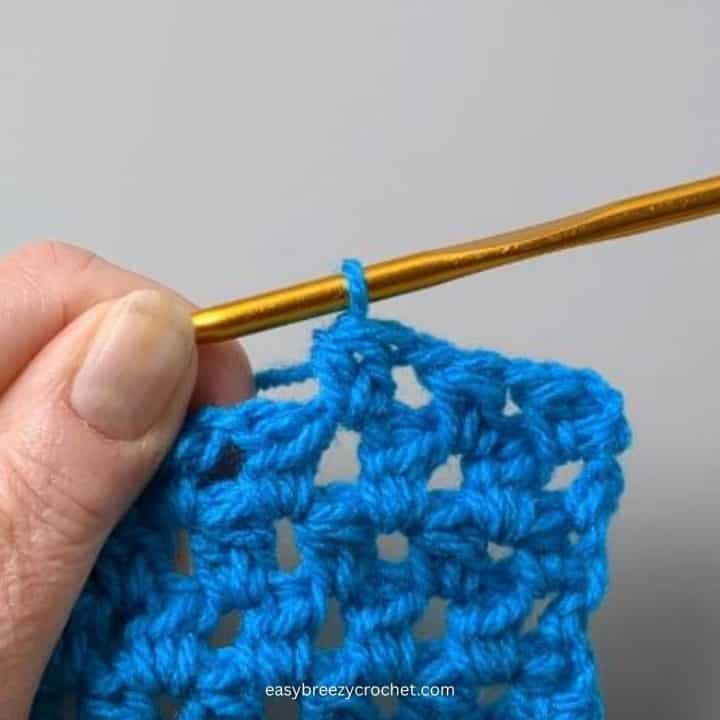
- Thread the yarn needle: Cut the yarn, leaving a tail of about 6 inches. Thread the tail through the eye of the yarn needle.
- Identify the weaving direction: Determine which direction to weave the tail, following the pattern of the stitches. Generally, this means weaving horizontally, vertically, or diagonally.
- Begin weaving: Insert the needle under the top loops of the stitches, ensuring it follows the direction of the stitch pattern. Pull the needle and yarn through, making sure not to distort the stitches.
- Change direction: After weaving through several stitches, change direction to help secure the yarn. Continue weaving the yarn into a few more stitches.
- Trim excess yarn: Once the tail has been woven securely into place, trim any excess yarn close to the fabric, taking care not to snip any stitches.

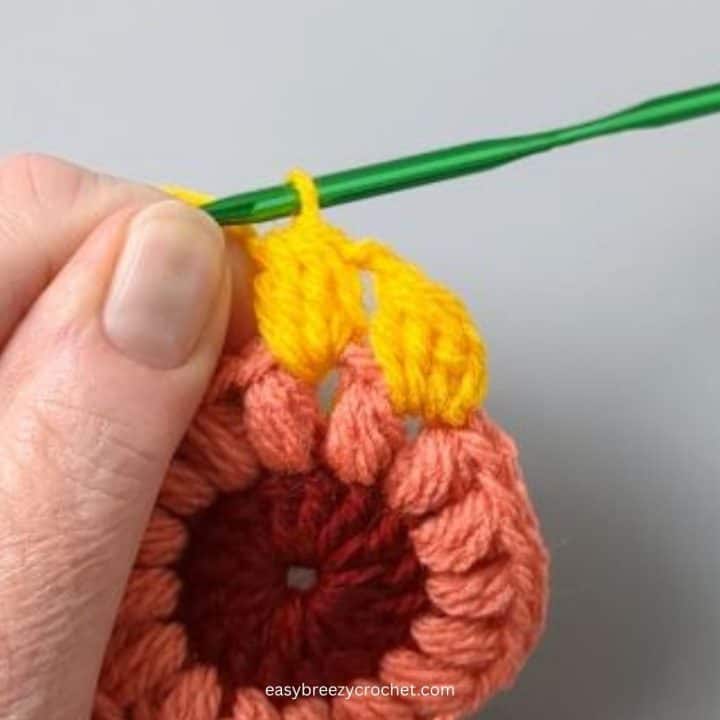
Other Ways To Weave in Ends
Various techniques can be employed for weaving in ends, depending on the type of crochet project and the desired finish. Some of these methods include:
- Back-and-forth weaving: Zigzag the tailback and forth through the stitches, changing direction multiple times for added security.
- Russian join: Use this method to join two yarn ends together without the need for knots or weaving in later. You can learn more about this technique on our page all about joining yarn in crochet.
Common Mistakes To Avoid
To achieve a professional finish, avoid these common mistakes when weaving in ends:
- Don't pull too tight - Over-tightening the yarn can cause the fabric to pucker or the stitches to distort.
- Don't Weave in too short - Insufficient weaving length may result in the tail working itself loose over time.
- Don't cut too close to the fabric - Trimming the yarn too close to the fabric increases the risk of the tail slipping out of the woven stitches.
- Inconsistent weaving: Weaving the yarn haphazardly may result in a less secure and untidy finish.
Tips For A Polished Finish
To achieve the best possible results when weaving in ends, consider these tips:
- Choose a weaving path - Follow the stitch pattern as closely as possible to create a seamless appearance.
- Use the right tools - Make sure you have the appropriate yarn needle, scissors, and crochet hook on hand.
- Block your work - Blocking your crochet project can help even out stitches and make weaving in ends easier.
- Consider yarn type - Some yarns, like slippery or smooth fibers, may require additional care when weaving in ends to ensure they stay secure.
Weaving in ends is an essential skill you need for any crochet project.
By selecting the right tools, following our step-by-step guide, and implementing various techniques, you can achieve a seamless, professional finish for your crochet projects.
Remember to avoid common mistakes listed above when weaving ends, and use our tips to enhance the overall appearance of your work.
Frequently Asked Questions
You will need a tapestry needle with a large enough eye to thread your yarn into.
Then use the threaded tapestry needle to weave in the yarn tail at the back of your work, following the path of the stitches and changing directions several times, then cut off the excess.
Yes, the technique for weaving in crochet ends is the same regardless of the project or yarn type.
You should weave in the end at least 3-4 times in different directions to ensure it is secure.
It is up to personal preference, but it is recommended to weave in the ends as you go to prevent a buildup of loose ends and to make the finishing process easier.
For color changes in crochet, weave at the end of the old color before starting the new color. This will prevent any loose ends from showing in your work.
Don't stop here...
Your next 50 crochet projects are ready inside the Pattern Vault - all printable, ad-free, and ready to download instantly.
Related Guides
- Learn the most common techniques in our basic crochet stitches guide.
- Ready to try your first project? Explore our ultimate granny square guide.
- Understand sizing with our granny square sizes and uses guide.
- See how projects come together in our guide on how to join granny squares.
Stay Connected
Pin this post - Pin now to and take your skills to the next level.
Leave a comment - We're excited to hear your thoughts! Leave a comment below and let us know what you think.
Share on Instagram or Facebook - Capture the beauty of your finished crochet projects and share it on Instagram or Facebook! Tag us @easybreezycrochet or #ebcrochetcreations so we can see your work!
Copyright Notice - This pattern and its contents are protected by copyright law. It may not be copied, altered, redistributed, resold, translated, or used to produce video tutorials in any format, either in whole or in part.
You are permitted to sell finished items made using this pattern. However, the written pattern itself may not be sold, shared, or distributed in any form. When marketing or displaying your finished items, please photograph your own work and refrain from using any of my original images.
Sharing Guidelines For Roundups - Bloggers you are welcome to include this pattern in roundup posts, as long as you use one photo and link directly back to the original post. For full details, please refer to my Terms of Use page.
Comments
No Comments