In this tutorial, you will learn how to make a crochet magic ring.
A crochet magic ring, also known as a magic loop, magic circle, or adjustable ring, is a technique that can be used to start a circular project.
It is made by creating a loop with the yarn and working stitches into the loop to create the center of the circle.

Just starting out? Our crochet beginner essentials guide covers everything you need to get set up, from tools and yarn to the basic skills you'll use in every project.
Table of contents
- Traditional Method Vs Magic Ring Method
- The Advantages Of Using A Magic Ring In Crochet
- Is The Magic Ring Easy To Learn?
- When To Use A Magic Circle
- How Is A Magic Circle Written In A Pattern
- Can I Use The Magic Circle Instead Of A Foundation Ring
- Magic Ring Tutorial
- How To Crochet Stitches Into A Magic Ring
- How To Finish A Magic Circle
- Alternative Methods
- Tips for Success
- Related Guides
- Stay Connected
- Comments
Traditional Method Vs Magic Ring Method
The traditional crochet ring and the magic ring method are both techniques that can be used to start circular crochet projects.
Traditional Method
The traditional crochet ring, also known as the chain loop, foundation ring, or slip-stitch ring, involves creating a slip-knot loop with the yarn and then working a series of chains which are then joined with a slip-stitch to make a circle.
The disadvantage of this method is that it can often leave a hole or gap in the center of the circle, which may need to be closed up later.
Magic Ring Method
The magic ring method, also known as the magic circle or adjustable ring, involves creating a loop with the yarn and then working a series of stitches into the loop to create the center of the circle, which can then be pulled tight.
The advantage of this method is that it allows for a tighter center and a more seamless finish, for projects where you want no holes or gaps in the center.

Exclusive Printable Crochet Patterns
Be inspired and keep creating!
Join us in The Pattern Vault, Easy Breezy Crochet's exclusive community.
Connect with other crocheters from all around the world and gain access to an extensive library of printable PDF crochet patterns.
All patterns are ad-free and available to you when you want, allowing you to crochet in your own time. So, if you're stuck on inspiration or on the hunt for you next crochet project, the Pattern Vault is for you!
The Advantages Of Using A Magic Ring In Crochet
- The magic ring allows you to create a circle of any size, as opposed to a chain stitch ring, which limits the size of the circle.
- When using a magic ring you can pull the yarn tail to tighten the center of the circle, to create a smaller tighter hole than a chain stitch ring.
- The magic ring creates a seamless starting point for your crochet projects because it is hardly noticeable.
Is The Magic Ring Easy To Learn?
Yes, the crochet magic ring is easy to learn but like anything you learn, it will take some practice.
By learning the magic ring technique as a beginner you are developing your skills and confidence to move on to more complex projects.
Even though it may take a lit of practice to get the hang of this technique it is a handy skill to have.
It is especially useful if you want to make amigurumi projects (small toys) or other projects that involve stuffing because the center will be nice and tight and the stuffing won't fall out.
If you are an absolute beginner, you may want to read our how to crochet for beginners guide and learn the basics before moving on to the crochet magic ring.
When To Use A Magic Circle
You can use a magic circle in any crochet project that starts in a circle, for example, use it to start projects like:
- Amigurumi and crochet toys, because items like these require a tight and secure center to stop the stuffing from falling out.
- Hats that are made with a circular crown, look neater and more professional when started with a magic ring.
- Coasters worked in a round can look neat when started with a magic ring.
- Mandalas and other circular projects like dollies for a nice precise starting point.
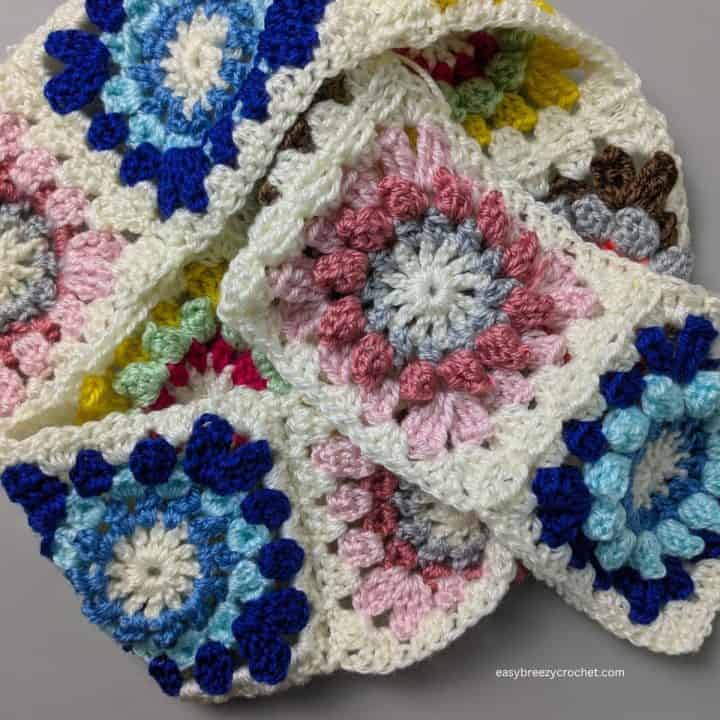
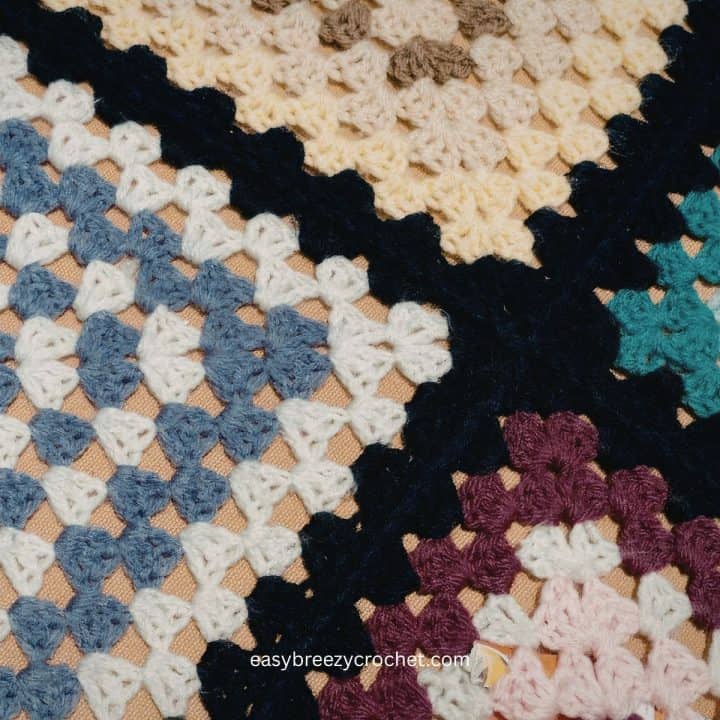
- Granny squares for blankets, bags and clothing.
How Is A Magic Circle Written In A Pattern
In crochet patterns, the magic ring or magic circle can be abbreviated to MR or MC and you may see it written in patterns like this: "Work 6 sc in MR"
Can I Use The Magic Circle Instead Of A Foundation Ring
Yes, you can start your circular project with a crochet magic ring instead of the traditional foundation ring if you wish.
Magic Ring Tutorial
(The instructions below are written for a right handed person)
Here are step-by-step instructions on how to make a magic ring in crochet:

Step 1 - With your left hand open and the palm facing you,

Step 2 - Lay the yarn in your palm (with the tail end hanging past your little finger) and wrap the yarn over the top of your index, middle, and ring fingers (or just wrap over two fingers if you like).

Step 3 - Then bring the yarn back under the fingers, crossing the yarn as it meets the start at the top of your index finger, and to the back of the ring you just made.

Step 4 - Use your thumb to hold the crossed yarn in place, and insert the crochet hook under the first loop,

Step 5 - Pick up the yarn from the back and bring it to the front,

Step 6 - Then make one chain stitch this will secure the loop onto the hook. (Note, this chain is not to included as a chain stitch in the steps below).
You have just made a magic circle. What Is Next?
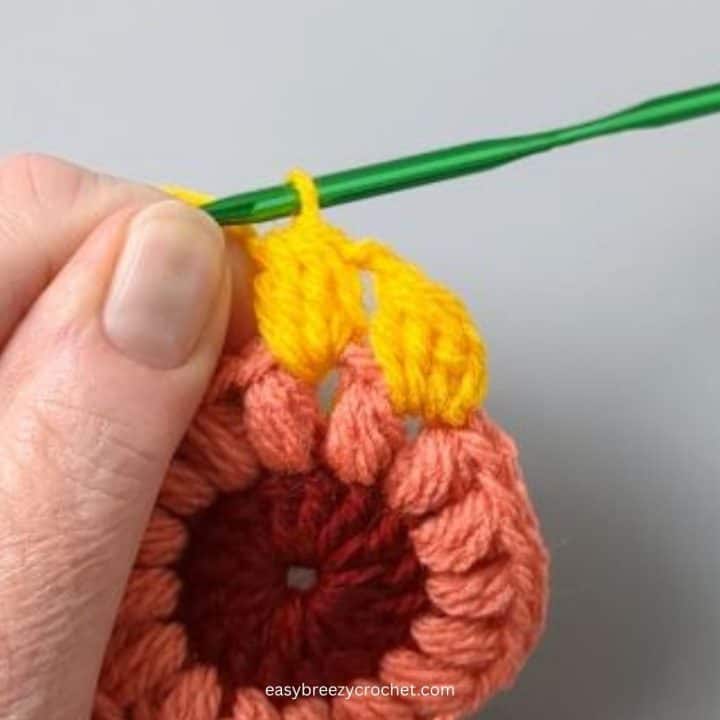
After making the magic circle, work the number of stitches required into it as stated in the first round of your pattern.
But before you start your working on the first round, you will have to make a starting chain to match the height of the stitch you are making in the first round.
- Make 1 chain if your pattern starts with a round of single crochet.
- Make 2 chains if you are working half double crochet into the magic ring.
- Make 3 chains if you are crocheting double crochets into the ring.
- Make 4 chains for treble stitch.
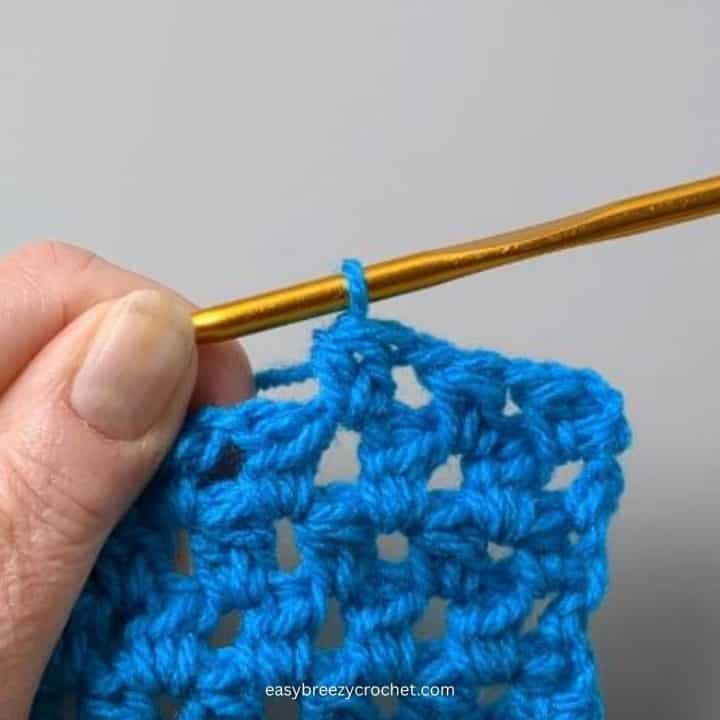
How To Crochet Stitches Into A Magic Ring
After making the magic ring and making the required number of starting chains to match the stitch you are crocheting you can start the first round.
In order to have a secure ring, work the stitches over both the loop and the yarn tail.
As you crochet the ring will seem loose and may not even look like a ring just yet, but that will be fixed in the next step.

Once you have completed the required stitches, you can tighten the ring by pulling on the tail of the yarn to tighten the center of the circle closing the loop and creating a secure and seamless center.
Then join the round as described in the pattern you are using.

Note: The number of stitches required for the first round will vary depending on the pattern you are following. Always check the pattern instructions for the correct number of stitches to make into the ring.
Don't stop here...
Your next 50 crochet projects are ready inside the Pattern Vault - all printable, ad-free, and ready to download instantly.
How To Finish A Magic Circle
After you have completed your project, if the ring has loosened up, pull on the tail again to tighten the ring, then weave in the ends to secure it in place.
When making a crochet magic ring, I like to start with a slightly longer yarn tail than I would with a foundation ring.
The reason for this is I like to weave in the ends a little more to ensure that it does not become undone over time.
Alternative Methods
The way I have shown you above is just one way to make a magic ring, and it might not be to you liking.
So, I have included links to some videos to show you other ways to start a magic ring like this one from MJ Carlos, this one from BerceauKnits or this one from Yarndrasil.
Watch these and other methods until you find one that you are comfortable with.
Tips for Success
Here are some tips for success when using the magic ring technique in crochet:
- When making a magic ring, it's important to use yarn that won't easily unravel or fray. A smooth and sturdy yarn, such as mercerized cotton, can be a good choice.
- When making a magic ring, it's important to have a long enough yarn tail to hold onto and to be able to pull tight to close the center. Starting with a long tail can make this process easier.
- When making a magic ring, hold the loop securely with your non-dominant hand. This will help keep the loop in place and prevent it from slipping or unraveling.
- When working your stitches into the center of the loop, make sure to work them tightly to create a secure and uniform center.
- When you're ready to close the loop and tighten the center, make sure to pull the tail tightly to create a secure and seamless center.
Related Guides
- Learn the most common techniques in our basic crochet stitches guide.
- Ready to try your first project? Explore our ultimate granny square guide.
- Understand sizing with our granny square sizes and uses guide.
- See how projects come together in our guide on how to join granny squares.
Stay Connected
Pin this post - Pin now to and take your skills to the next level.
Leave a comment - We're excited to hear your thoughts! Leave a comment below and let us know what you think.
Share on Instagram or Facebook - Capture the beauty of your finished crochet projects and share it on Instagram or Facebook! Tag us @easybreezycrochet or #ebcrochetcreations so we can see your work!
Copyright Notice - This pattern and its contents are protected by copyright law. It may not be copied, altered, redistributed, resold, translated, or used to produce video tutorials in any format, either in whole or in part.
You are permitted to sell finished items made using this pattern. However, the written pattern itself may not be sold, shared, or distributed in any form. When marketing or displaying your finished items, please photograph your own work and refrain from using any of my original images.
Sharing Guidelines For Roundups - Bloggers you are welcome to include this pattern in roundup posts, as long as you use one photo and link directly back to the original post. For full details, please refer to my Terms of Use page.
Comments
No Comments