
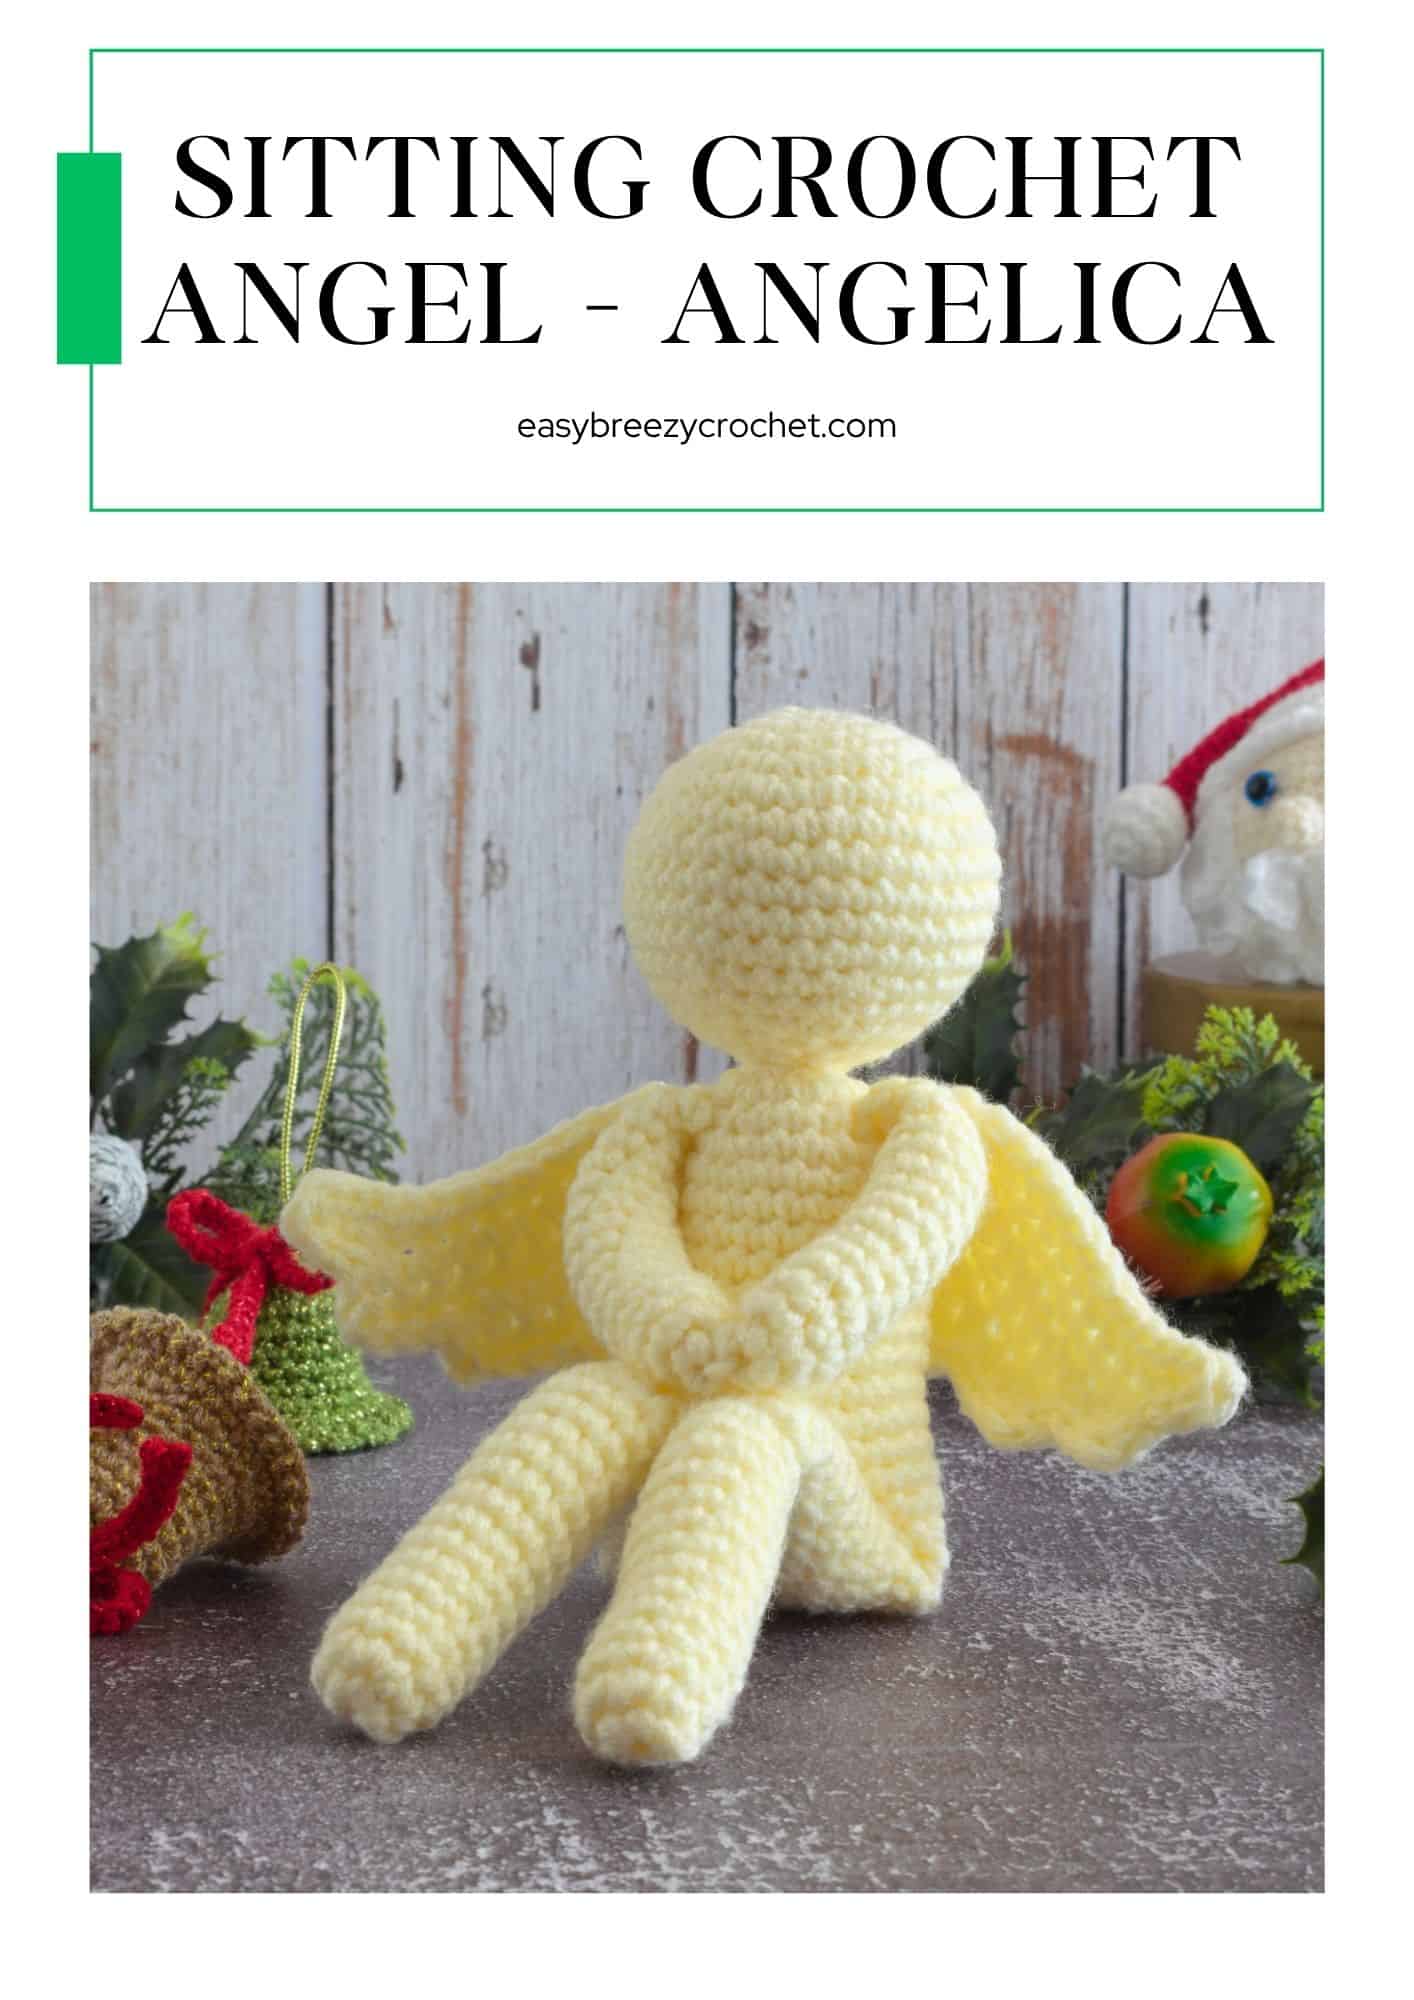
This sitting crochet angel pattern is easy to make and would look great sitting on your mantle, next to the Christmas tree, or as a table centerpiece.
Not only would it look great in your home this amigurumi angel would also make a treasured gift.
About This Crochet Angel Pattern
- This crochet angel pattern starts by making the arms first.
- The head and body pieces are worked next as one piece, with the arms being crocheted into the body pieces as it is made.
- The legs and angel wings are then made and stitched to the body.
- We have designed the pattern to use #4 medium worsted weight yarn and a 4mm (G/6) hook, so the pieces of the crochet angel are not too small, making it easier to work with.
Meet Angelica The Crochet Angel
Angelica, the crochet angel, cherished her cozy corner near the fireplace. Overflowing with playful energy, she would hide in different spots each day - sometimes peeking out from the top of the shelf, other times nestled amidst the colorful stockings - spreading joy wherever she appeared, making each discovery a delightful surprise for all.
Pattern Details
- Skill Level - Intermediate beginner
- Yarn Weight - #4 medium yarn
- Hook Size - 4mm (G/6)
- Finished Size - about 6.3 inches (16cm) tall and about 4.7 inches (12cm) long from the back of the body to the feet
- Time To Complete - A weekend project
Exclusive Printable Crochet Patterns

Ready to take your crochet skills to the next level?
Join us in The Pattern Vault, Easy Breezy Crochet's exclusive community.
Connect with other crocheters from all around the world and gain access to an extensive library of printable PDF crochet patterns.
All patterns are ad-free and available to you when you want, allowing you to crochet in your own time. So, if you're stuck on inspiration or on the hunt for you next crochet project, the Pattern Vault is for you!
Table of contents
- About This Crochet Angel Pattern
- Meet Angelica The Crochet Angel
- Pattern Details
- Crochet Stitches
- Amigurumi Tips for Beginners
- What You Will Need
- Finished Size & Gauge
- Stitches and Abbreviations - US Terms
- Special Stitches
- Pattern Notes
- Pattern Instructions
- Finishing
- Easy Amigurumi Patterns
- More Free Crochet Patterns
- Your Quick-Reference Guide
- Stay Connected
- Comments
Crochet Stitches
You will need some basic crochet stitches to make this pattern, like single crochet, double crochet, slip stitch, and chain stitch.
Invisible Decrease (invdec)
In this pattern, you will need to do something called 'invisible decreases. Do not worry if you are not sure how to do it! Check out our post on making a single crochet invisible decrease to learn all about it. It is easy, I promise!
Front Loops (FLO) And Back Loops (BLO)
In this pattern, you will need to know the difference between the front or back loops of stitches. If you are not sure what this means, check out our blog post understanding front and back loops in crochet. It explains everything in a super easy way.
Amigurumi Tips for Beginners
New to amigurumi? Check out our blog post for beginner-friendly tips! Learn essential techniques and troubleshoot common challenges to make your crochet projects a success.
What You Will Need
We used #4 medium yarn (also known as worsted, Afgan, Aran, or 10 py) with 11 WPI (wraps per inch).
- Ivory - 87.5 yards (80 meters)
Crochet Hook
- 4 mm (G/6) hook
Note: This pattern allows for flexibility with yarn weights. Adjust your hook size to be 1-2 sizes smaller than the recommended size for your chosen yarn. Doing so will create a tighter fabric, preventing the stuffing from showing through.
Notions
- Scissors
- Yarn needle
- Toy stuffing
Finished Size & Gauge

Finished Size
This sitting amigurumi angel is about 6.3 inches (16cm) tall and about 4.7 inches (12cm) long from the back of the body to the feet when made with the yarn weight and hook size mentioned above.
Gauge
The gauge is not important for this project, but making sure the stitches are tight is important.
This prevents the toy stuffing from peeking through. If you notice the filling showing through, consider using a smaller hook size to achieve tighter stitches.
Stitches and Abbreviations - US Terms
- MR - magic ring
- sc - single crochet
- hdc - half double crochet
- dc - double crochet
- invdec - invisible decrease (see special stitches below)
- st/sts - stitch/stitches
- sl st - slip stitch
- hk - hook
- rnd - round
- rpt - repeat
- FLO - front of loop
- YO - yarn over hook
- lp/lps -loop/loops
- [ ] - at the end of a round, indicate the number of stitches in that round.
Special Stitches
invdec - Insert hk in FLO of next st, then in FLO of next st, YO, pull through 2-lps, YO, pull through 2-lps.
Pattern Notes
- This pattern is worked in a spiral, so do not join the rounds as you go.
- Use a stitch maker to mark the first stitch of each round. This will help you keep track of the start and end of a round.
- Work the pattern in the order as shown below, because it is joined together as it is made.
Start building your printable crochet library!
Want an ad-free printable version of this crochet pattern?
Join the Easy Breezy Crochet Pattern Vault to get this printable pattern (and more)!
The Pattern Vault is Easy Breezy Crochet's newest exclusive community where Pattern Vault Members can access an extensive library of ad-free printable crochet patterns, and join a growing community of crocheters around the world.
Pattern Instructions
Arms (make 2)
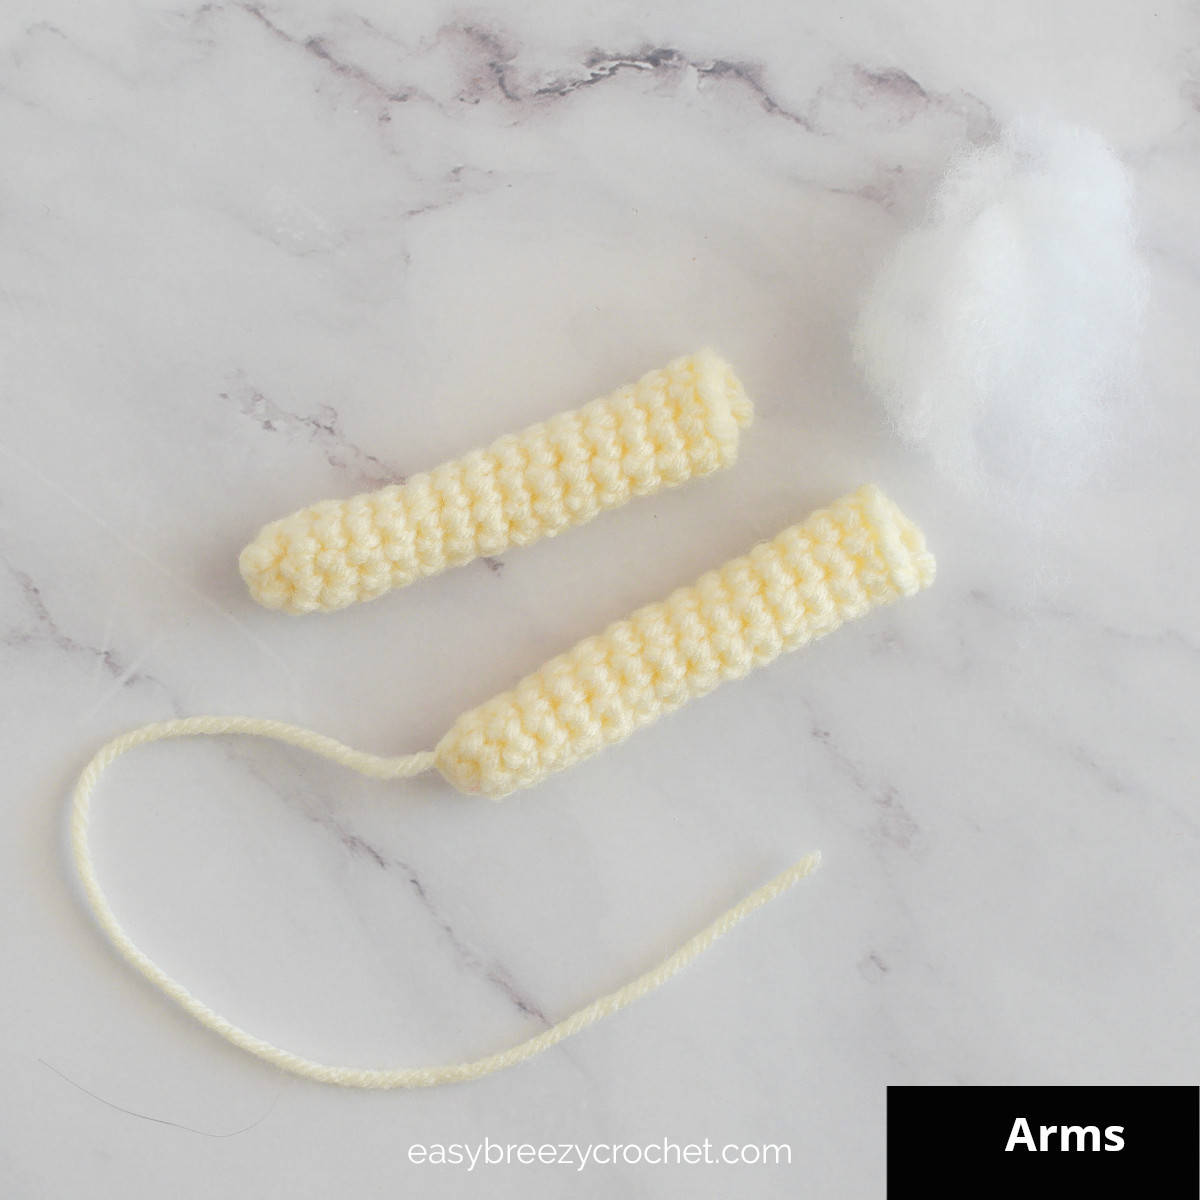
Note - When making the first arm, leave a long starting yarn tail (about 6 inches / 15cm long) and bring it to the front of the work - this yarn tail will be used for sewing later. Secure the yarn tail for the second arm on the inside.
Round One
Round 1 - Make 4 single crochet into a magic ring, and pull the ring tight. [4 single crochet in this round.]
Abbreviated version
Rnd 1 - 4sc in MR, pull ring tight. [4sc]
Round Two
Round 2 - Make 2 single crochets in each of the next 4 stitches. [You should have 8 single crochets in this round.]
Abbreviated version
Rnd 2 - 2sc in next 4-sts. [8sc]
Round Three to Sixteen
Rounds 3-16 - Make 1 single crochet in each of the next 8 stitches. [8 single crochets in each round.]
Abbreviated version
Rnds 3-16 - 1sc in next 8-sts. [8sc in each rnd]
Round Seventeen
Round 17 - Make 1 single crochet in each of the next 8 stitches, chain 1, cut yarn, leaving a short tail, fasten, off, and tuck the yarn tail inside the arm. [8 single crochets in this round.]
Abbreviated version
Rnd 17 - 1sc in next 8-sts, sl st into next st, ch1, cut yarn, leave a short tail, fasten off, and tuck yarn tail inside arm. [8sc ]
Stuff - Fill the arm with stuffing leaving the area above the last two rounds unfilled.
This completes one arm. Repeat steps 1 -17 to make a second arm.
Head

Round One
Round 1 - Make 6 single crochet in a magic ring, and pull the ring tight. [6 single crochet in this round.]
Abbreviated version
Rnd 1 - 6sc in MR, pull ring tight. [6sc]
Round Two
Round 2 - Make 2 single crochet in each of the next 6 stitches. [12 single crochet in this round.]
Abbreviated version
Rnd 2 - 2sc in next 6-sts. [12sc]
Round Three
Round 3 - * Make 1 single crochet in the next stitch, then 2 single crochet in the next, and repeat from * 6 more times. [You should now have 18 single crochet stitches in this round.]
Abbreviated version
Rnd 3 - * 1sc in next st, 2sc in next, rpt from * 6 times. [18sc]
Round Four
Round 4 - * Make 1 single crochet in each of the next 2 stitches, then 2 single crochet in the next, repeat from * 6 more times. [You should now have 24 single crochet stitches in this round.]
Abbreviated version
Rnd 4 - * 1sc in next 2-sts, 2sc in next, rpt from * 6 times. [24sc]
Round Five
Round 5 - * Make 1 single crochet in each of the next 3 stitches, then 2 single crochet in the next, repeat from * 6 more times. [You should now have 30 single crochet stitches in this round.]
Abbreviated version
Rnd 5 - * 1sc in next 3-sts, 2sc in next, rpt from * 6 times. [30sc]
Round Six
Round 6 - * Make 1 single crochet in each of the next 4 stitches, then 2 single crochet in the next, and repeat from * 6 more times. [You should now have 36 single crochet stitches in this round.]
Abbreviated version
Rnd 6 - * 1sc in next 4-sts, 2sc in next, rpt from * 6 times. [36sc]
Rounds Seven to Eleven
Rounds 7-11 - Make 1 single crochet in each of the next 36 stitches. [36 single crochets in each round.]
Abbreviated version
Rnds 7-11 - 1sc in next 36-sts. [36sc in each rnd]
Round Twelve
Round 12 - * Make 1 single crochet in each of the next 4 stitches, then invisible decrease, repeat from * 6 times. [You should now have 30 single crochet in this round.]
Abbreviated version
Rnd 12 - * 1sc in next 4-sts, invdec, rpt from * 6 times. [30sc]
Round Thirteen
Round 13 - * Make 1 single crochet in each of the next 3 stitches, then invisible decrease, repeat from * 6 times. [You should now have 24 single crochet in this round.]
Abbreviated version
Rnd 13 - * 1sc in next 3-sts, invdec, rpt from * 6 times. [24sc]
Round Fourteen
Round 14 - * Make 1 single crochet in each of the next 2 stitches, then invisible decrease, repeat from * 6 times. [You should now have 18 single crochet in this round.]
Abbreviated version
Rnd 14 - * 1sc in next 2-sts, invdec, rpt from * 6 times. [18sc]
Round Fifteen
Round 15 - * Make 1 single crochet in the next stitch, then invisible decrease, and repeat from * 6 times. [You should now have 12 single crochet in this round.]
Abbreviated version
Rnd 15 - * 1sc in next st, invdec, rpt from * 6 times. [12sc]
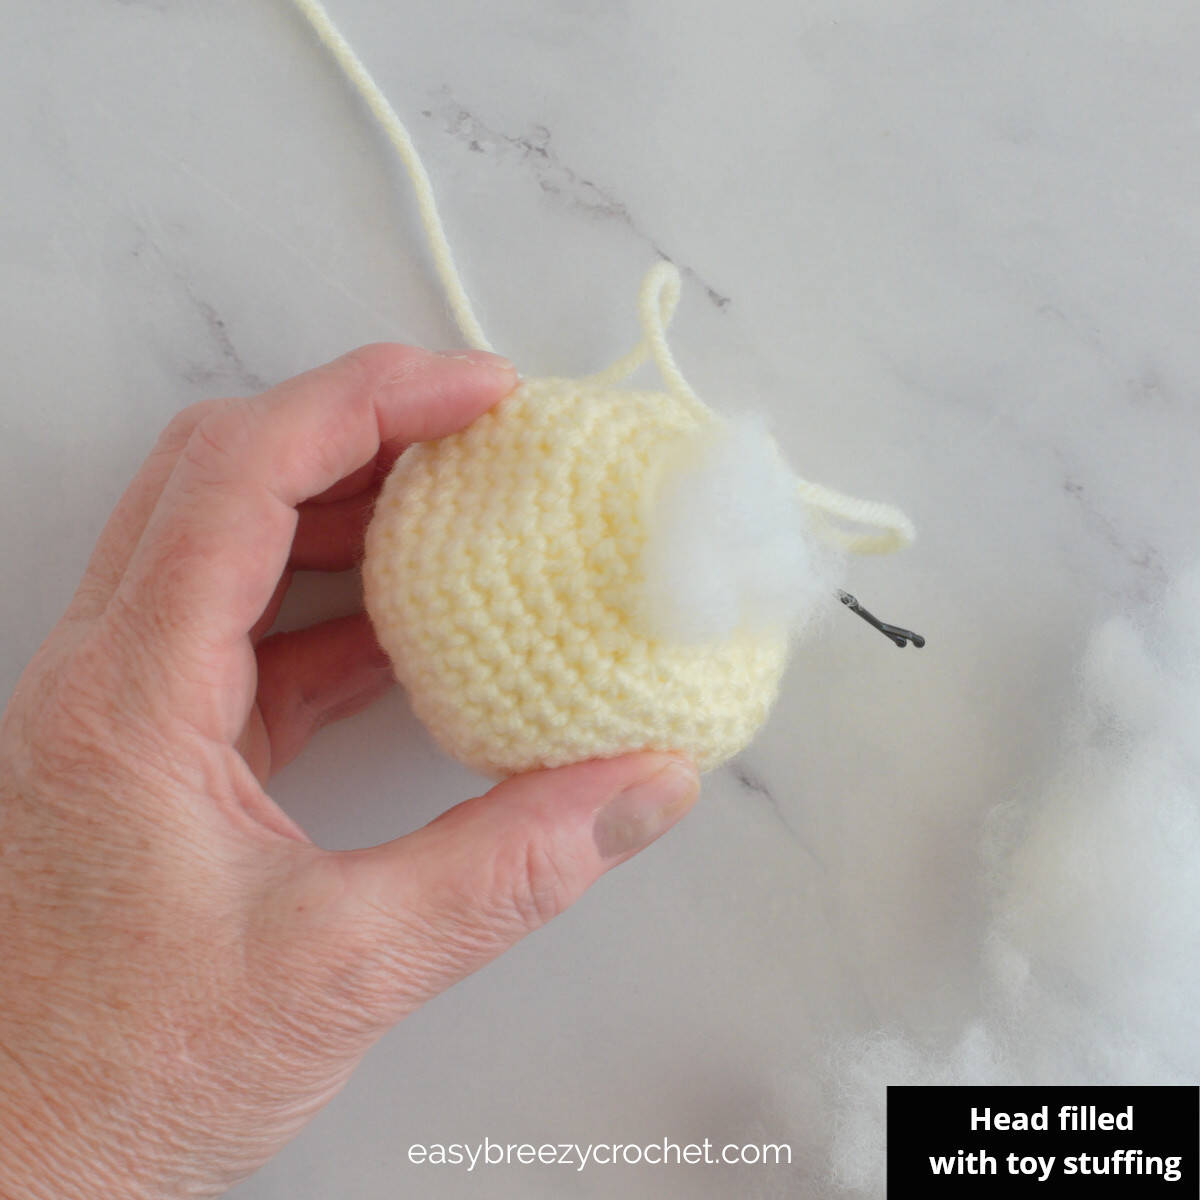
Stuff- Firmly fill the head with stuffing.
Round Sixteen
Round 16 - * Make an invisible decrease, repeat from * 6 times. [You should now have 6 single crochet in this round.]
Abbreviated version
Rnd 16 - * Invdec, rpt from 6 times. [6sc]
Do not cut yarn, because you will now start to shape the body. Also, note in round 19 the arms will be crocheted to the body.
✨ You're almost there! ✨
To unlock the final steps and complete your pattern, create a free account with Grow.me. below.
Make sure to tick the box to subscribe to our newsletter and stay up to date with the latest patterns, tips, and more!
Once you're signed up, you'll get instant access to finish your project and enjoy exclusive content in the future.
Already signed up? Hit the button below and select 'Switch to Log In' to pick up where you left off and finish your project!
Body
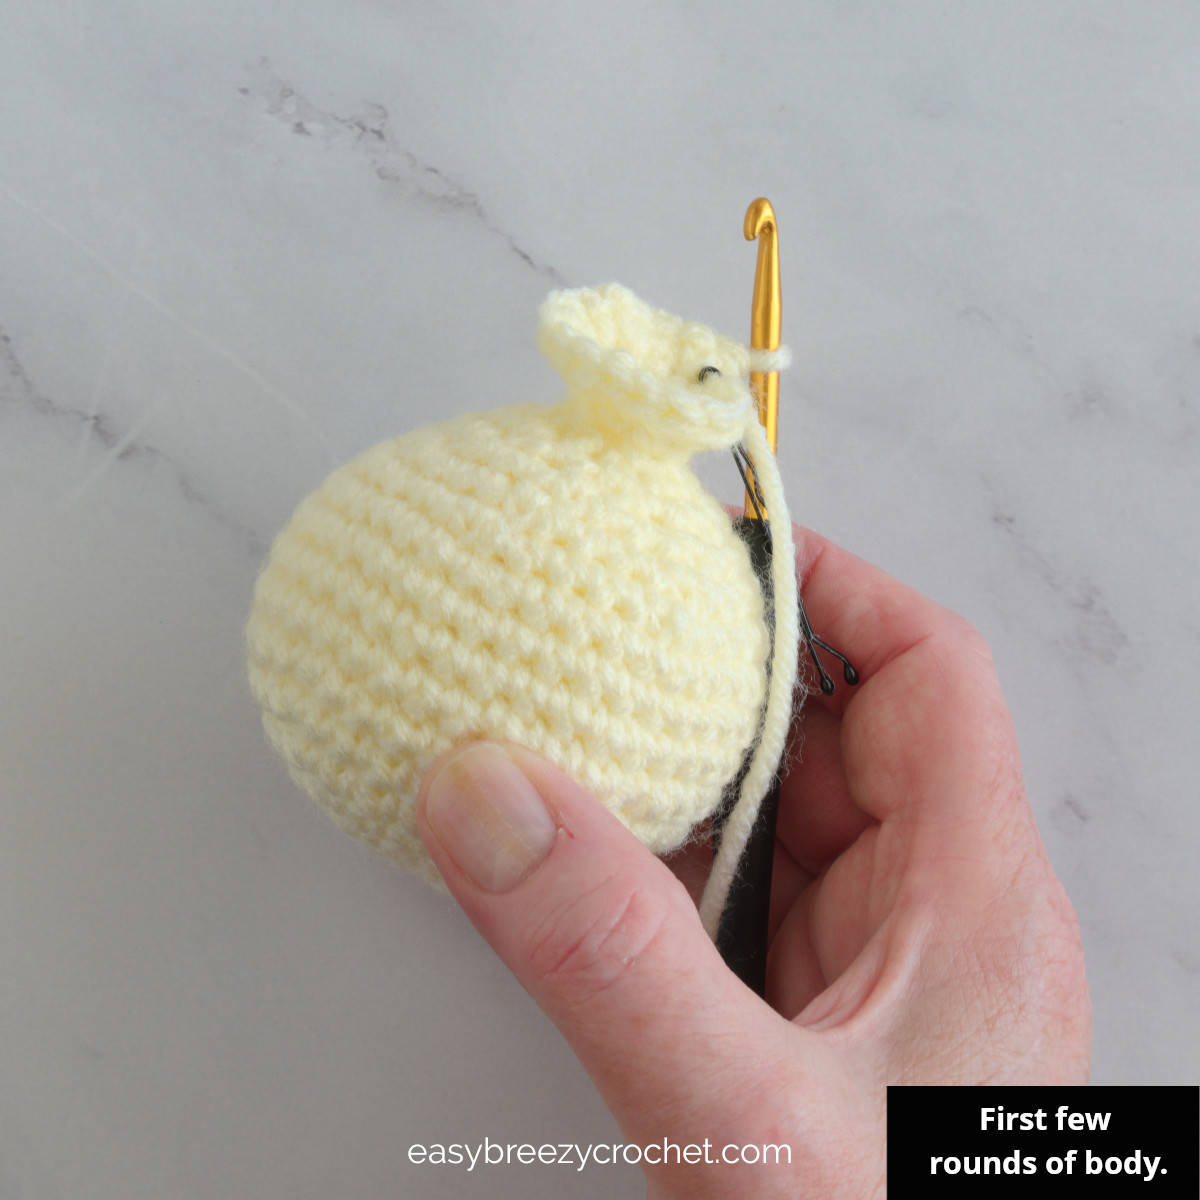
Round Seventeen
Round 17 - Make 2 single crochet in each of the next 6 stitches. [There should now be 12 single crochet in this round.]
Abbreviated version
Rnd 17 - Make 2sc in next 6-sts. [12sc]
Round Eighteen
Round 18 - *Make 1 single crochet in the next stitch, then make 2 single crochet in the next, repeat from * 6 times. [18 single crochet in this round.]
Abbreviated version
Rnd 18 - * 1sc in next st, 2sc in next, rpt from * 6 times. [18sc]
Round Nineteen

When you attach the arms to the body, start by pressing the arm opening closed with your fingers, lining up the stitches on both sides. Then, use four single crochet stitches to secure the arm onto the body as you crochet round 19.
Round 19 (joining arms to body) - Line an arm piece to the start of the round and make 1 single crochet into each of the next 4 stitches (going through all three layers), then make 1 single crochet in each of the next 5 stitches, then crochet the second arm to the body with 1 single crochet each of the next 4 stitches (going through all three layers), then make 1 single crochet in each of the next 5 stitches. [18 single crochet in this round.]
Abbreviated version
Rnd 19 (joining arms to body) - Line an arm piece to the start of the round and make 1sc into each of the next 4-sts (going through all three layers), then make 1sc in each of the next 5-sts, then crochet the second arm to the body with 1sc each of the next 4-sts (going through all three layers), then make 1sc in each of the next 5-sts. [18sc]

Round Twenty
Round 20 - Make * 1 single crochet in the next 2 stitches, then 2sc in the next, and repeat from * 6 times. [24 single crochet in this round.]
Abbreviated version
Rnd 20 - * 1sc in next 2-sts, 2sc in next, rpt from * 6 times. [24sc]
Rounds Twenty-One to Thirty-Two
Rounds 21 - 23 - Make 1 single crochet in each of the next 24 stitches. [24 single crochet in each round.]
Abbreviated version
Rnds 21 -32 - 1sc in next 24-sts. [24sc in each rnd]
Round Thirty-Three
Round 33 - Make 1 single crochet in each of the next 24 stitches, slip stitch into the next stitch, chain 1, cut yarn, leaving a short yarn tail, and fasten off. [24 sing crochet in this round.]
Abbreviated version
Rnd 33 - 1sc in next 24-sts, sl st into next st, ch1, cut yarn, leaving a short yarn tail, and fasten off. [24sc]
Finish the body
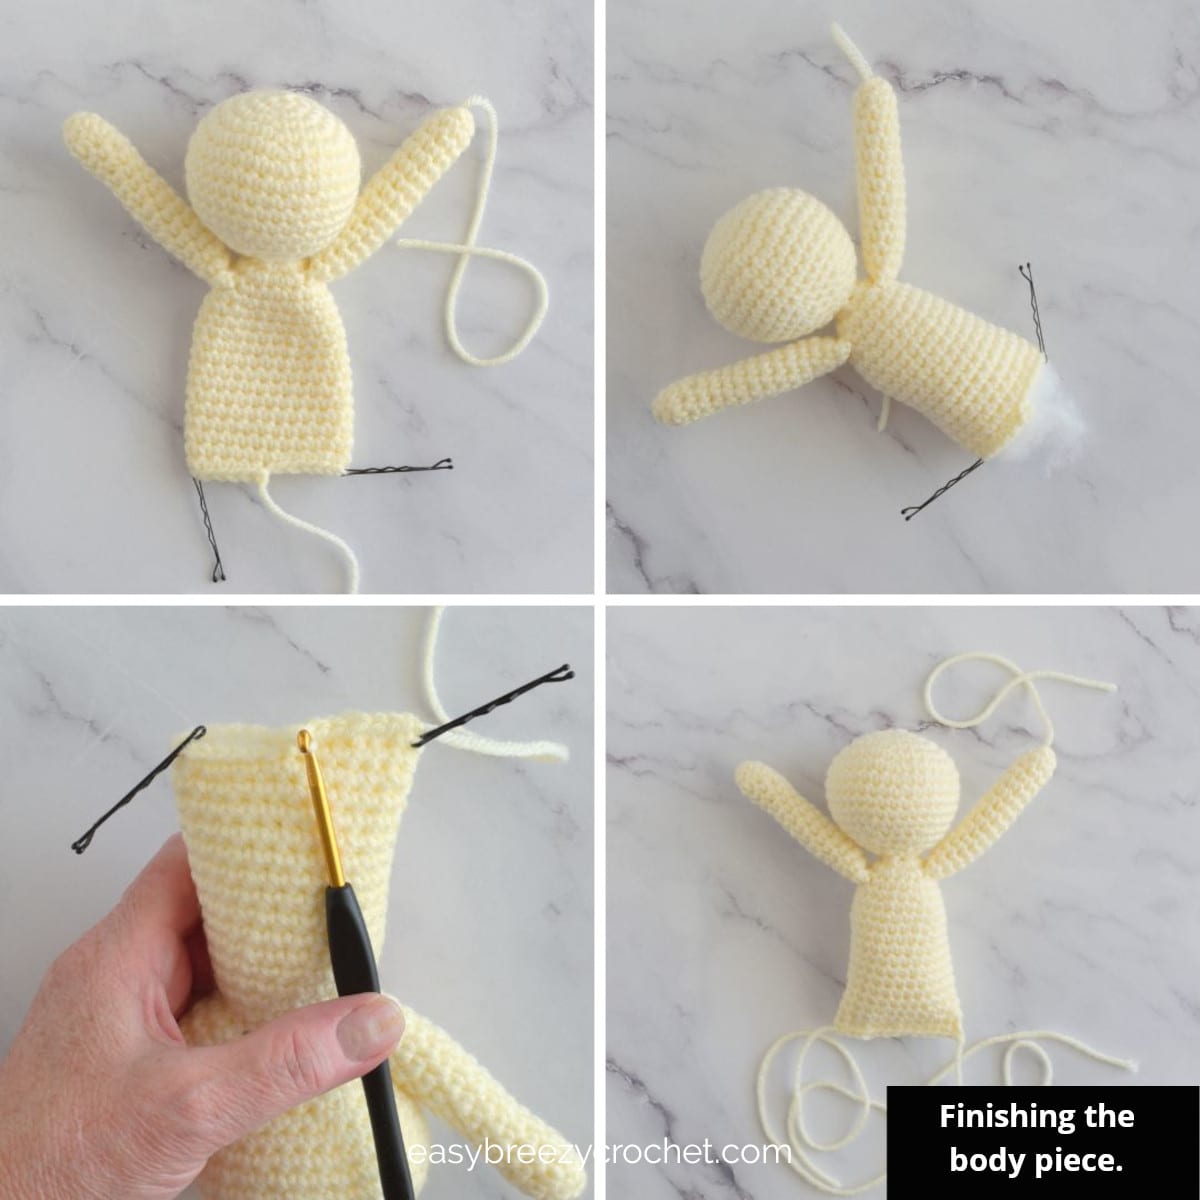
- Flatten the body opening closed and ensure the arms are aligned on the sides. Mark the sides with a stitch marker on each end.
- Tuck the yarn tail inside the body and firmly fill the body with stuffing.
- Slip knot yarn to hook, leaving a long starting yarn tail, this is to be used for sewing later.
- Take the body piece and hold the opening closed, so that the back on front pieces are together, and the marked side seams are aligned.
- Starting at the right side seam, insert the hook through both layers, chain 1, then single crochet in the same space as the chain 1.
- Make 11 more single crochet stitches (through both layers) along the bottom edge to close the opening, chain 1, cut yarn, leave a long yarn tail for sewing, and fasten off.
Legs (make 2)

Round One
Lower leg section
Round 1 - Make 5 single crochet into a magic ring, and pull the ring tight. [5 single crochet in this round.]
Abbreviated version
Rnd 1 - 5sc in MR, pull ring tight. [5sc]
Round Two
Round 2 - Make 2 single crochets in each of the next 5 stitches. [10 single crochet in this round.]
Abbreviated version
Rnd 2 - 2sc in next 5-sts. [10sc]
Rounds Three to Fourteen
Rounds 3 -14 - Make 1 single crochet in each of the next 10 stitches. [10 single crochet in each round.]
Abbreviated version
Rnds 3-14 - 1sc in next 10-sts. [10sc in each rnd]
Round Fifteen

Round 15 (knee) - Make 1 single crochet in each of the next 5 stitches, then make 1 double crochet in each of the next 5 stitches. [5 single crochet and 5 double crochet in this round.]
Abbreviated version
Rnd 15 (knee) - 1sc in next 5-sts, 1dc in next 5-sts. [5sc and 5dc]
Stuff - Lightly stuff the lower leg, leaving the round with the double crochet stitches unfilled.
Rounds Sixteen to Twenty-Five
Upper leg section
Rounds 16 - 25 - Make 1 single crochet in each of the next 10 stitches. [10 single crochet in each round.]
Abbreviated version
Rnds 16- 25 - 1sc in next 10-sts. [10sc in each rnd]
When you have completed round 25 the leg is finished, but don't cut yarn just yet.
Finish the leg
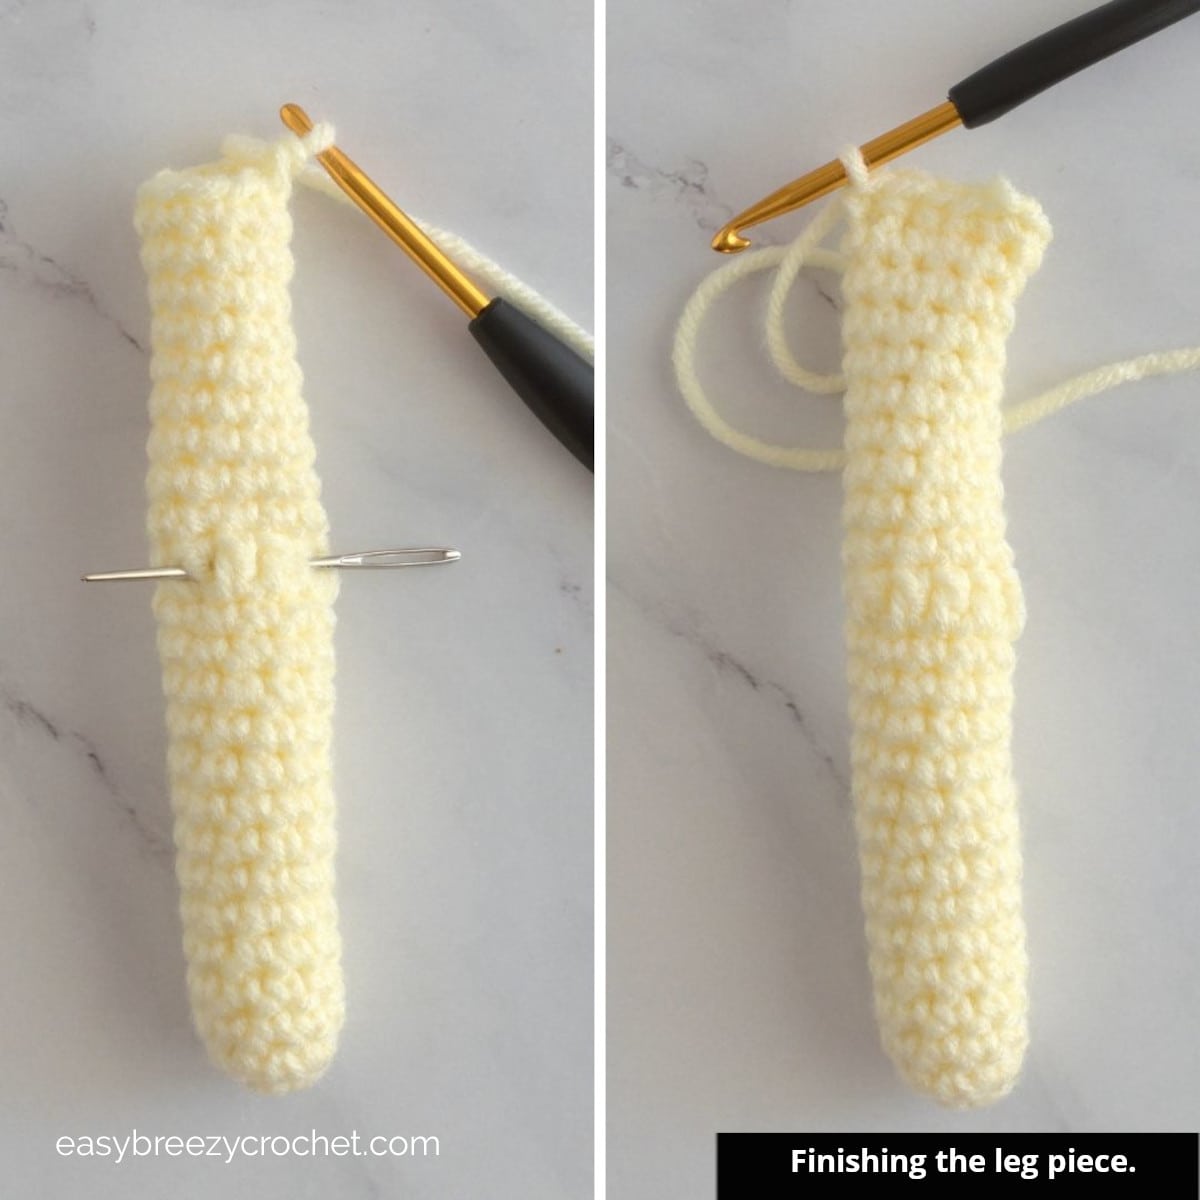
Stuff the upper leg
- Flatten the leg so the knee, the round with the 5 double crochet stitches is on top.
- Insert your yarn needle across the double crochet stitches going through both layers of the leg, then firmly fill the upper leg with stuffing. The yarn needle will help keep the knee area unfilled.
- Once filled remove the yarn needle from the knee section.
Close the leg opening
- Press the opening of the leg together, then crochet the two pieces together with 5 single crochets along the top, chain 1, cut yarn, cut yarn. fasten off and weave in the end.
This completes one leg. Repeat steps 1 - 25 and the finishing instructions to complete the second leg.
Once you have completed both legs, sew them to the body.
Attaching the legs to the body

- Sew each leg to the bottom of the angel along the seam line, using the yarn tails from each side of the body.
- Make sure to line the side of each leg with the sides of the body.
- To keep the angel in a seated position tack each thigh to the body.
Sew the arms together
- Use the yarn tail from the second arm to join the two arms at the tip.
- Then tack the arms into place above and onto the bent knees.
Wings (make 2)
Please note that the wings are made the same, but at the end of round 7, the edging for the second wing is worked in a different direction.

Round One
Round 1 - Chain 14, then make 1 single crochet in the 2nd chain from the hook, then make 1 single crochet in the next 12 stitches, chain 1, turn. [You should have 13 single crochet in this round.]
Abbreviated version
Rnd 1 - Ch14, 1sc in 2nd ch from hk, 1sc in next 12-sts, ch1, turn. [13sc]
Round Two
Round 2 - 1 single crochet into each of the next 11 stitches, leaving the last 2 stitches unworked, chain 1, turn. [11 single crochet in this round.]
Abbreviated version
Rnd 2 - 1sc into each of the next 11-sts, leaving the last 2-sts unworked, ch1, turn. [11sc]
Round Three
Round - Make 1 single crochet in each of the next 11 stitches, chain 1, and turn. [11 single crochet in this round.]
Abbreviated version
Rnd 3 - 1sc in each of the next 11-sts, ch1, turn. [11sc]
Round Four
Round 4 - Make 1 single crochet into each of the next 9 stitches, leaving the last 2 stitches unworked, chain 1, and turn. [9 single crochet in this round.]
Abbreviated version
Rnd 4 - 1sc into each of the next 9-sts, leaving the last 2-sts unworked, ch1, turn. [9sc]
Round Five
Round 5 - Make 1 single crochet into each of the next 9 stitches, chain 1, and turn. [9 single crochet in this round.]
Abbreviated version
Rnd 5 - 1sc in each of the next 9-sts, ch1, turn. [9sc]
Round Six
Round 6 - Make 1 single crochet into each of the next 6 stitches, leaving the last 3 stitches unworked, chain 1, and turn. [6 single crochet in this round.]
Abbreviated version
Rnd 6 - 1sc in next 6-sts, leaving the last 3-sts unworked, ch1, turn. [6sc]
Round Seven
Round 7 - Make 1 single crochet in the next stitch, then 1 half double crochet into the next stitch, then 1 double crochet into each of the next 2 stitches, 1 half double crochet in the next stitch, then 2 half double crochet into the last stitch.
Next, without turning your work, crochet the following stitches along the side edge of the 7 rows you just completed.
Skip a row or two as needed to fit the stitches across: make 1 double crochet, followed by 1 half double crochet, another 1 half double crochet, and finish with 1 single crochet in the first row you made.
Then, continue working around the wing by making slip stitches around the outer edges of the wing until you reach the first slip stitch made.
Then, cut the yarn, fasten it off, and weave in the loose ends.
Abbreviated version
Rnd 7 - 1sc in next st, 1hdc in next, 1dc in next 2-sts, 1hdc in next, 2hdc in last st. Do not turn work, continue around the wing edge.
Space the following evenly along the edge, 1dc, 1hdc, another 1hdc, and 1sc in the last st, then sl st around the edge of the wing, sl st in 1st sl st to join, cut the yarn, fasten it off, and weave in the loose ends.
This completes 1 wing, repeat steps 1 - 7 for the second wing.
However, when making the sl sts on the second wing, turn the wing so you are making sl sts in the opposite direction. By doing this you will have two opposite wings with a similar edging.
Finishing

Use pins to position the wings on the back of the angel, and when you are happy with the position stitch them into place.
If you like this simple pattern you might also like Polly the crochet bunny rabbit, it is easy to make.
Don't stop here...
Your next 50 crochet projects are ready inside the Pattern Vault - all printable, ad-free, and ready to download instantly.
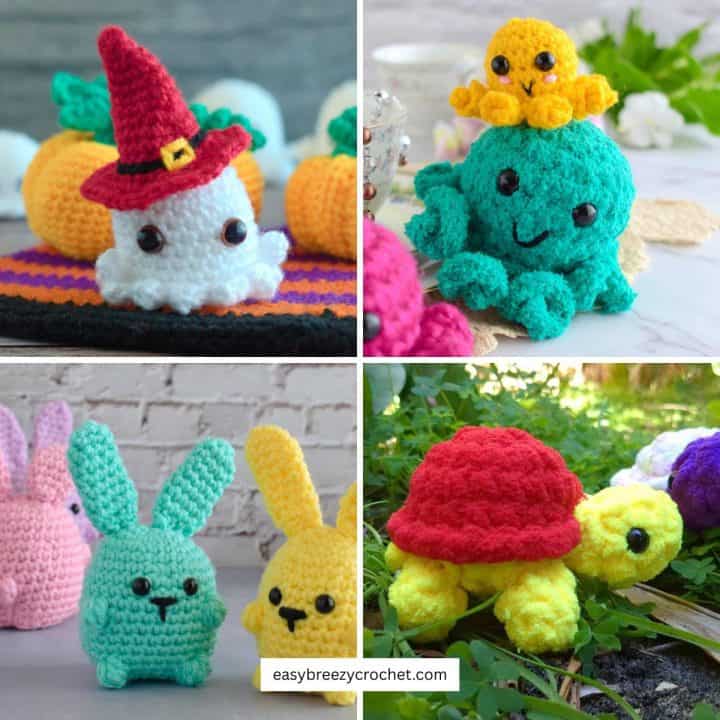
Easy Amigurumi Patterns
- Cute Amigurumi Patterns You Can Make
- Chubby Chick - Crochet Chicken Pattern
- Cute Crochet Bat Pattern - (Free Halloween Amigurumi, Small & Easy)
- Crochet Mini Octopus Pattern


Your Quick-Reference Guide
Struggling with crochet abbreviations? This free crochet abbreviations guide makes following patterns a breeze, with a handy chart of common US crochet terms you can reference anytime.
Download your free Crochet Abbreviations (printable PDF)
Print it, save it on your phone, or keep it right next to you while crocheting.
Stay Connected
Pin this post - Pin now to and take your skills to the next level.
Leave a comment - We're excited to hear your thoughts! Leave a comment below and let us know what you think.
Share on Instagram or Facebook - Capture the beauty of your finished crochet projects and share it on Instagram or Facebook! Tag us @easybreezycrochet or #ebcrochetcreations so we can see your work!
Copyright Notice - This pattern and its contents are protected by copyright law. It may not be copied, altered, redistributed, resold, translated, or used to produce video tutorials in any format, either in whole or in part.
You are permitted to sell finished items made using this pattern. However, the written pattern itself may not be sold, shared, or distributed in any form. When marketing or displaying your finished items, please photograph your own work and refrain from using any of my original images.
Sharing Guidelines For Roundups - Bloggers you are welcome to include this pattern in roundup posts, as long as you use one photo and link directly back to the original post. For full details, please refer to my Terms of Use page.
Chrissy says
I can not wait to make this Angel! Thank you so much for making this a free pattern. My only wish is that you would have included the pictures in the printed version. So ADORABLE!
Mrs Jean Skillicorn says
This is a brilliant pattern. I have made 5 angels and they all turned out different as I was using up wool I already had. Each recipient immediately put her on their mantlepiece
Thankyou so much. You also gave a photo of the actual size of the Angel which was also a great help
I am going to browse through rest of you crochet ideas
Audrey says
This is such a lovely pattern, i've made it a few times now for gifts. My friends and family always love them when i give it to them. Thank you so much for the pattern