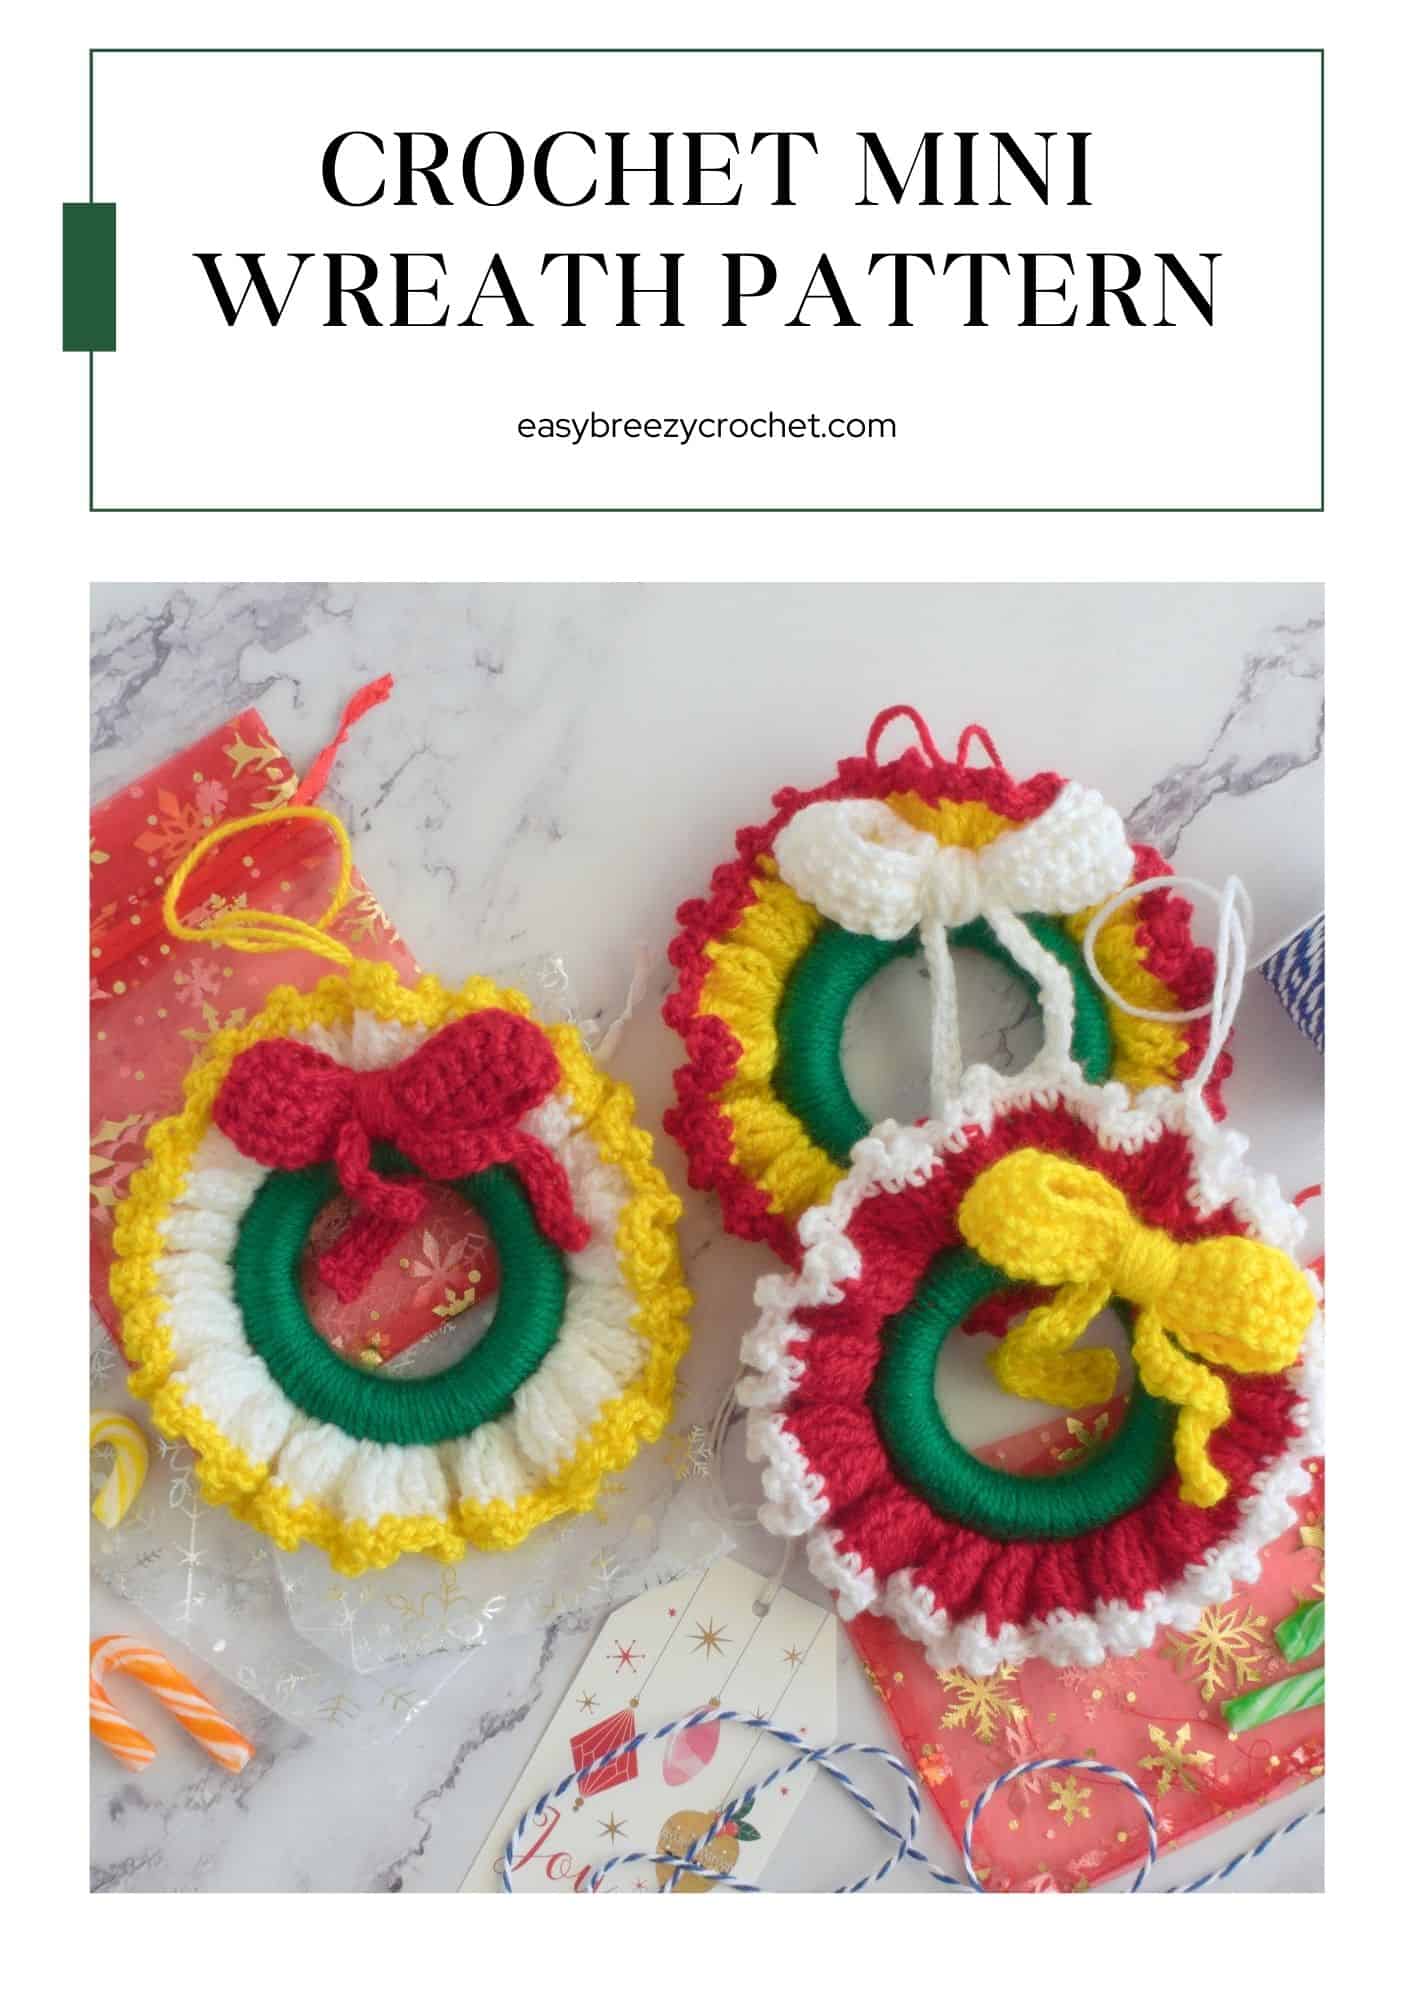
Make this easy crochet mini wreath pattern in no time. This simple and quick Christmas wreath uses a wooden ring as a base and finished off with a crocheted bow.
Below find everything you need to make a mini Christmas wreath, including yarn, hook, and material list.

Find more decorative ideas in our seasonal crochet décor hub.
Table of contents
- About This Christmas Wreath Ornament
- How Do You Make An Easy Crochet Wreath?
- Pattern Details
- The Type Of Yarn Needed
- Rings to Crochet Around
- Stitches Used
- What You Will Need
- Finished Size & Gauge
- Stitches Used - US Terms
- Pattern Notes
- Pattern Instructions
- Variations
- Christmas
- More Crocheted Mini Wreath Patterns
- More Free Crochet Patterns
- Related Guides
- Stay Connected
- Comments
About This Christmas Wreath Ornament
If you are looking for Christmas ornaments to make and for ways to use up the odd bits of yarn then this might be the pattern you are looking for:
- It is a relatively quick project that can be made in about 1 ½ - 2 hours, depending on your experience.
- This lovely pattern uses very little yarn making it a great stash-buster pattern.
- Use it to decorate your Christmas tree or home, make them for gifts, or to sell them at craft fairs.
- You can easily customize this by adding other embellishments like beads, mini Christmas decorations, ribbons, flowers, and more.
How Do You Make An Easy Crochet Wreath?
This simple pattern is worked over three simple rounds. The most important part is the first round which covers the ring in yarn.
The yarn should fully cover the ring so that it covers the ring in a smooth single layer.
The second round is a series of treble crochets that are worked into each stitch of the previous round creating.
Because multiple stitches are placed into each stitch of the previous round, they bunch to create a ruffled look around the ring.
The third round is a decorative picot edging that finishes the wreath.
The mini wreath is decorated with a simple crochet bow that is sewn on.
Pattern Details
- Skill Level - Beginner
- Yarn Weight - #3 light worsted weight
- Hook Size - 4mm
- Finished Size - About 5.5 inches (14cm) in diameter.
- Time To Complete - Less than 1 hour for an intermediate beginner
Exclusive Printable Crochet Patterns
Be inspired and keep creating!
Join us in The Pattern Vault, Easy Breezy Crochet's exclusive community.
Connect with other crocheters from all around the world and gain access to an extensive library of printable PDF crochet patterns.
All patterns are ad-free and available to you when you want, allowing you to crochet in your own time. So, if you're stuck on inspiration or on the hunt for you next crochet project, the Pattern Vault is for you!
The Type Of Yarn Needed
To make these wreaths, I used #3 light (DK, light worsted, 8-ply) acrylic yarn, because it is not overly thick.
You could even you a lighter weight yarn like #2 fine (spork, baby, 5 ply) or even #1 super fine (sock, fingering, baby, 4 ply) yarn.
If you choose to use a finer yarn weight you will need more yarn and increase the stitch count in the pattern.
I would not recommend worsted weight (#4 medium, Afgan, aran 10 ply) because it is too thick and bulky for a small project like this.
Rings to Crochet Around
The base for this project is a solid thick ring and I recycled some old wooden curtain rings, about 2.75 inches (7 cm) in diameter.
You can buy wooden rings from most hardware stores, craft stores, or online.
But the rings you use don't need to be wooden; you could use foam rings, crochet around thick solid bangles, or something similar in any size you want.
Stitches Used
You will need to know a few basic crochet stitches like chain stitch, single crochet, treble and slip stitch to make this mini crochet wreath pattern. You will also need to know how to make a picot stitch.
Crochet Picot Stitch
This easy crochet project uses a picot stitch as a decorative feature. If you do not know how to make this read our blog post on how to crochet picot stitch to learn more.
What You Will Need
Yarn
#3 Light (DK, light worsted, 8-ply) acrylic yarn
- Color A (Green) = 6.7 yards (6 meters)
- Color B (Yellow) - ruffle = 33 yards (30 meters)
- Color C (Red) - ruffle edge = 16.5 yards (15 meters)
- Color D (White) - bow = 13.5 yards (12 meters)
Hook
- 4 mm or size suited to the yarn you are using
Wooden Ring (or similar)
- 2.75 inches (7 cm) in diameter
Notions
- Scissors
- Yarn needle
Finished Size & Gauge

Finished Size
The finished size of these crochet mini wreaths is about 5.5 inches (14cm) in diameter.
However, yours may vary depending on the type of yarn you use, the size of the ring, and your tension.
Gauge
Not important for this pattern.
Stitches Used - US Terms
- ch - chain
- col - color
- hk - hook
- picot - picot - see special stitches below
- rnd - round
- sc - single crochet
- sl st - slip stitch
- sp/sps - space / spaces
- tr - treble crochet
- YO - yarn over
- [ ] - at the end of a round or row indicates the number of stitches in that round or row
Special stitches
Picot (picot)
A picot stitch is made using chain stitches and a slip stitch. It can be used as an extension to single crochet, half double crochet, double crochet, or treble stitches.
A picot is normally 3 chain stitches, but if you require more definition, make it with 4 chain stitches.
- Create three chain stitches at the point where you want to add a picot.
- Then insert your hook into the third chain from the hook.
- Yarn over hook (YO) pull the yarn back through both the stitch and the loop on the hook
- This completes one Picot stitch.
Abbreviated version
Picot - ch3, insert hk into 3rd ch from hk, YO pull the yarn back through both the stitch and the loop on the hk.
Pattern Notes
- This simple pattern can easily be adjusted to suit any ring size so keep this in mind when making your crochet mini wreath.
- If the ring size you are using is larger or smaller than the one indicated in the pattern, increase or decrease the number of stitches as required.
Ready to start crocheting?
Download the ad-free printable PDF and keep the pattern at your fingertips - no scrolling, no ads, no distractions. Get yours in our shop.
Pattern Instructions
Wreath
Round 1

Round 1, Color A - Tie the yarn around the ring, chain 1, then single crochet around the wooden ring, slip stitch in the 1st stitch to join. [50 single crochets]
Abbreviated version
Rnd 1, col A - Tie yarn around the ring, ch1, sc around the ring, sl st in 1st to join. [50 sc]
Round Two

Round 2, color B - Chain 4 (counts as a treble stitch), work 2 treble crochet in the same space as chain 4, then make 3 trebles in each stitch to the end, slip stitch into the top of chain 4 to join the round. [150 treble stitches]
Abbreviated version
Rnd 2, col B - Ch4 (counts as a tr st), 2 tr in same sp as ch4, (3 tr) in each sc, sl st in top of ch-4 to join. [150 tr]
Round Three

Round 3, color C - Chain 1, picot, *2 sc, picot, repeat from * to the end, slip stitch into chain 1 to join the round. Pull up a large loop for hanging (at least 12cm long), the cut yarn leaving a tail. Use a darning needle to knot the yarn at the base of the loop, then weave in the ends.
Abbreviated version
Rnd 3, col C - Ch1, picot, *2 sc, picot, repeat from * to the end, sl st into ch1 to join. Pull up a large loop for hanging - at least 5 inches (12cm) long, then cut yarn leaving a tail. Use a darning needle to knot the yarn at the base of the loop, then weave in the ends.
Making The Bow
The bow is worked in two parts the bow and the ties.
Bow

Foundation, color D - (leave a long tail) Chain 28
Abbreviated version
Foundation, col D - (leave a long tail) Ch 28
Row 1 - Single crochet in 2nd chain from hook, single crochet in each stitch across, turn. [27 single crochet]
Abbreviated version
Row 1 - Sc in 2nd ch from hk, sc in each st across, turn. [27 sc]
Row 2 - Chain 1 (not counted as a stitch), single crochet in each stitch across, turn. [27 single crochets]
Abbreviated version
Row 2 - Ch 1 (not counted as a stitch), sc in each st across, turn. [27 sc]
Row 3 - 4 - Repeat row 2, cut yarn and fasten off, leaving a long tail.
Sew the bow

- Thread one of the long tail ends into a darning needle and sew the two short sides together to form a ring.
- Once sewn, locate the center and position the seam at the center of the bow, then wrap the center with the remaining tail yarn to form a bow. Then secure the yarn in place with a few stitches.
Make the bow tails
Foundation, color D - chain 30
Abbreviated version
Foundation, col D - ch 30
Row 1 - Single crochet in 2nd ch from hook, then single crochet in each stitch across, fasten off.
Abbreviated version
Row 1 - sc in 2nd ch from hk, sc in each st across, fasten off, and weave in the ends.
Attach the tail to bow

- Find the center of the tail and attach a length of yarn at the center point.
- Then position the tails at the base of the bow.
- Using the length of yarn attached to the tails, by wrapping the yarn around the bow to secure the tail in place, and fasten it off.
- Then sew the bow to the wreath.

Variations
For this project, I used the standard Christmas colors of green, red, yellow, and white.
However, there are some other great color combinations that you could use, consider these:
- Blue, Orange, Silver, and Purple: This modern and eclectic combination adds a twist to the traditional Christmas colors. Blue and orange provide a bold contrast, while silver and purple add depth and sophistication.
- Burgundy, Forest Green, Cream, and Brown: For a warm and rustic Christmas palette, consider these colors. The rich burgundy and deep green create a cozy ambiance, while cream and brown add natural and earthy tones.
- Teal, Coral, Champagne, and Navy: This unique and vibrant combination adds a contemporary flair to Christmas colors. Teal and coral create a lively contrast, champagne adds elegance, and navy brings depth and sophistication.
- Red, Gold, Silver, and Black: This dramatic combination exudes glamour and elegance. The vibrant red stands out against the metallic tones of gold and silver, while black adds a sophisticated touch.
- Emerald Green, Ruby Red, Ivory, and Copper: This rich and opulent combination brings together deep jewel tones with metallic accents. The emerald green and ruby red create a striking contrast, while ivory and copper add warmth and luxury.
- Navy Blue, Silver, White, and Mint Green: This elegant and cool-toned combination offers a modern take on Christmas colors. The deep navy blue provides a sophisticated base, while silver and white add a touch of shimmer. Mint green serves as a refreshing accent color.
- Cranberry Red, Forest Green, Gold, and Champagne: This traditional yet refined combination showcases the beauty of rich red and green hues. The cranberry red and forest green evoke a cozy holiday atmosphere, while gold and champagne add a touch of glamour and elegance.
Don't stop here...
Your next 50 crochet projects are ready inside the Pattern Vault - all printable, ad-free, and ready to download instantly.
Christmas
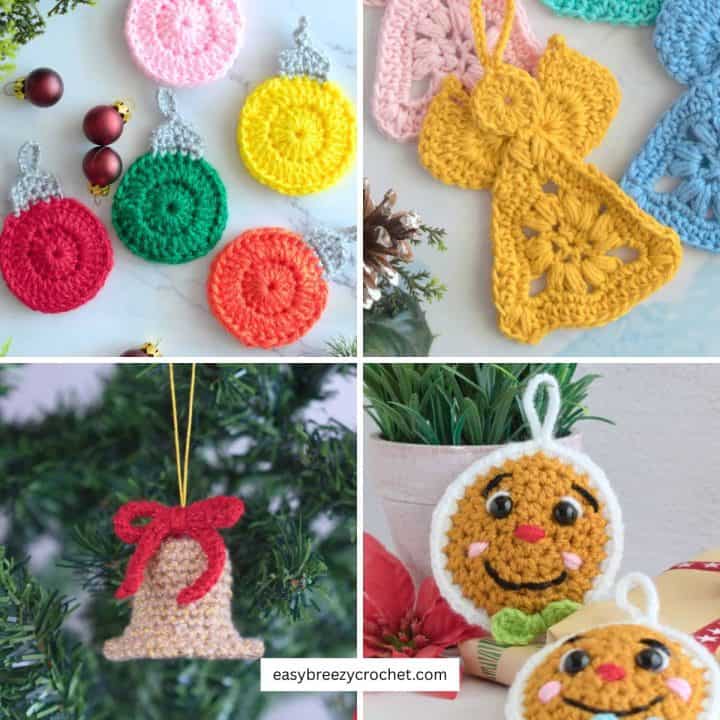
- Crochet Christmas Ornaments (Easy and Cute Ideas)
- Crochet Christmas Gifts You Can Make Fast
- Crochet Gingerbread Ornament
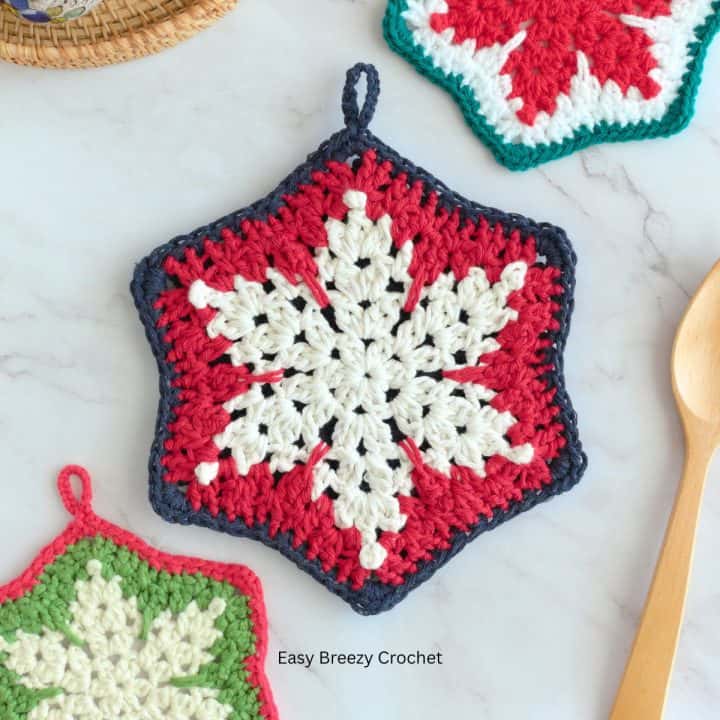
- Snowflake Pot Holder (Hot Pad)
More Crocheted Mini Wreath Patterns
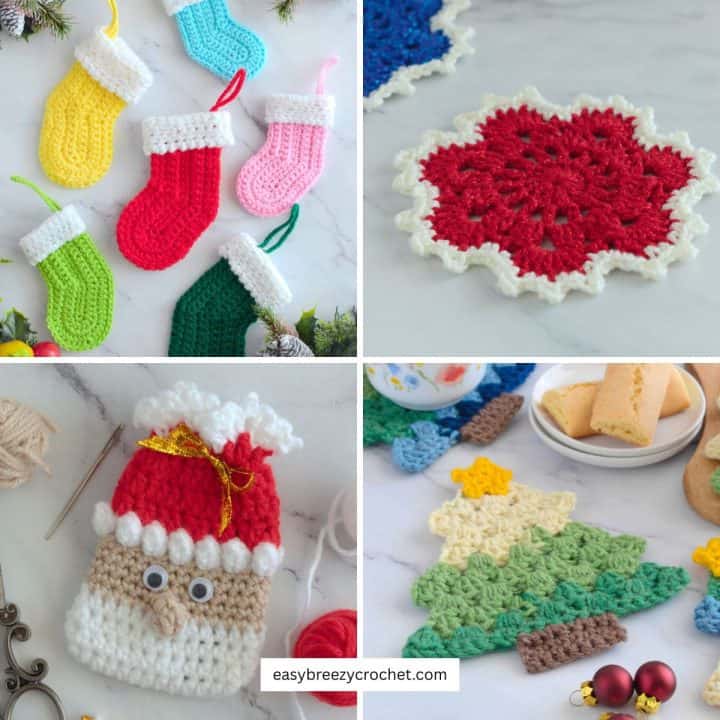
More Free Crochet Patterns
If you like this Christmas crochet project you might also like these crochet Christmas tree coasters, these crochet Christmas gift card holders, or these other easy crochet projects.
Related Guides
- Explore home décor projects in our crochet home and storage hub.
- Discover gift ideas in our crochet gifts and small projects hub.
Stay Connected
Pin this post - Pin now to and take your skills to the next level.
Leave a comment - We're excited to hear your thoughts! Leave a comment below and let us know what you think.
Share on Instagram or Facebook - Capture the beauty of your finished crochet projects and share it on Instagram or Facebook! Tag us @easybreezycrochet or #ebcrochetcreations so we can see your work!
Copyright Notice - This pattern and its contents are protected by copyright law. It may not be copied, altered, redistributed, resold, translated, or used to produce video tutorials in any format, either in whole or in part.
You are permitted to sell finished items made using this pattern. However, the written pattern itself may not be sold, shared, or distributed in any form. When marketing or displaying your finished items, please photograph your own work and refrain from using any of my original images.
Sharing Guidelines For Roundups - Bloggers you are welcome to include this pattern in roundup posts, as long as you use one photo and link directly back to the original post. For full details, please refer to my Terms of Use page.


Comments
No Comments