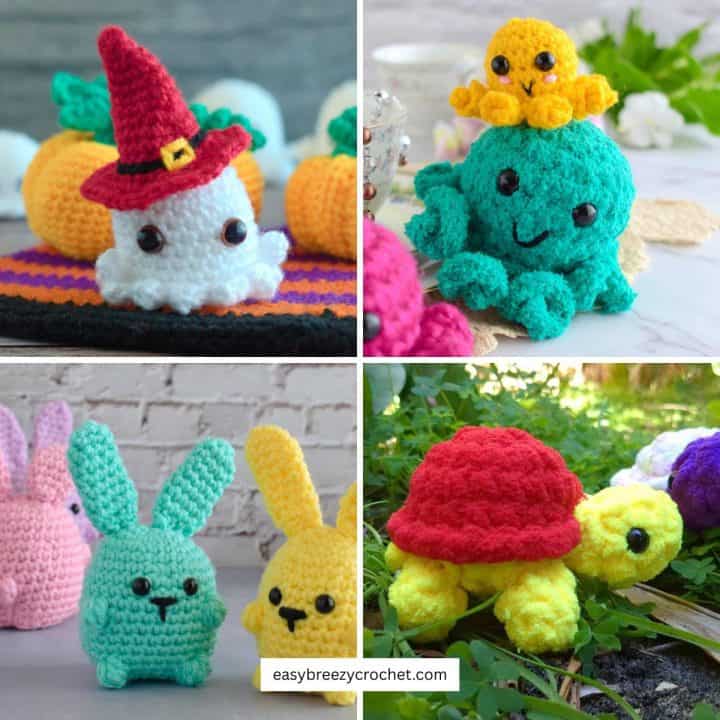
Ready to try your hand at making cute amigurumi buddies? This blog has got your back with super simple amigurumi tips for beginners.
Whether you are a total beginner or leveling up your skills, we are here to help.
From starting with a magic circle to keeping things even and stuffing just right, these tips will make your amigurumi journey a breeze.
Let us dive in and get those hooks working magic!

14 Amigurumi Crochet Tips
1. Use a Small Hook Size
Choose a crochet hook that is smaller than what is recommended on the yarn label. This helps create a tight fabric, preventing stuffing from showing through and giving your amigurumi a neat finish.
2. Learn How to Make a Magic Ring
Master the magic ring technique for starting your amigurumi. It creates a tight and closed center, preventing gaps in your work.
3. Secure the Magic Ring
After making the magic circle, pull the yarn tail tight to close the hole. You can also secure it further by making a small knot or weaving the end through nearby stitches.
4. Learn How to Increase
Practice increasing stitches to make your amigurumi rounder. It usually involves working two stitches into the same stitch from the previous round.
Exclusive Printable Crochet Patterns
Be inspired and keep creating!
Join us in The Pattern Vault, Easy Breezy Crochet's exclusive community.
Connect with other crocheters from all around the world and gain access to an extensive library of printable PDF crochet patterns.
All patterns are ad-free and available to you when you want, allowing you to crochet in your own time. So, if you're stuck on inspiration or on the hunt for you next crochet project, the Pattern Vault is for you!
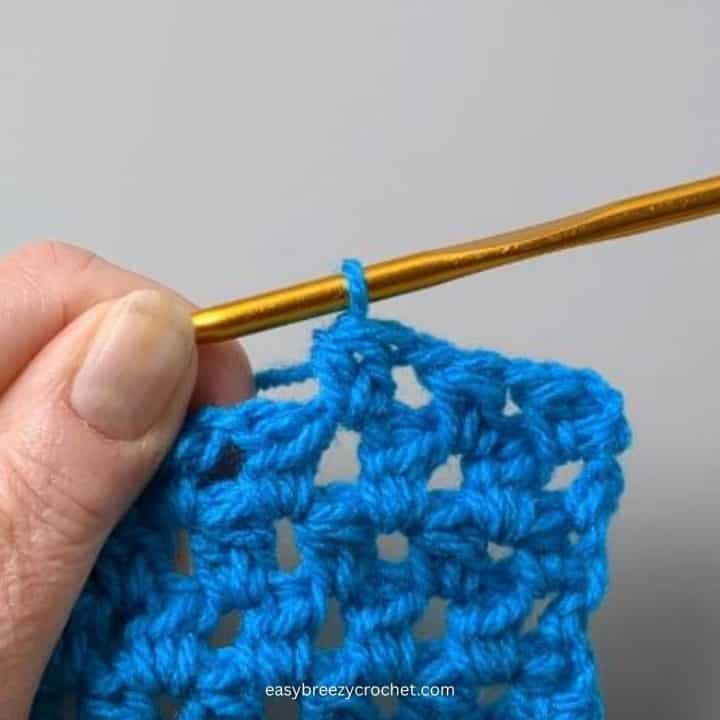
5. Learn How to Invisible Decrease
Invisible decreases give your amigurumi a polished look. Instead of a noticeable gap, it creates a seamless decrease that blends in with the rest of your stitches
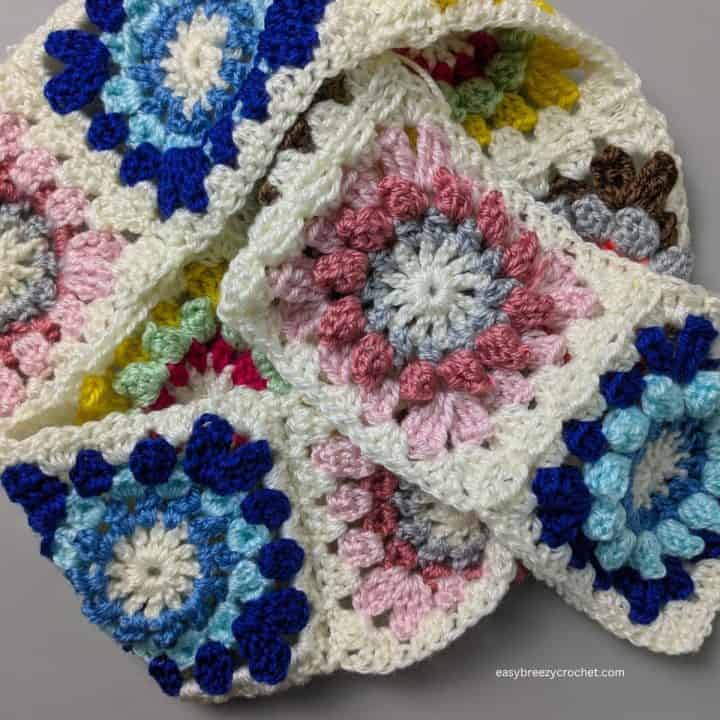
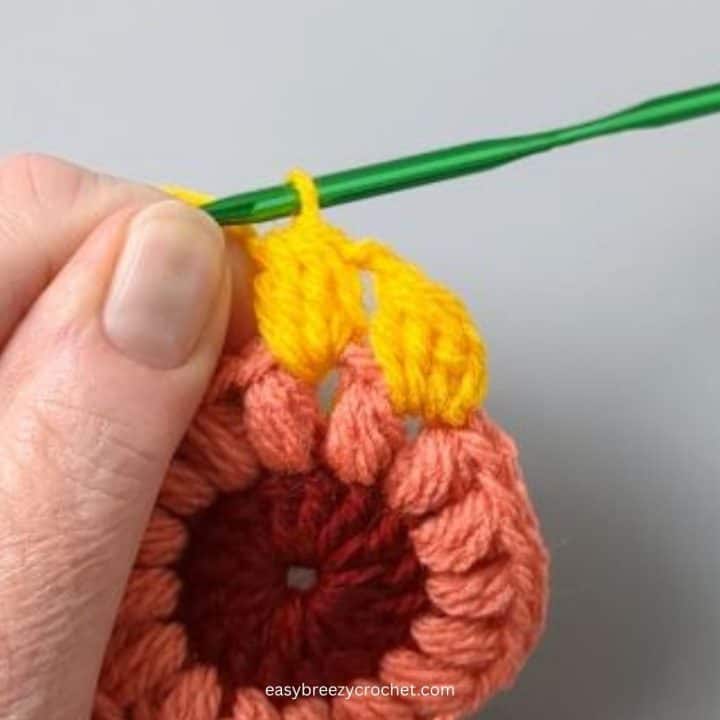
6. Learn How to Color Change
Experiment with changing yarn colors to create patterns or add details to your amigurumi. Start the new color in the last stitch of the previous color to make the transition smooth.
7. Securing Yarn Tails in Amigurumi
After fastening off, weave in the yarn tails using a yarn needle to ensure they do not unravel. This keeps your amigurumi looking tidy and prevents loose ends from peeking out.
8. Use Stitch Markers
Place stitch markers at the beginning of each round to help you keep track of your stitches. This makes it easier to count and locate specific points in your work.
9. Count Your Stitches
Regularly count your stitches to ensure you're following the pattern correctly. This helps catch mistakes early and maintain the correct shape of your amigurumi.
10.Consistent Tension
Keep your tension consistent throughout your work. This ensures that all stitches are the same size, creating a uniform appearance in your amigurumi.
11. Stuff Evenly
Distribute the stuffing evenly to maintain the intended shape of your amigurumi. Over-stuffing can distort the shape, while under-stuffing may leave it looking flat.
12. Leave a Long Yarn Tail
When fastening off, leave a long yarn tail. This tail can be used for sewing parts together or attaching features, like eyes or noses.
13. Determining the Right Side of Amigurumi
Identify the right side of your amigurumi, which is usually the side with cleaner stitches and fewer bumps. This is the side that should be facing outward.
14. Use Pins or Accurate Part Placement
When attaching parts like arms or ears, use pins to position them accurately before sewing. This ensures your amigurumi looks symmetrical and well-balanced.
Don't stop here...
Your next 50 crochet projects are ready inside the Pattern Vault - all printable, ad-free, and ready to download instantly.
Easy Amigurumi Patterns
- Cute Amigurumi Patterns You Can Make
- Chubby Chick - Crochet Chicken Pattern
- Cute Crochet Bat Pattern - (Free Halloween Amigurumi, Small & Easy)
- Crochet Mini Octopus Pattern


Stay Connected
Pin this post - Pin now to and take your skills to the next level.
Leave a comment - We're excited to hear your thoughts! Leave a comment below and let us know what you think.
Share on Instagram or Facebook - Capture the beauty of your finished crochet projects and share it on Instagram or Facebook! Tag us @easybreezycrochet or #ebcrochetcreations so we can see your work!
Copyright Notice - This pattern and its contents are protected by copyright law. It may not be copied, altered, redistributed, resold, translated, or used to produce video tutorials in any format, either in whole or in part.
You are permitted to sell finished items made using this pattern. However, the written pattern itself may not be sold, shared, or distributed in any form. When marketing or displaying your finished items, please photograph your own work and refrain from using any of my original images.
Sharing Guidelines For Roundups - Bloggers you are welcome to include this pattern in roundup posts, as long as you use one photo and link directly back to the original post. For full details, please refer to my Terms of Use page.
Molly says
These tips were so helpful, thanks so much!