Welcome to our blog, where we are excited to share a delightful and easy amigurumi bunny pattern with you!
This tiny bunny is perfect for beginners who are just learning to crochet.
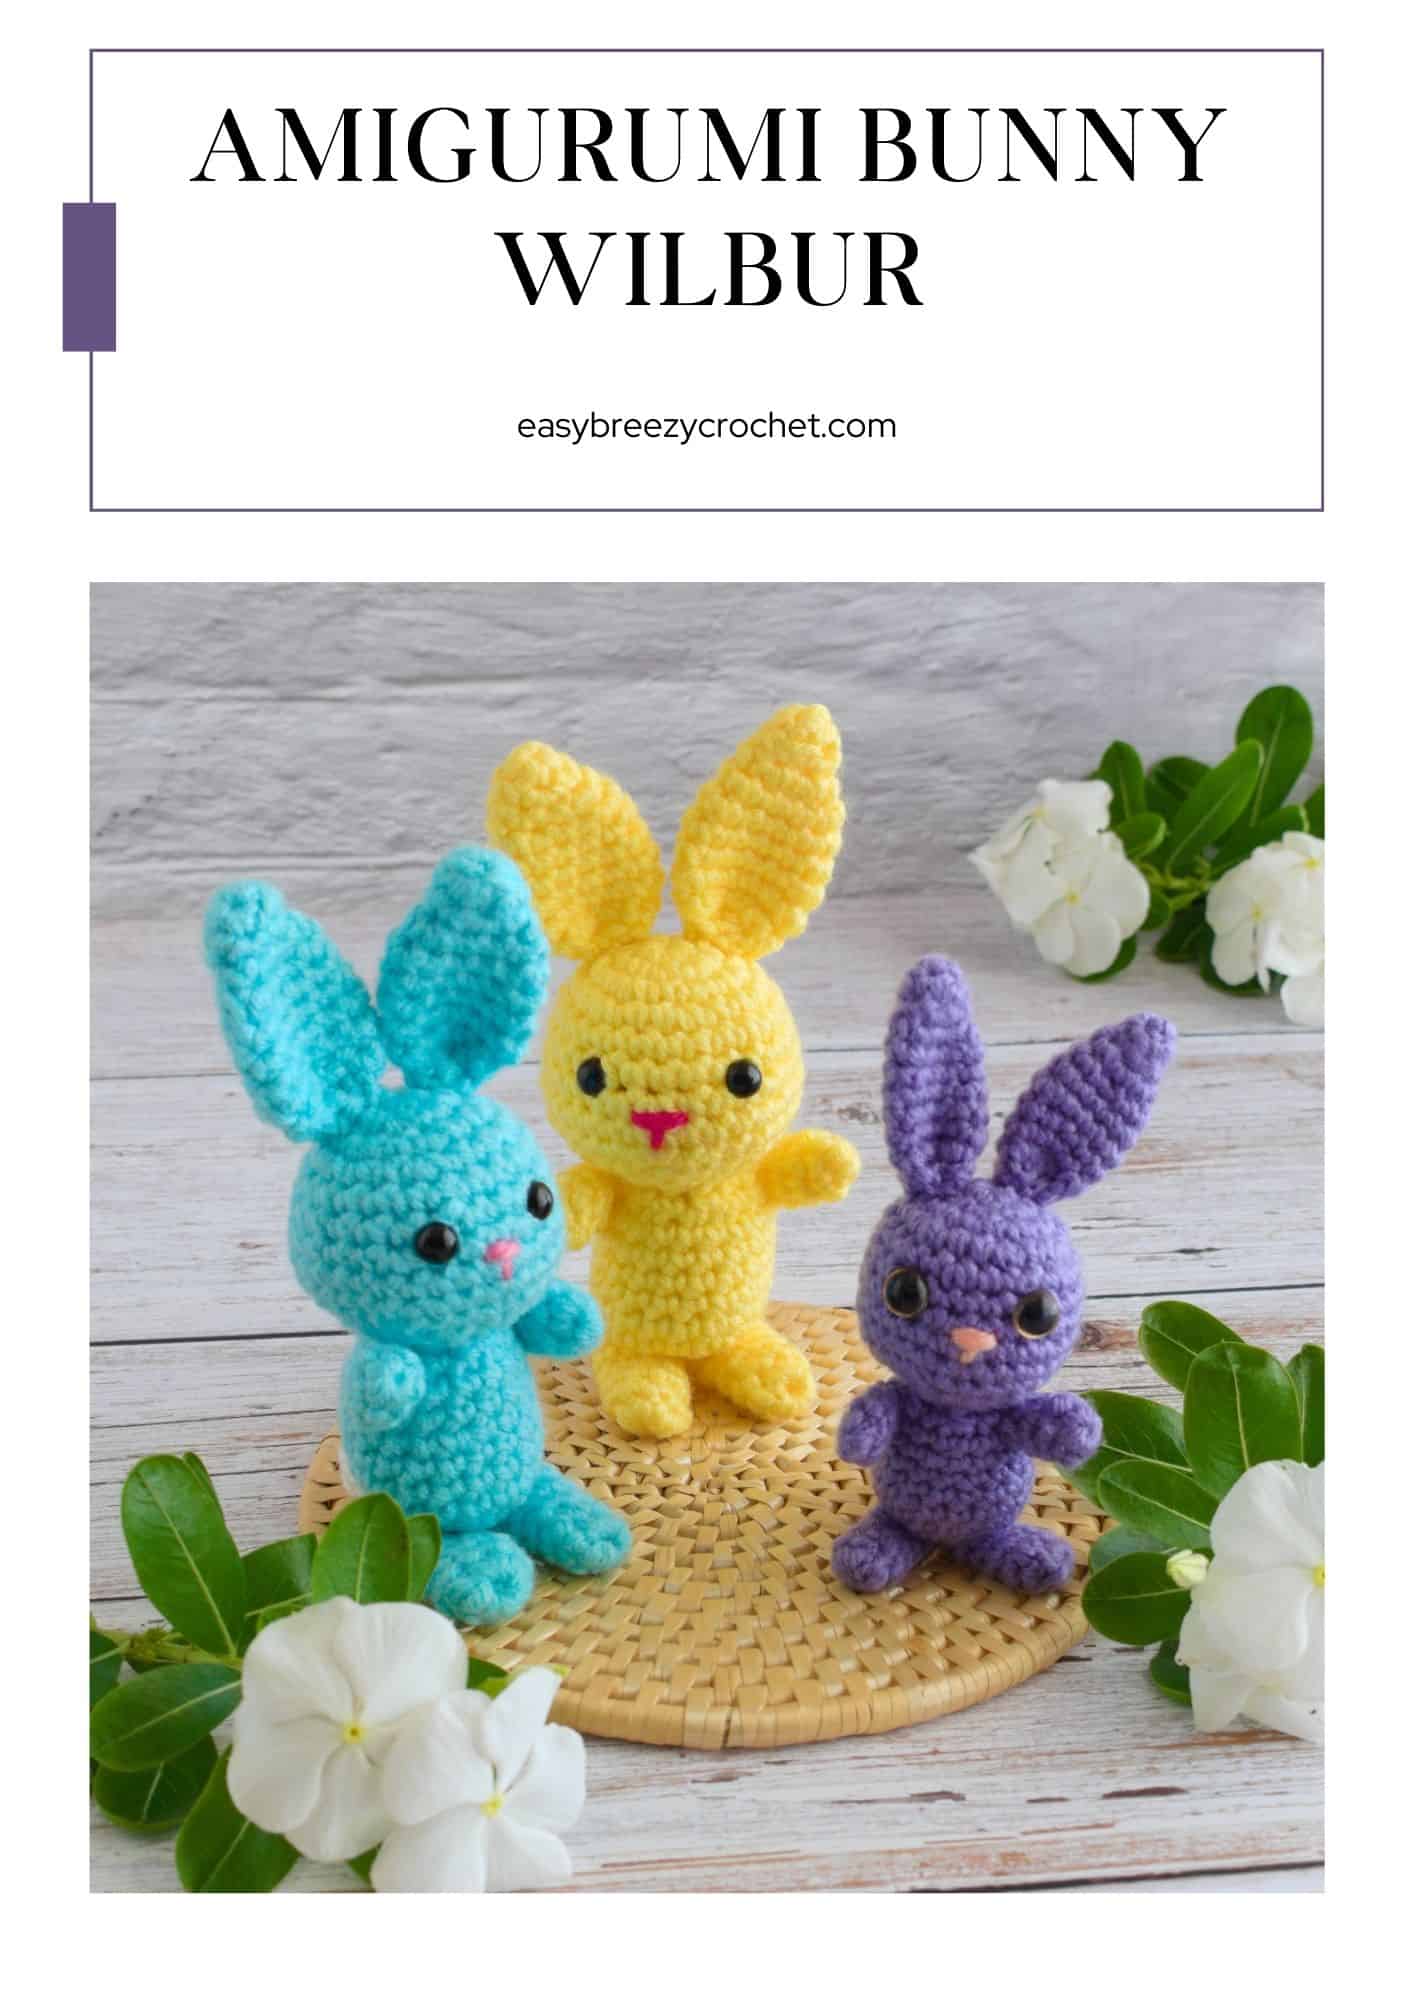
With its adorable white tail and simple design, it is a charming project that anyone can enjoy making.
Whether you are new to crochet or looking for a quick and fun project, this amigurumi bunny is sure to bring a smile to your face.

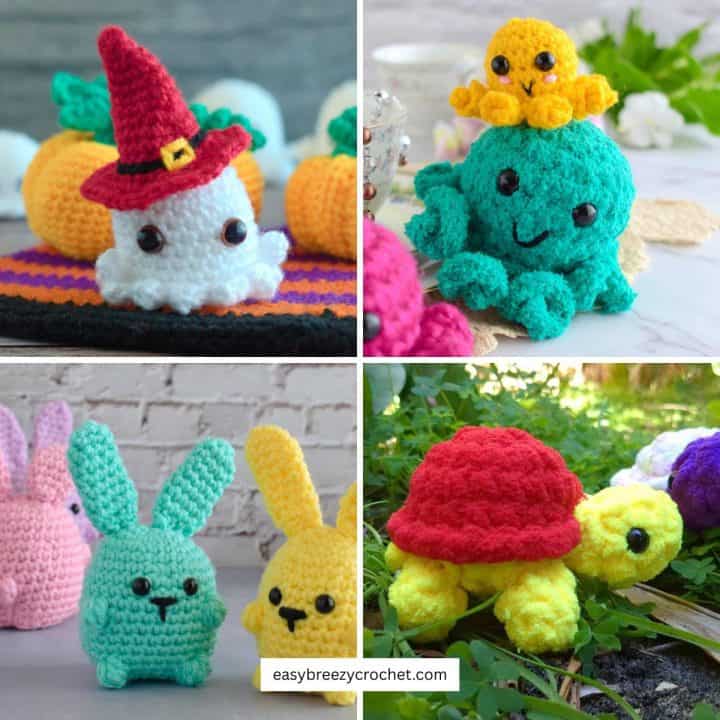
Find more Easter crochet ideas in our seasonal crochet collection.
Table of contents
- About This Amigurumi Crochet Bunny
- Pattern Details
- Meet Wilbur The Amigurumi Bunny
- Crochet Stitches
- Amigurumi Tips for Beginners
- What You Will Need
- Finished Size & Gauge
- Stitches and Abbreviations Used - US Terms
- Special Stitches
- Pattern Notes
- How to Make An Amigurumi Bunny
- Body
- Head
- Round One
- Ear (make 2)
- Legs (make 2)
- Arms (make 2)
- Tail
- FAQ
- Your Quick-Reference Guide
- Related Guides
- Stay Connected
- Comments
About This Amigurumi Crochet Bunny
- This pattern uses #4 worsted yarn which ensures that you can easily find the materials needed for this project at most craft stores. Also, worsted-weight yarn is versatile and forgiving, making it suitable for beginners to practice their crochet skills.
- The small size of this amigurumi bunny makes it less intimidating for beginners to tackle. It allows for quicker progress and helps build confidence in crocheting without feeling overwhelmed by a too-large or too-small project.
- This amigurumi bunny is super easy to make because it has a simple pattern based on basic shapes without a lot of fancy details.
- This project is an excellent opportunity for beginners to practice essential crochet stitches such as single crochet, increasing, and decreasing, while creating something cute and tangible in the process.
- This cute amigurumi bunny makes a great gift for Easter, birthdays, or any special occasion.
Pattern Details
- Skill Level - Intermediate beginner
- Yarn Weight - #4 worsted
- Hook Size - 4 mm hk
- Finished Size - about 6 inches (15 cm) tall from base to tip of ear.
- Time To Complete - A little over an hour for an experienced crocheter
Meet Wilbur The Amigurumi Bunny
Once upon a time, in a cozy home, there lived Wilbur, a little crochet bunny. He had a fluffy white tail and loved chocolate cake more than anything.
Whenever he smelled chocolate, his nose wiggled with joy. One day, Wilbur found a chocolate cake in the kitchen. He could not resist and took a tiny bite. The cake tasted so good that he could not stop eating.
From then on, Wilbur always searched for chocolate cake. Snuggled up in his cozy spot, he was happiest with a slice of cake by his side, his fluffy tail wiggling with joy.
Exclusive Printable Crochet Patterns
Be inspired and keep creating!
Join us in The Pattern Vault, Easy Breezy Crochet's exclusive community.
Connect with other crocheters from all around the world and gain access to an extensive library of printable PDF crochet patterns.
All patterns are ad-free and available to you when you want, allowing you to crochet in your own time. So, if you're stuck on inspiration or on the hunt for you next crochet project, the Pattern Vault is for you!
Crochet Stitches
In this amigurumi pattern, you will need to be familiar with the single crochet stitch, and how to make a magic ring also known as a magic circle to start the crochet pieces.
Invisible Decrease (invdec)
In this pattern, you will need to do something called 'invisible decreases. Do not worry if you are not sure how to do it! Check out our post on making a single crochet invisible decrease to learn all about it. It is easy, I promise!
Front Loops (FLO) And Back Loops (BLO)
In this pattern, you will need to know the difference between the front or back loops of stitches. If you are not sure what this means, check out our blog post understanding front and back loops in crochet. It explains everything in a super easy way.
Amigurumi Tips for Beginners
New to amigurumi? Check out our blog post for beginner-friendly tips! Learn essential techniques and troubleshoot common challenges to make your crochet projects a success.
More Easter Crochet Ideas
If you enjoyed making Wilbur, you might also love meeting Polly, our crochet bunny with floppy ears, or trying out Eggbert, our easy bunny crochet pattern, both available for free! You might also like our quick and easy crochet peeps bunny pattern or check out our collection of easy crochet bunny patterns.
What You Will Need
Body
We used #4 medium yarn (also known as worsted, Afgan, Aran, or 10-ply) with 11 WPI (wraps per inch)
- Color A, yellow (body) - 41 yards (38) meters of yarn
Tail
We used #3 medium yarn (also known as DK, light worsted, or 8-ply) with 12 WPI (wraps per inch)
- Color B, white (tail) - 3.2 yards (3 meters)
Crochet Hook
- 4 mm (G/6) hook for the bunny
- 3.5 mm (E/4) hook for the tail
Note: This pattern allows for flexibility with yarn weights. Adjust your hook size to be 1-2 sizes smaller than the recommended size for your chosen yarn. Doing so will create a tighter fabric, preventing the stuffing from showing through.
Notions
- Scissors
- Yarn needle
- Stitch marker
- 2 x 8 mm safety eyes
- Fiberfill toy stuffing.
- 19 inches (50 cm) length of black or pink #3 DK yarn or embroidery floss for the nose.
Finished Size & Gauge

The finished size of the amigurumi bunny when made in the yarn weight and hook size mentioned above is about 6 inches (15 cm) tall from base to tip of ear.
The gauge is not important for this project, but making sure the stitches are tight is important.
This prevents the toy stuffing from peeking through. If you notice the filling showing through, consider using a smaller hook size to achieve tighter stitches
Stitches and Abbreviations Used - US Terms
- col - color
- FLO - front of loop
- hk - hook
- invdec - invisible decrease - see below
- lp/loops - loop/loops
- MR - magic ring
- rnd/rnds - round/rounds
- rpt - repeat
- sc - single crochet
- sp - space
- st/sts - stitch/stitches
- YO - yarn over
- [ ] - at the end of a round indicates the number of stitches in that round
Special Stitches
invdec - Insert hk in FLO of next st, then in FLO of next st, YO, pull through 2-lps, YO, pull through 2-lps.
Pattern Notes
- This pattern is worked in a spiral, so do not join the rounds as you go, unless otherwise stated in the pattern.
- Use a stitch maker to mark the first stitch of each round. This will help you keep track of the start and end of a round.
- Ensure the pattern stays accurate by counting the stitches in each round.
Ready to start crocheting?
Download the ad-free printable PDF and keep the pattern at your fingertips - no scrolling, no ads, no distractions. Get yours in our shop.
How to Make An Amigurumi Bunny
Body
Round One
Round 1 (color A)- Work 6 single crochet stitches into a magic ring, and pull the yarn tail to close the circle. [6 single crochets in this round.]
Abbreviated version
Rnd 1 (col A)- 6sc in MR. [6sc]
Round Two
Round 2 - Work 2 single crochets in each stitch. [You should now have 12 single crochets in this round.]
Abbreviated version
Rnd 2 - 2sc in next 6-sts. [12sc]
Round Three
Round 3 - Work * 2 single crochets in the next stitch, and 1 single crochet in the next, repeat from * 6 times. [You should now have 18 single crochet in this round.]
Abbreviated version
Rnd 3 - * 2sc in next st, 1sc in next, rpt from * 6 times. [18sc]
Rounds Four to Nine
Rounds 4-9 (6 rounds) - Make 1 single crochet in each of the next 18 stitches. [18 single crochet in each of these rounds.]
Abbreviated version
Rnds 4-9 (6 rnds) - 1sc in each of the next 18-sts. [18sc in each rnd]
✨ You're almost there! ✨
To unlock the final steps and complete your pattern, create a free account with Grow.me. below.
Make sure to tick the box to subscribe to our newsletter and stay up to date with the latest patterns, tips, and more!
Once you're signed up, you'll get instant access to finish your project and enjoy exclusive content in the future.
Already signed up? Hit the button below and select 'Switch to Log In' to pick up where you left off and finish your project!
Round Ten
Round 10 - make an * invisible decrease, then 1 single crochet in the next stitch, and repeat from * 6 times. [You should now have 12 single crochets in this round]
Abbreviated version
Rnd 10 - * invdec, 1sc, rpt from * 6 times, cut the yarn, leave a long tail about 20 inches (52cm) for sewing, and fasten off. [12sc]
Stuff - Fill the body with stuffing and leave the top open. Don't overstuff because you want the base to sit flat.

Head
Round One
Round 1 (color A)- Work 6 single crochet stitches into a magic ring, and pull the yarn tail to close the circle. [6 single crochets in this round.]
Abbreviated version
Rnd 1 (col A)- 6sc in MR. [6sc]
Round Two
Round 2 - Work 2 single crochets in each of the next 6 stitches. [You should now have 12 single crochets in this round.]
Abbreviated version
Rnd 2 - 2sc in each of the next 6-sts. [12sc]
Round Three
Round 3 - Work * 2 single crochets in the next stitch, and 1 single crochet in the next, repeat from * 6 times. [You should now have 18 single crochet in this round.]
Abbreviated version
Rnd 3 - * 2sc in next st, 1sc in next, rpt from * 6 times. [18sc]
Round Four
Round 4 - Work * 2 single crochets in the next stitch, and 1 single crochet in each of the next 2 stitches, and repeat from * 6 times. [You should now have 24 single crochet in this round.]
Abbreviated version
Rnd 4 - * 2sc in next st, 1sc in next 2-sts, rpt from * 6 times. [24sc]
Round Five and Six
Rounds 5-6 - Make 1 single crochet in each on the next 24 stitches. [24 single crochets in this round.]
Abbreviated version
Rnds 5-6 - 1sc in next 24-sts. [24sc]
Round Seven
Round 7 - Make * 2 single crochets in the next stitch, then 1 single crochet in each of the next 3 stitches, and repeat from * 6 times. [There should be 30 single crochet this round.]
Abbreviated version
Rnd 7 -* 2sc in next st, 1sc in next 3-sts, rpt from * 6 times. [30sc]
Rounds Eight and Nine
Rounds 8-9 - 1 Single crochet in each of the next 30 stitches. [30 single crochets in each round.]
Abbreviated version
Rnds 8-9 - 1sc in next 30-sts. [30sc in each rnd]
Round Ten
Round 10 -* invdec, then 1 single crochet in each of the next 3 stitches, repeat from * 6 times. [You should have 24 single crochets in this round.]
Abbreviated version
Rnd 10 - *invdec, 1sc in next 3-sts, rpt from 6 times. [24sc]

Attach eyes - Insert the eyes between rounds 6 and 7 with 5 stitches between them.

Embroider the nose - Position the nose between rounds 8 and 9 and evenly between the eyes.
Using pink or black yarn, make three back stitches between three single crochet stitches in the space between rounds 8 and 9, entering and exiting the stitches in the same space.
Then create two long downward backstitches to complete the nose.
Round Eleven
Round 11 - * invdec, then 1 single crochet in each of the next 2 stitches, repeat from * 6 times. [You should have 18 single crochets in this round.]
Abbreviated version
Rnd 11 - * invdec, 1sc in next 2-sts, rpt from * 6 times. [18sc]
Round Twelve
Round 12 - * invdec, then 1 single crochet the next stitch, repeat from * 6 times. [You should have 12 single crochets in this round.]
Abbreviated version
Rnd 12 - * invdec, 1sc in next st, rpt from 6 times. [12sc]
Stuff - Fill the head with stuffing.
Round Thirteen

Round 13 - * invdec, repeat from * 6 times, , cut yarn, leave a short yarn tail, and fasten off, thread yarn tail onto a needle and weave the tail inside the head to hide and trim away the excess. [You should have 6 single crochets in this round.]
Abbreviated version
Rnd 13 - * invdec, rpt from * 6 times, cut yarn, leave a short yarn tail, and fasten off, thread yarn tail onto a needle and weave the tail inside the head to hide and trim away the excess. [6sc]
Attach head - Attach the head by threading the yarn tail onto a needle and sewing it to the body, along the body top edge, and between the ditch of the last two rounds made on the head.
Finish off by weaving the remaining yarn tail inside the head and cutting off the excess yarn.
Ear (make 2)
Round One
Round 1 (color A)- Work 4 single crochet into a magic ring, pull the yarn tail tight to close the circle. [4 single crochets in this round.]
Abbreviated version
Rnd 1 (col A)- 4sc in MR. [4sc]
Round Two
Round 2 - * 1 Single crochet in the next stitch, then make 2 single crochets in the next, repeat from * 2 times. [You should now have 6 single crochets in this round.]
Abbreviated version
Rnd 2 - * 1sc in next st, 2sc in next st, rpt from * 2 times. [6sc]
Round Three
Round 3 - Work 1 single crochet into each of the next 6 stitches. [6 single crochets in this round.]
Abbreviated version
Rnd 3 - 1sc in next 6-sts. [6sc]
Round Four
Round 4 - Make 2 single crochets in each of the next 6 stitches. [You should now have 12 single crochets.]
Abbreviated version
Rnd 4 - 2sc in next 6-sts. [12sc]
Round Five to Nine
Rounds 5-9 (5 rounds) - Make 1 single crochet in each of the next 12 stitches. [12 single crochets each round.]
Abbreviated version
Rnds 5-9 (5 rnds) - 1 sc in next 12-sts. [12sc in each rnd]
Round Ten
Round 10 - * 1 single crochet in the next stitch, then invisible decrease, repeat from * 4 times, cut yarn, leave a long tail for sewing, and fasten off. Do not fill with stuffing. [You should now have 8 single crochets in this round.]
Abbreviated version
Rnd 10 - * 1sc in next st, invdec, rpt from * 4 times, cut yarn, leave a long 19-inch (50cm) yarn tail for sewing, and fasten off. Do not stuff. [8sc]
This completes one ear repeat rounds 1-10 to make a second.
Attach ears to head - Attach the ear to the head by threading the yarn tail onto a needle and sewing the ear opening closed.
Next, pinch the base of the ear so that the bottom outside edges meet, forming a hollow on the inside.

Secure the sides in place by tacking them with the yarn tail threaded onto a needle. Then, sew the ears onto the top of the head over rounds 2 and 3

Legs (make 2)
Round One
Round 1 (color A) - Make 7 single crochets into a magic ring, and pull the yarn tail to close the circle. [7 single crochets in this round]
Abbreviated version
Rnd 1 (col A) - 7sc in MR. [7sc]
Rounds Two to Six
Rounds 2-6 (5 rounds) - Make 1 single crochet into each of the next 7 stitches, after making the last round cut yarn, leaving a long tail for sewing and fasten off. Do not fill with stuffing. [7 single crochets in each of these rounds]
Abbreviated version
Rnds 2-6 (5 rnds) - 1 sc in next 7-sts, after making the last rnd cut yarn, leaving a long tail for sewing and fasten off. Do not stuff. [7sc in each round]
This completes one leg. Repeat rounds 1-6 to make a second.
Attach legs - Thread the yarn tail onto a knead and use that to sew the legs onto the underside of the body.

Arms (make 2)
Round One
Round 1 (color A) - Work 6 single crochets into a magic ring, and pull the yarn tail tight to close the circle. [6 single crochets in this round.]
Abbreviated version
Rnd 1 (col A) - 6sc in MR. [6sc]
Rounds Two to Four
Rounds 2-4 (3 rounds) - Make 1 single crochet into each of the next 6 stitches, after making the last round cut yarn, leaving a long tail for sewing and fasten off. Do not fill with stuffing. [6 single crochets in each round.]
Abbreviated version
Rnds 2-4 (3 rnds)- 1 sc in next 6-sts, after making the last rnd cut yarn, leaving a long tail for sewing and fasten off. Do not stuff. [6sc in each rnd]
This completes one arm. Repeat rounds 1-4 to make a second.
Attach arm - Sew each arm to the sides of the body just under the neck using the yarn tail from each piece threaded onto a needle.

Tail
Round One
Round 1, (color B and 3.5mm hk) - Work 6 single crochets into a magic ring, and pull the yarn tail tight to close the circle. [6 single crochets in this round]
Abbreviated version
Rnd 1, (col B) - 6sc in MR. [6sc]
Round Two
Round 2 - Work 2 single crochets in the next 6 stitches. [You should now have 12 single crochets in this round.]
Abbreviated version
Rnd 2 - 2sc in next 6-sts. [12sc]
Rounds Three to Four
Rounds 3-4 - 1 single crochet into each of the next 12 stitches. [12 single crochet in each round.]
Abbreviated version
Rnds 3-4 - 1 sc in next 12-sts. [12sc in each rnd]
Round Five
Round 5 - * invisible decrease, repeat from * 6 times. [You should have 6 single crochet in this round.]
Abbreviated version
Rnd 5 - * invdec, rpt from * 6 times, cut yarn, leave a long tail for sewing, and fasten off. [6sc]
Stuff - Fill the tail with stuffing.
Attach the tail to the body - Use the yarn tail threaded onto a needle to sew the tail to the bunny's bottom, weaving the end inside the body. Position the tail so that it helps the bunny sit upright.

Don't stop here...
Your next 50 crochet projects are ready inside the Pattern Vault - all printable, ad-free, and ready to download instantly.
FAQ
Crochet is making things with yarn and a hook. Amigurumi is crochet for making small toys, like animals or characters. Crochet is broader, while amigurumi is just for toys
The easiest amigurumi to make are simple shapes like balls or tubes. You can start with something like a round ball or a long, straight shape.
They do not need a lot of fancy stitches and are good for beginners. Once you get used to making these, you can try more complicated patterns with more details.
You can find many easy amigurumi patterns on our blog to help you get started.


Thanks for checking out this adorable easy amigurumi bunny pattern! If you have enjoyed making this little cutie, we would love to hear about your experience.
Share your thoughts or any tips you have for fellow crafters by leaving a comment below.
Short on time but still want to make this bunny later? Why not pin the pattern for future reference?
Pinning it will save it for later when you have more time to crochet, and you will also help others discover this fun project!
Your support and engagement mean everything to us.
Happy crocheting, and we are excited to see your bunnies hopping around!

Your Quick-Reference Guide
Struggling with crochet abbreviations? This free crochet abbreviations guide makes following patterns a breeze, with a handy chart of common US crochet terms you can reference anytime.
Download your free Crochet Abbreviations (printable PDF)
Print it, save it on your phone, or keep it right next to you while crocheting.
Related Guides
- Discover gift ideas in our crochet gifts and small projects hub.
- Learn more techniques in our basic crochet stitches guide.
Stay Connected
Pin this post - Pin now to and take your skills to the next level.
Leave a comment - We're excited to hear your thoughts! Leave a comment below and let us know what you think.
Share on Instagram or Facebook - Capture the beauty of your finished crochet projects and share it on Instagram or Facebook! Tag us @easybreezycrochet or #ebcrochetcreations so we can see your work!
Copyright Notice - This pattern and its contents are protected by copyright law. It may not be copied, altered, redistributed, resold, translated, or used to produce video tutorials in any format, either in whole or in part.
You are permitted to sell finished items made using this pattern. However, the written pattern itself may not be sold, shared, or distributed in any form. When marketing or displaying your finished items, please photograph your own work and refrain from using any of my original images.
Sharing Guidelines For Roundups - Bloggers you are welcome to include this pattern in roundup posts, as long as you use one photo and link directly back to the original post. For full details, please refer to my Terms of Use page.


Comments
No Comments