If you need a quick crochet pumpkin leaf to decorate your Fall-themed crochet project use this pattern. This crochet leaf pattern is easy to make, with the option of adding a cute curly tendril.

Explore more nature-inspired designs in our crochet flowers and decorative motifs hub.
Table of contents
About This Pumpkin Leaf
- This is a simple two-round pattern for a crochet pumpkin leaf, with the option of adding a curly tendril for an additional feature to your crochet projects.
- These pumpkin leaves can be made in different sizes by using different yarn weights; such as medium worsted weight yarn for large leaves or fine weight yarns such as sport, or baby yarn for smaller finer leaves.
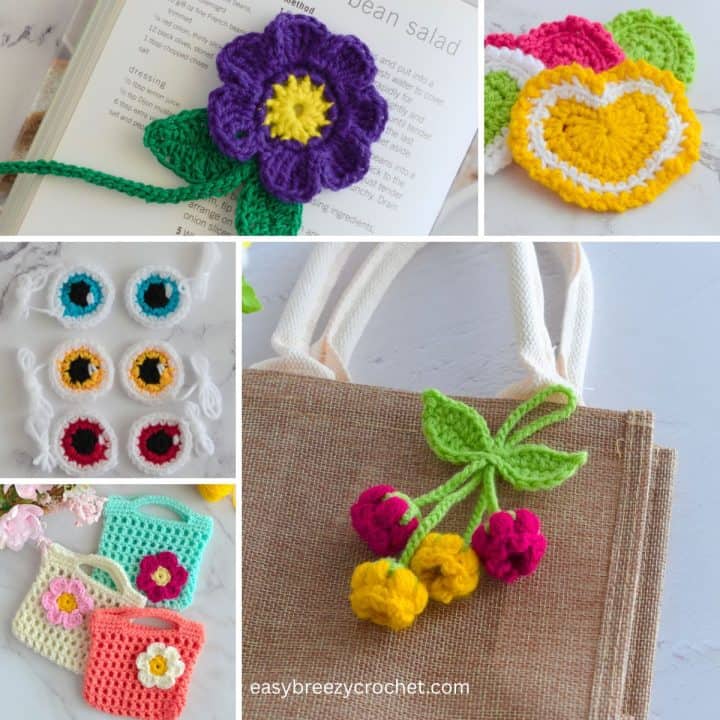
- These small autumn leaves can be used to decorate many different Fall decorations, such as these crochet pumpkin coasters and this small crochet pumpkin.
- You could even use this leaf pattern as an applique on items with a Halloween, Thanksgiving, or Fall theme like pumpkin beanies or hats, they would also look cute on a baby pumpkin costume.
Exclusive Printable Crochet Patterns
Be inspired and keep creating!
Join us in The Pattern Vault, Easy Breezy Crochet's exclusive community.
Connect with other crocheters from all around the world and gain access to an extensive library of printable PDF crochet patterns.
All patterns are ad-free and available to you when you want, allowing you to crochet in your own time. So, if you're stuck on inspiration or on the hunt for you next crochet project, the Pattern Vault is for you!
Crochet Stitches
You will need to know a few basic crochet stitches like chain stitch, single crochet, half double crochets, double crochet, treble stitch, and how to make a slip stitch to make this crochet leaf.
Double Crochet Stitch (dc)
- Yarn over hook (YO), insert the hook from the front to the back of a stitch.
- Yarn over hook (YO) again and pull back up through the stitch. You will have three loops on the hook.
- Yarn over hook (YO) pull the yarn back through two loops on the hook. You will now have two loops on the hook.
- Yarn over hook (YO) pull the yarn back through the two loops on the hook.
- This completes a double crochet stitch.
Treble Crochet (or Triple Crochet) (tr)
- Wrap the yarn over the hook (YO) twice, and insert the hook from the front to the back of a stitch.
- Yarn over hook (YO) again and pull back up through the stitch. You will have four loops on the hook.
- Yarn over hook (YO) pull the yarn back through two loops on the hook. You will now have three loops on the hook.
- Yarn over hook (YO) pull the yarn back through two loops on the hook. You will now have two loops on the hook.
- Yarn over hook (YO) pull the yarn back through the two loops on the hook.
- This completes a treble crochet stitch.
Skill Level
Beginner
What You Will Need
Medium leaf and tendril
#3 light (light worsted, DK, 8ply) 100% Acrylic, or similar yarn.
- About 4.9 yards (4.5 meters) of yarn for small leaf
Large leaf and tendril
#4 worsted weight (Afgan, Aran, 10ply) 100% Acrylic, or similar yarn.
- About 5.74 yards (5.25 meters) of yarn for large leaf
Notions
- Scissors
- Yarn needle
Finished Size

- The medium leaf is made in #3 light (light worsted, DK, 8ply) yarn and a 3.5 mm hook, which is about 1.5 inches (4cm) by 1.5 inches (4cm).
- For the large leaf made in #4 medium (worsted, Afgan, Aran, 10 ply) yarn and a 5mm hook, is about 2 inches (5.08 cm) by 2 inches (5.08 cm).
For other sizes experiment with different yarn brands, yarn weights, and hook sizes.
Gauge
Not so important for this pattern.
Stitches and Abbreviations Used - US Terms
- MR - magic ring
- ch - chain stitch
- sc - single crochet
- hdc - half double crochet
- dc - double crochet
- tr - treble
- hk - hook
- sl st - slip stitch
- YO - yarn over hook
Pattern Instructions
Round One
Round 1, green yarn - 10 single crochets into a magic ring, slip stitch into the 1st stitch to join. [10 single crochets in this round.]
Abbreviated version
Round 1, green yarn - 10sc in MR, sl st in 1st st to join. [10sc]
Round Two
Round 2 - Chain 1, make 2 half double crochets in the same space as the chain 1.
Then make a half double crochet and double crochet into the next stitch.
Then make a double crochet, treble stitch, chain 1, and a slip stitch in the next stitch.
Then slip stitch into the next stitch, then slip stitch into the next and chain 2 and make double crochet and treble stitch in the next stitch.
Then make a treble stitch, double crochet, chain 2, and slip stitch into the next stitch.
Slip stitch into the next stitch, then slip stitch into the next stitch and chain 3, treble stitch, and double crochet all in the next stitch.
Then make a double crochet and half double crochet into the next stitch.
Then make 2 half double crochets, chain 1, and slip stitch into the next stitch, slip stitch into the next stitch, chain 2.
Abbreviated version
Round 2 - Ch1, (2hdc) in same sp as ch-1, (hdc, dc) in next st, (dc, tr, ch3, sl st) in next st, sl st into next st, (sl st, ch2, dc, tr) in next st, (tr, dc, ch2, sl st) in next st, sl st in next st, (sl st, ch3, tr, dc) in next st, (dc, hdc) in next st, (2hdc, ch1, sl st) in next st, sl st in next st, ch2.
Cut yarn if you want only the leaf, and leave a tail long enough for attaching. If you wish to add a curly tendril follow the steps below.
✨ You're almost there! ✨
To unlock the final steps and complete your pattern, create a free account with Grow.me. below.
Make sure to tick the box to subscribe to our newsletter and stay up to date with the latest patterns, tips, and more!
Once you're signed up, you'll get instant access to finish your project and enjoy exclusive content in the future.
Already signed up? Hit the button below and select 'Switch to Log In' to pick up where you left off and finish your project!
Optional - Curly Tendril

Row 1 (tendril) - Chain 21, then make 2 single crochets in the 2nd chain from the hook, then make 2 single crochets in each of the next 22 chains, chain 1. Cut yarn and fasten off, leaving a long tail yarn for attaching.
Abbreviated version
Row 1 (tendril) - Ch21, 2sc in 2nd ch from hk, 2sc in each st down next 22-sts, ch1.
Cut yarn, and leave a long tail for attaching.
Finishing
The leaf only
Pull the starting yarn tail tight to close the magic ring, thread the tail onto a darning needle, weave in the end, and trim away excess yarn. Use the end tail to sew the leaf onto your chosen project.
The leaf and tendril
Fasten off the starting yarn tail as instructed above.

Next, thread the tail onto a yarn needle, and secure the end of the tendril to the leaf by inserting the needle from the front into the last slip stitch made in round 2 of the leaf before attaching it to your chosen project.
Don't stop here...
Your next 50 crochet projects are ready inside the Pattern Vault - all printable, ad-free, and ready to download instantly.

Quick Crochet Reference Guide
Not sure which hook to pair with your yarn? This free yarn weight & hook size chart makes it easy, with clear guides for:
- Yarn weights and recommended hook sizes
- Conversions between US, UK, and metric sizes
- Quick references for common projects with each yarn weight
Download your free Yarn Weight & Hook Size Chart (printable PDF)
Print it, save it on your phone, or keep it right next to you while crocheting.
Related Guides
- Discover seasonal ideas in our seasonal crochet projects hub.
- Find project inspiration in our crochet gifts and small projects hub.
Stay Connected
Pin this post - Pin now to and take your skills to the next level.
Leave a comment - We're excited to hear your thoughts! Leave a comment below and let us know what you think.
Share on Instagram or Facebook - Capture the beauty of your finished crochet projects and share it on Instagram or Facebook! Tag us @easybreezycrochet or #ebcrochetcreations so we can see your work!
Copyright Notice - This pattern and its contents are protected by copyright law. It may not be copied, altered, redistributed, resold, translated, or used to produce video tutorials in any format, either in whole or in part.
You are permitted to sell finished items made using this pattern. However, the written pattern itself may not be sold, shared, or distributed in any form. When marketing or displaying your finished items, please photograph your own work and refrain from using any of my original images.
Sharing Guidelines For Roundups - Bloggers you are welcome to include this pattern in roundup posts, as long as you use one photo and link directly back to the original post. For full details, please refer to my Terms of Use page.

Comments
No Comments